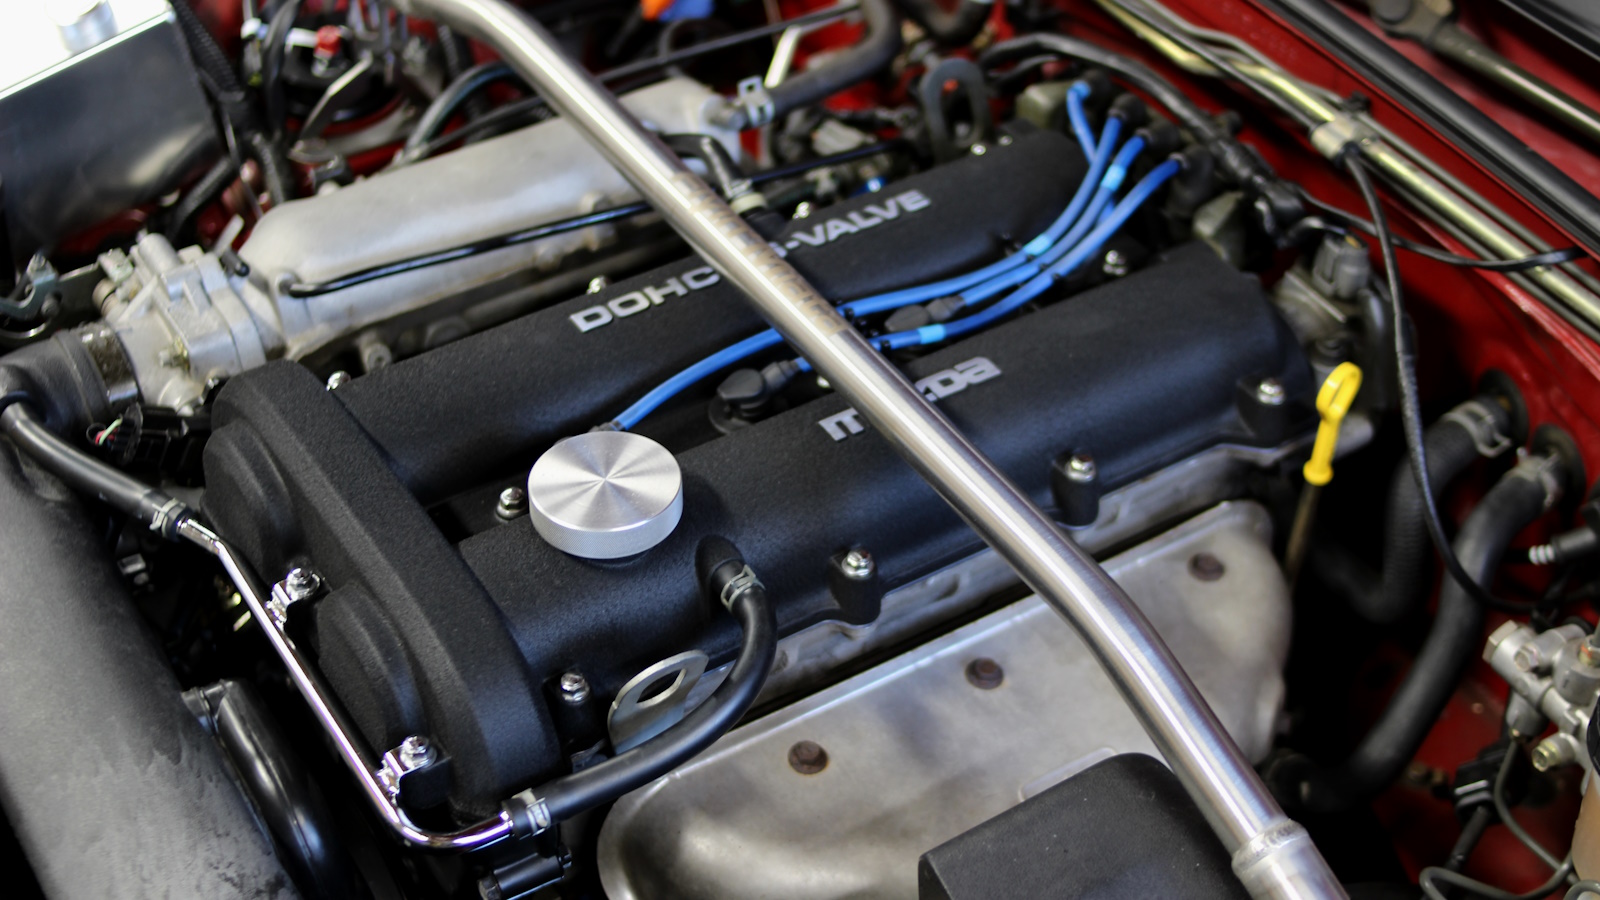
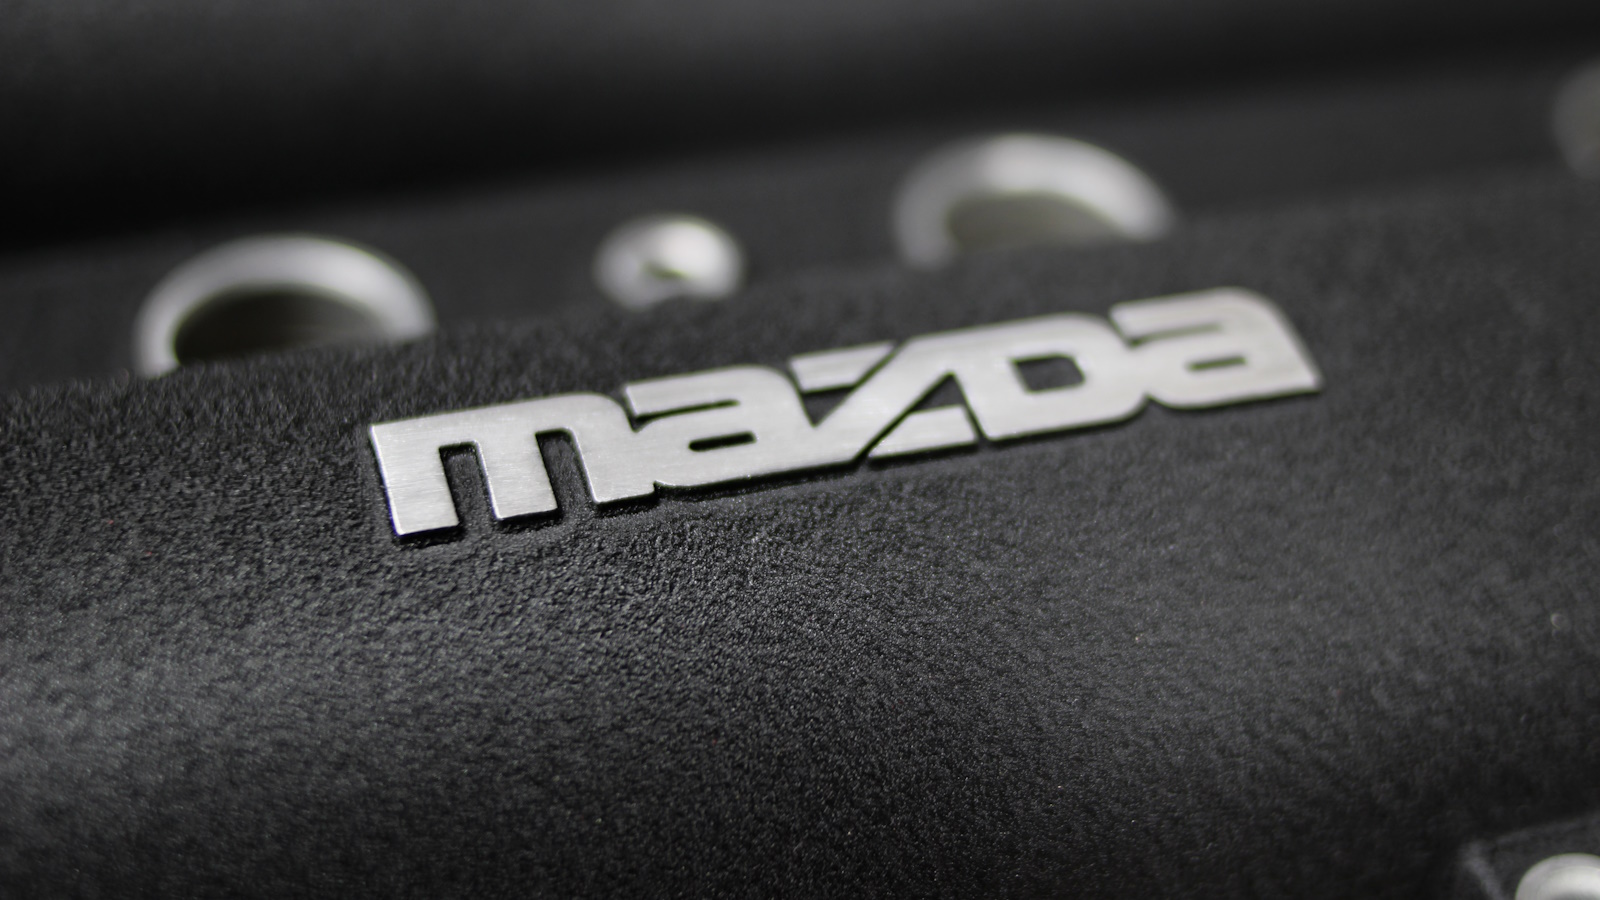
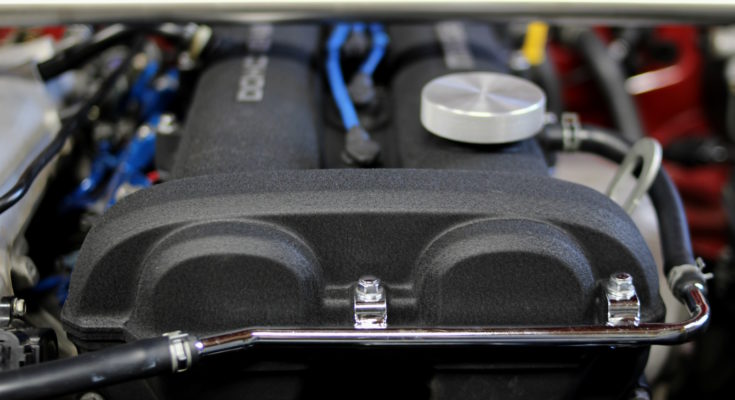
The first round of this mod was successful, but the paint started flaking off after about five years. I blame that on poor pre-paint cleaning and using the wrong primer. The VHT Wrinkle paint can claims primer is not needed, so I followed that direction this time. If anything, VHT brand high-temp engine primer could work better with the wrinkle paint.
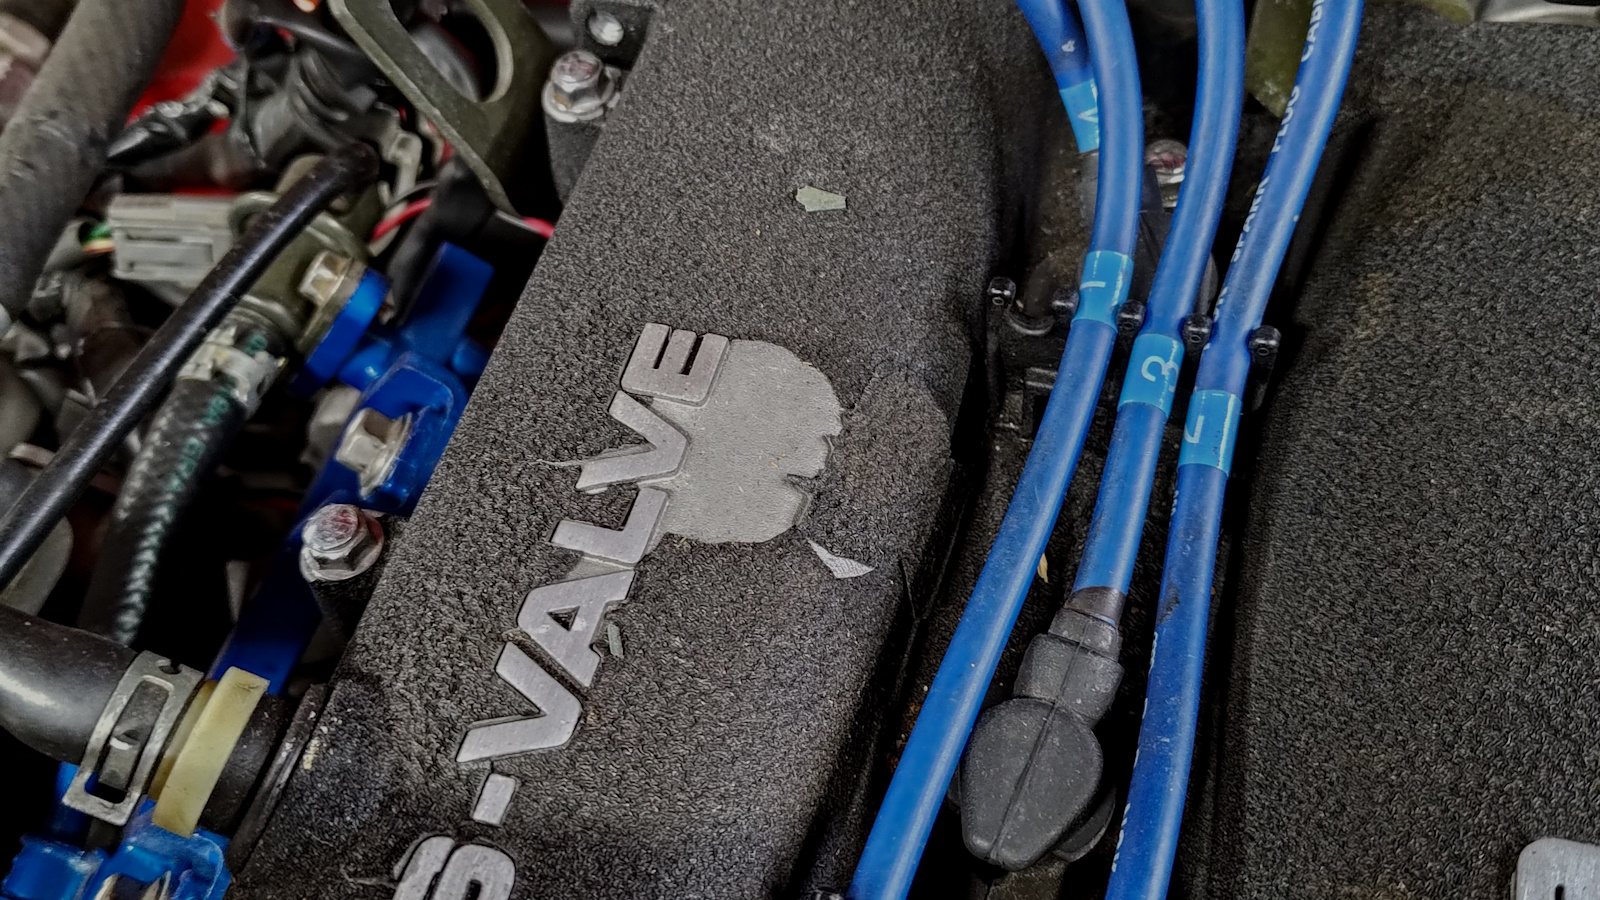
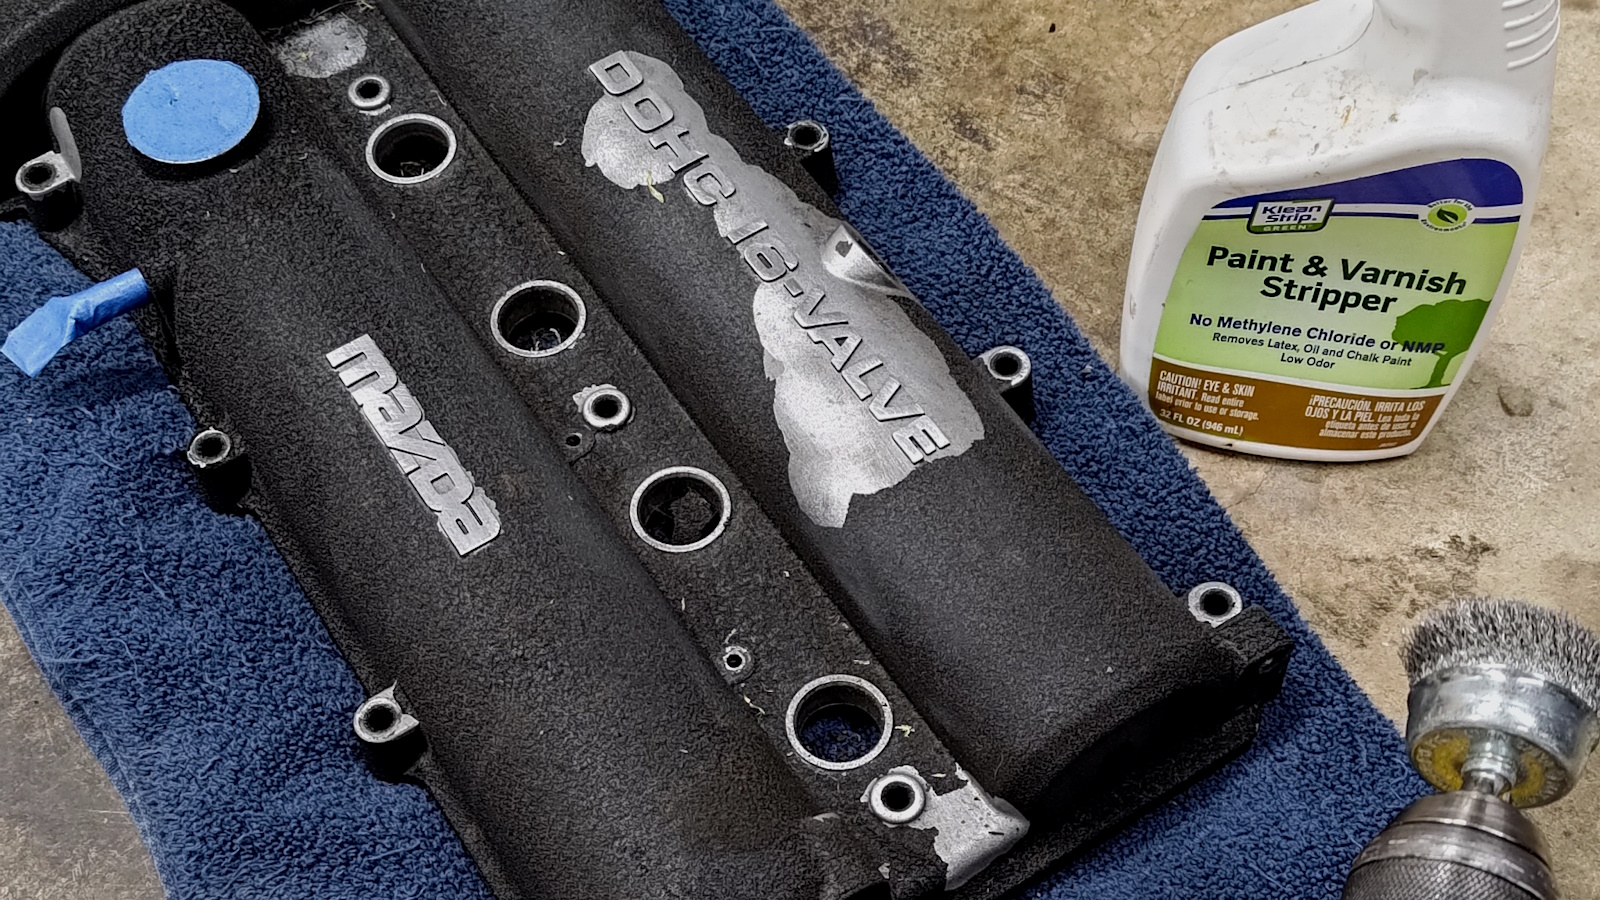
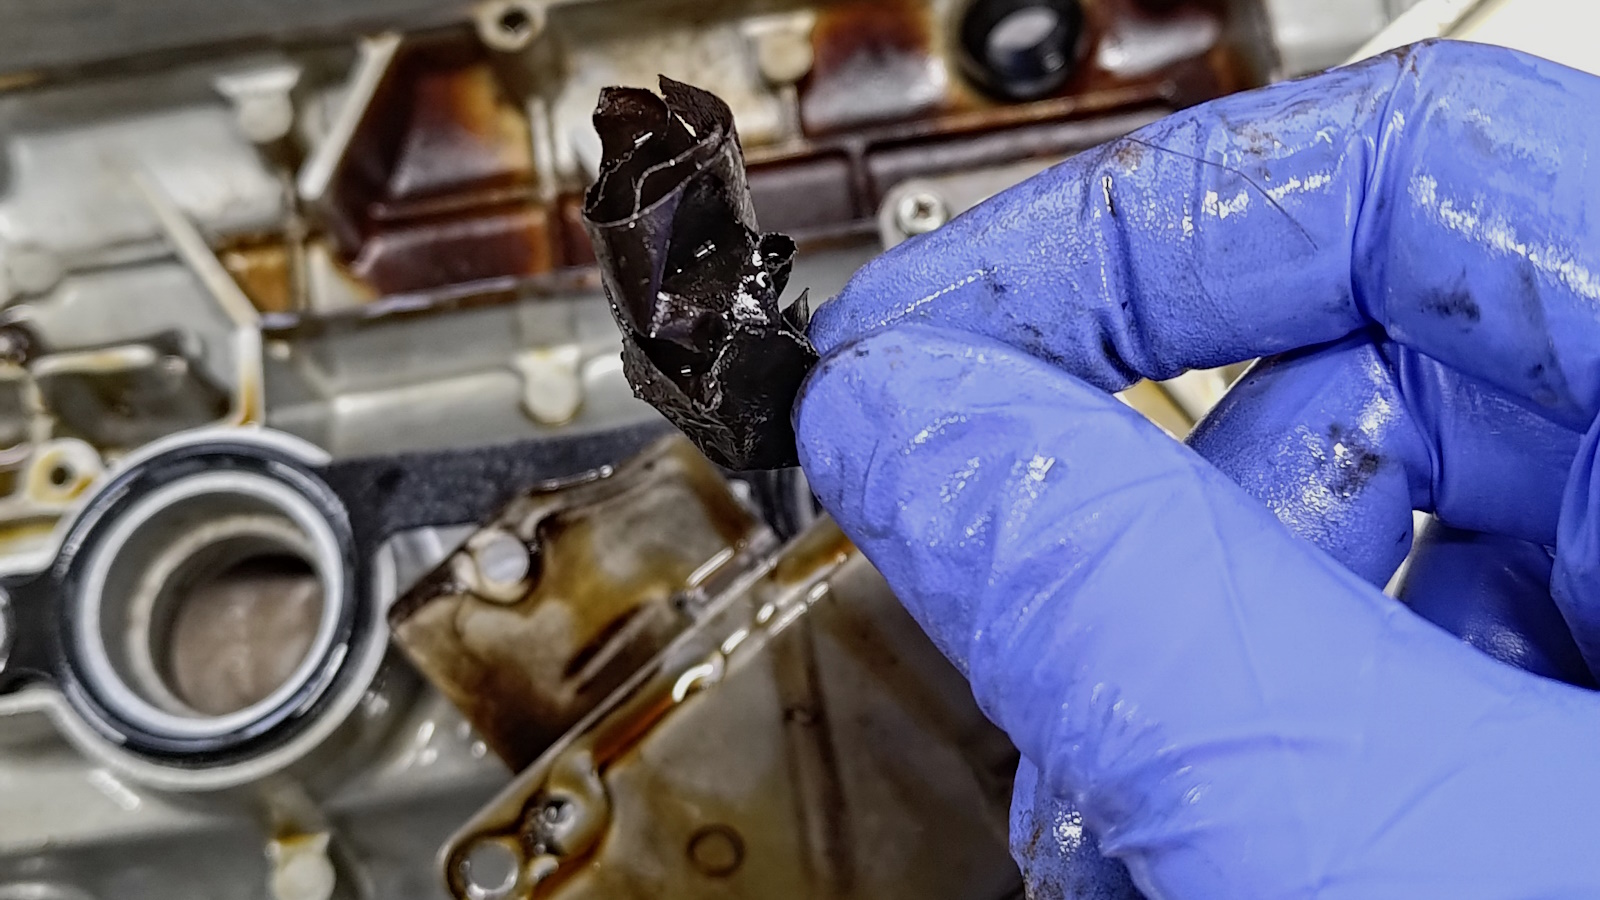
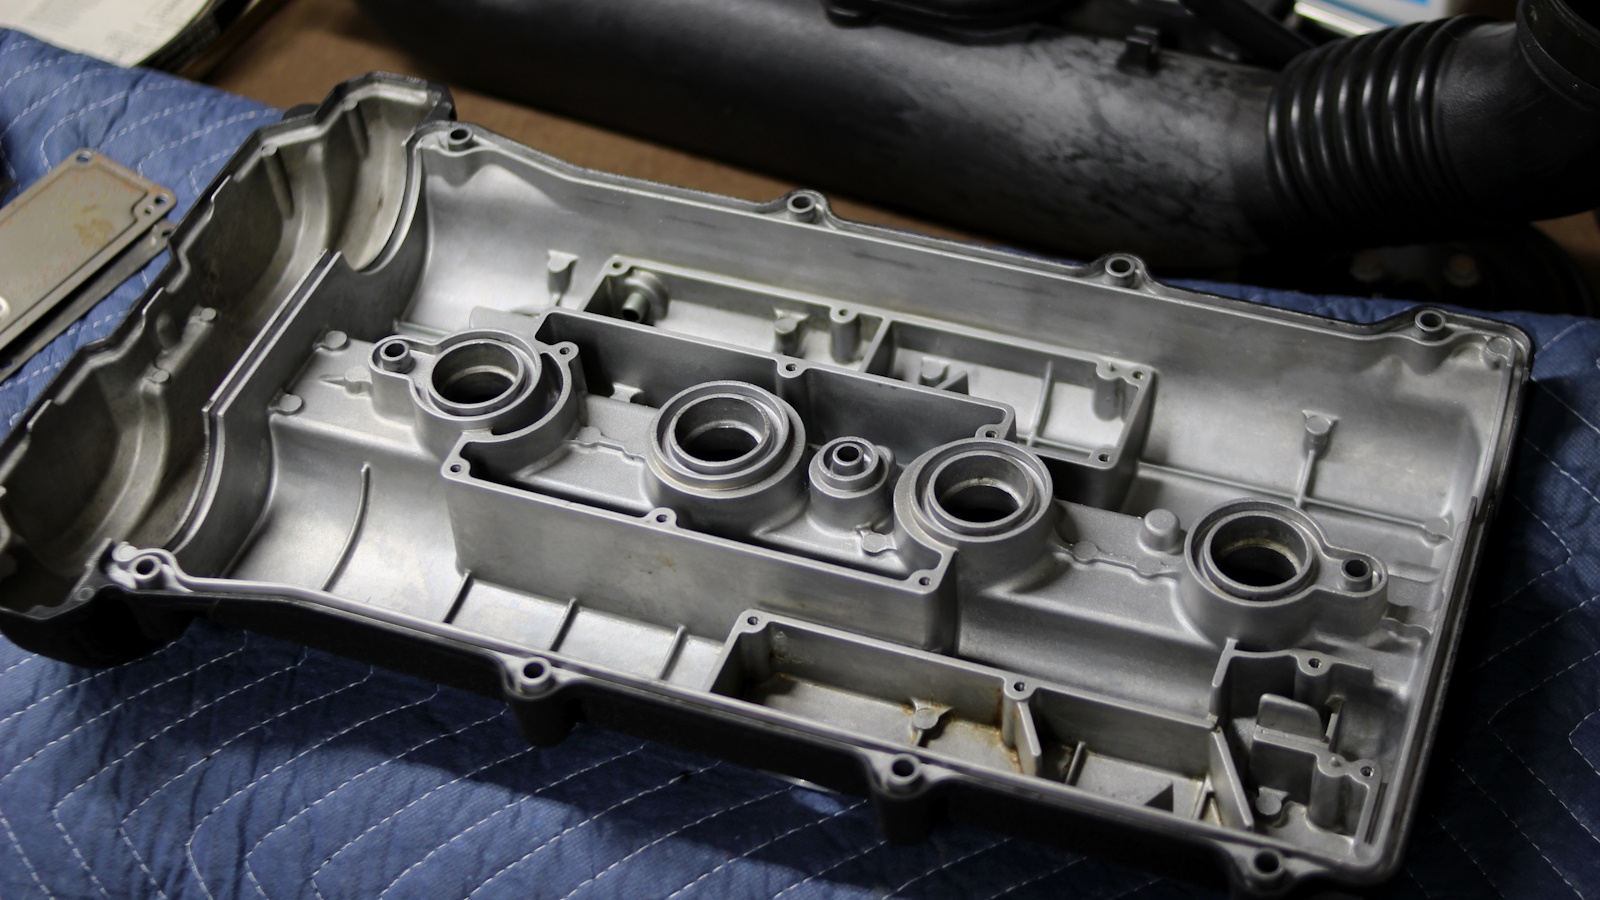
I realized while removing the old flaking paint that I wanted to be sure no debris made it into the valve cover baffles, especially if I was going to try pressure-washing the old paint off. When removing the baffles, I found this crispy piece of tape. This must have been a mistake from my last attempt painting the valve cover. This scrap of masking tape had been living in the valve cover baffle behind the PCV valve for six years.
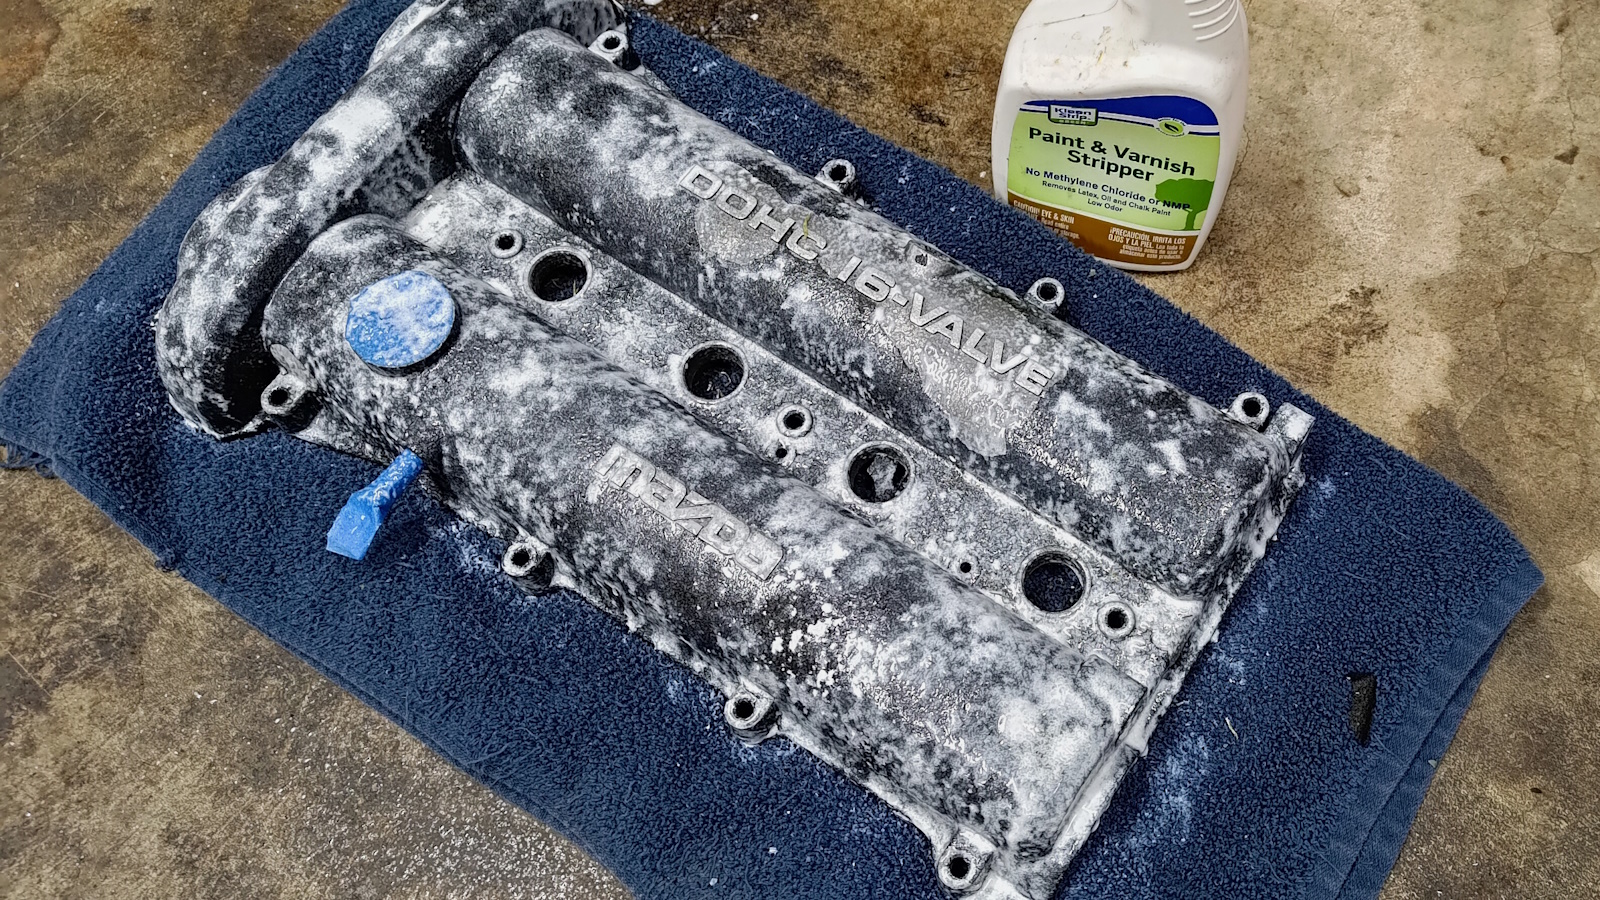
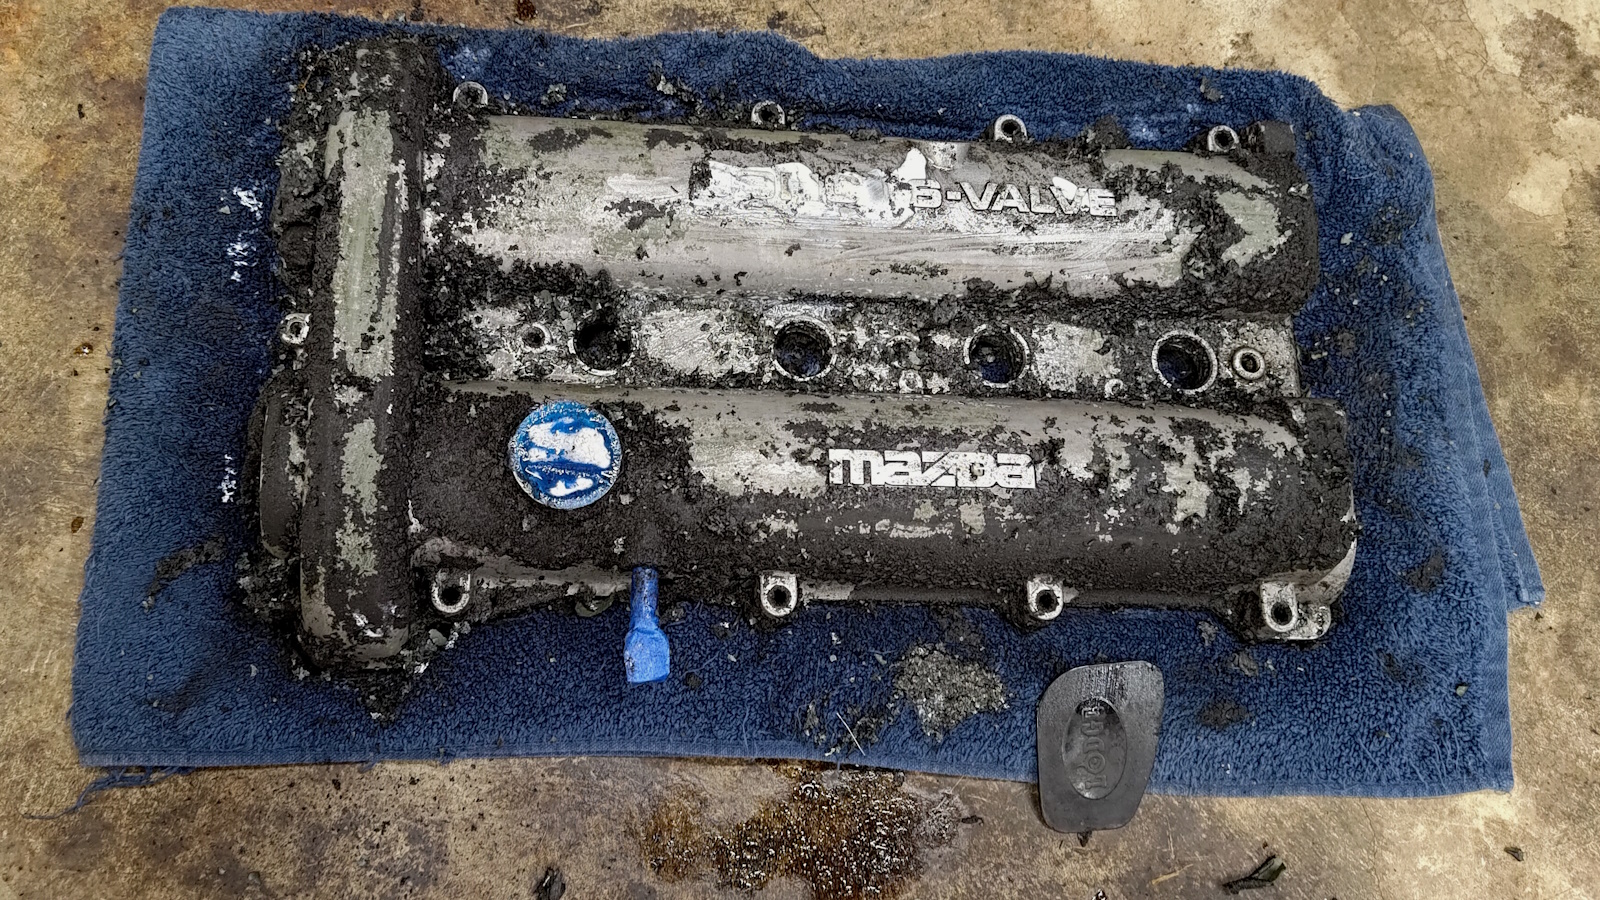
A couple rounds with the paint stripper worked perfectly. Most effective was coating the valve cover completely, scrubbing, and leaving it overnight to dissolve the paint. In the morning most of the paint came off easily with a plastic scrapper.
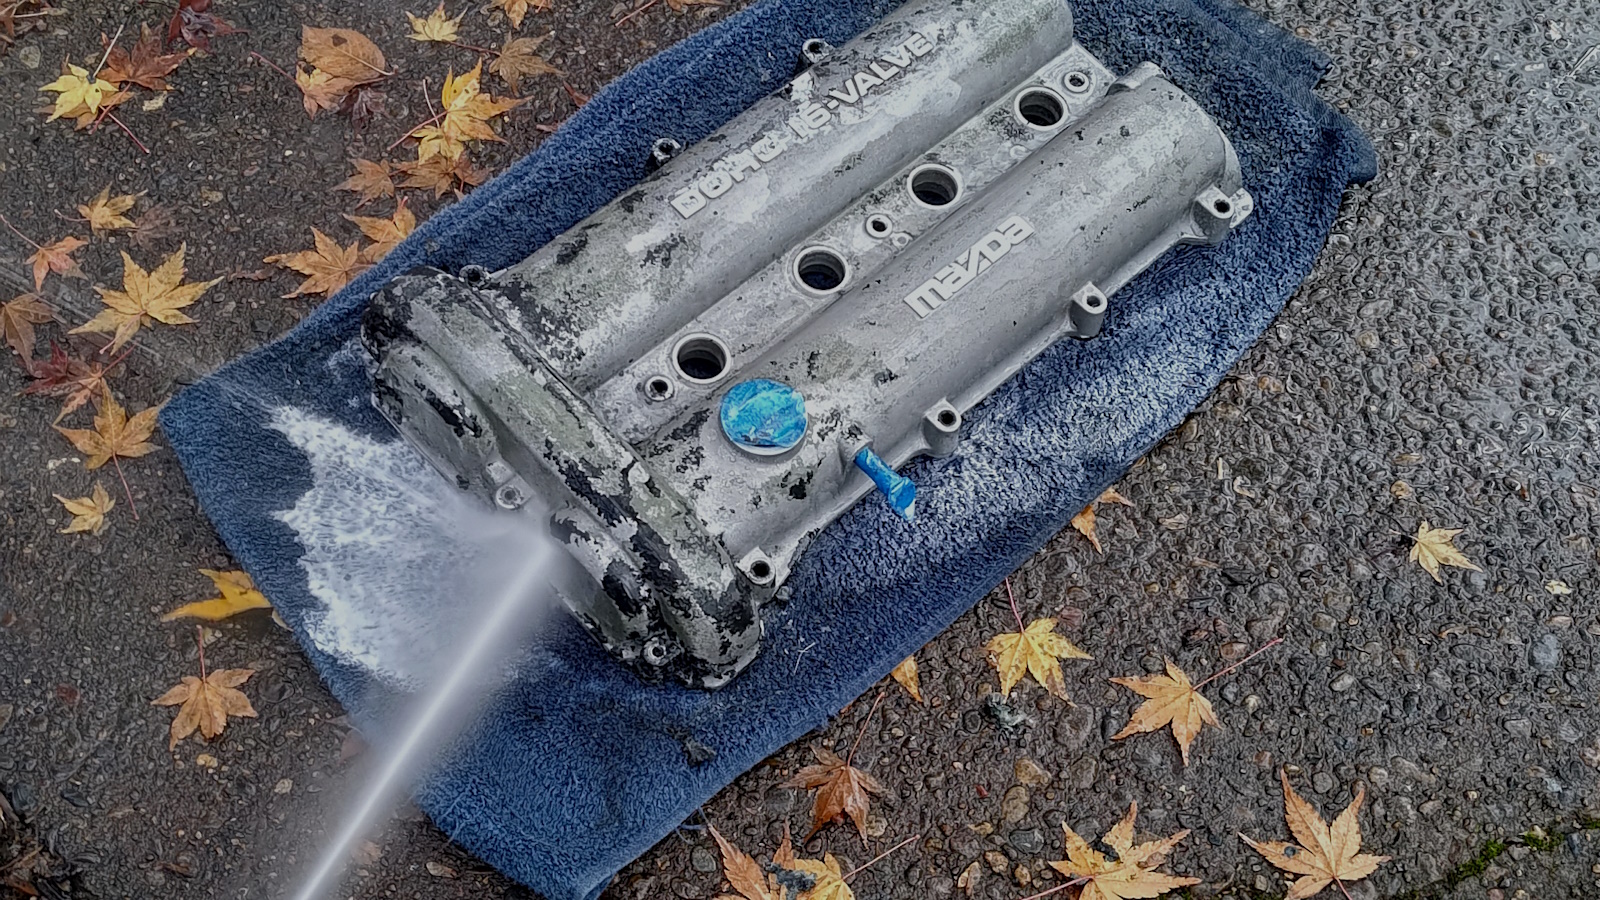
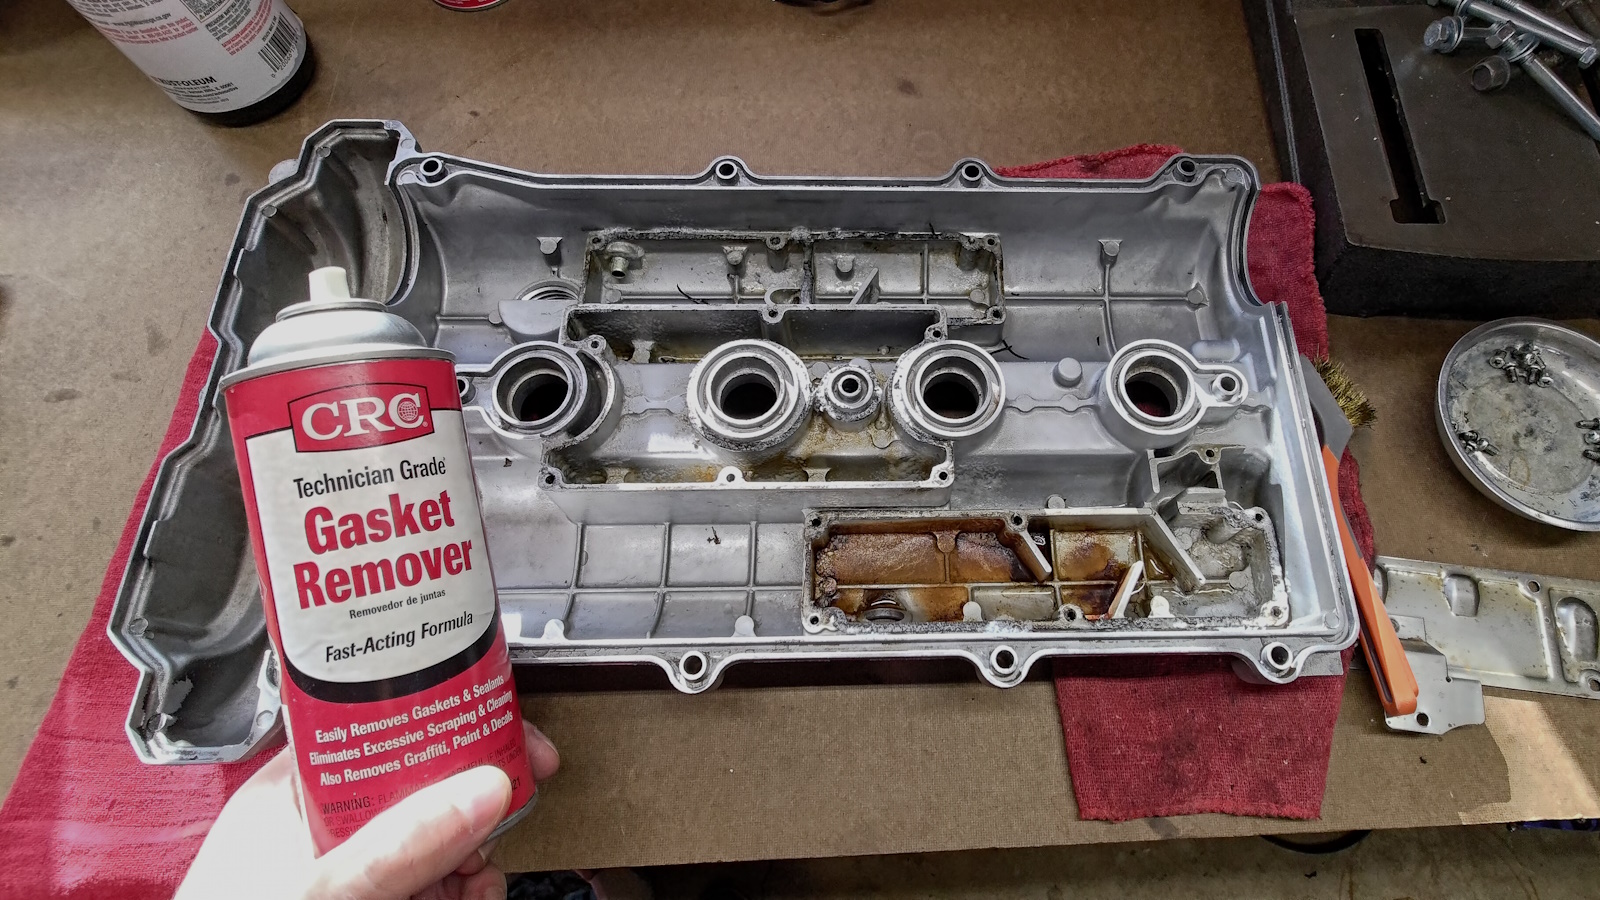
At this point there were hours of scrubbing the valve cover clean, both inside and out. I used a red scotch pad over the full exterior, knowing that the scratches would be hidden under the wrinkle paint and would hopefully help with paint adhesion.
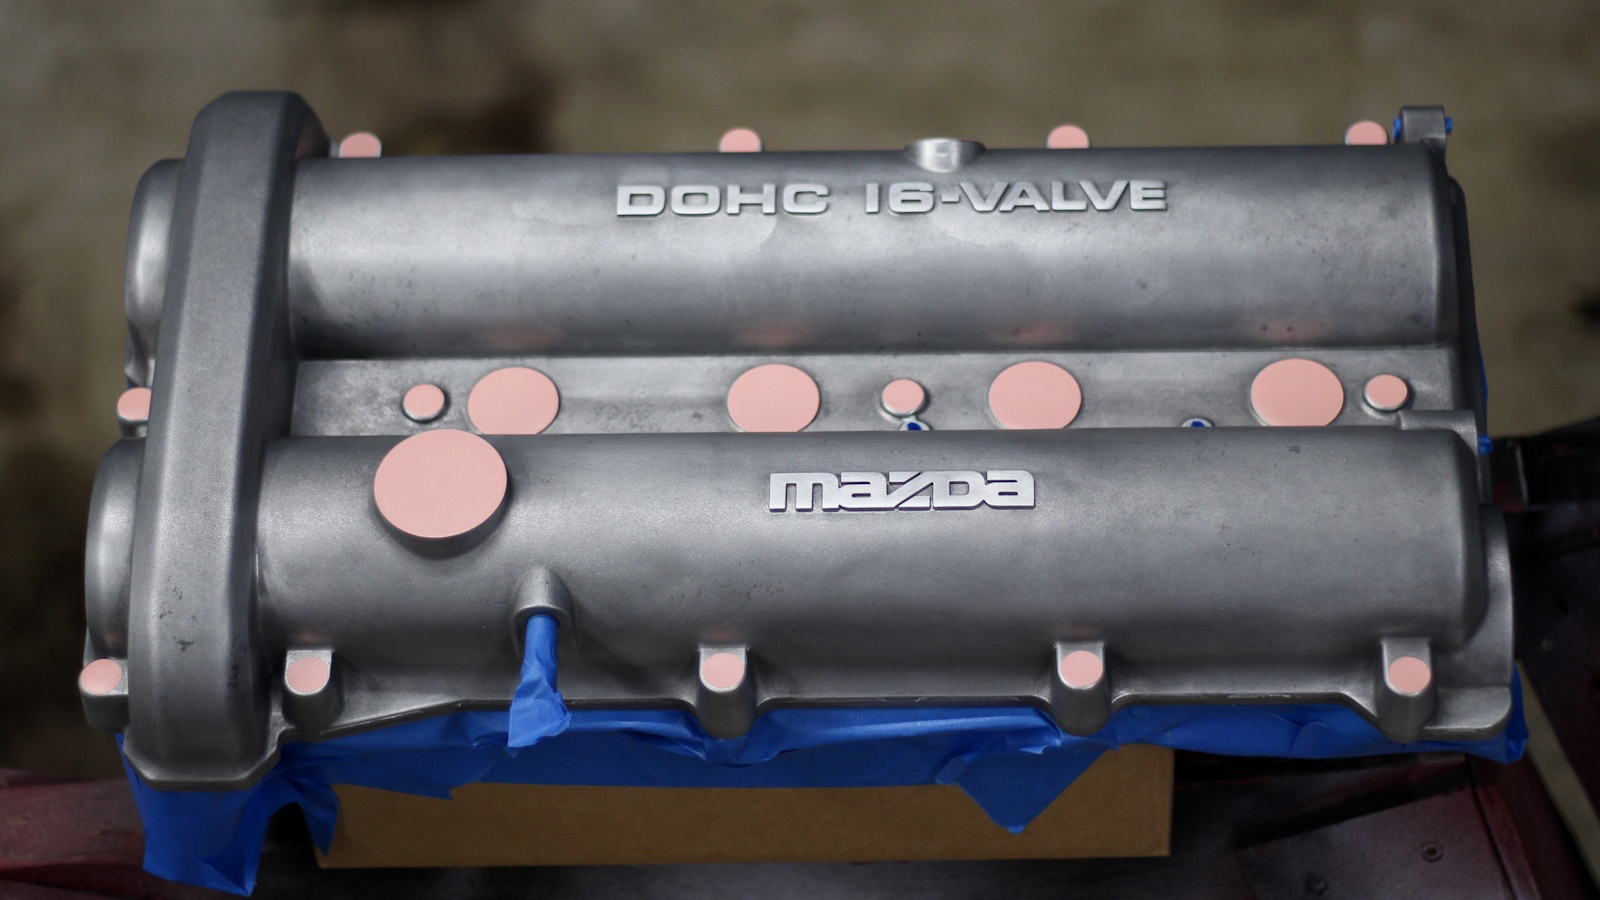
The valve cover was clean enough to eat off of. Some staining was not removable, but with enough scrubbing with degreaser and was and grease remover, the aluminum was gleaming. I used a Cricut cutter to make perfectly sized round masking stickers out of removable vinyl.
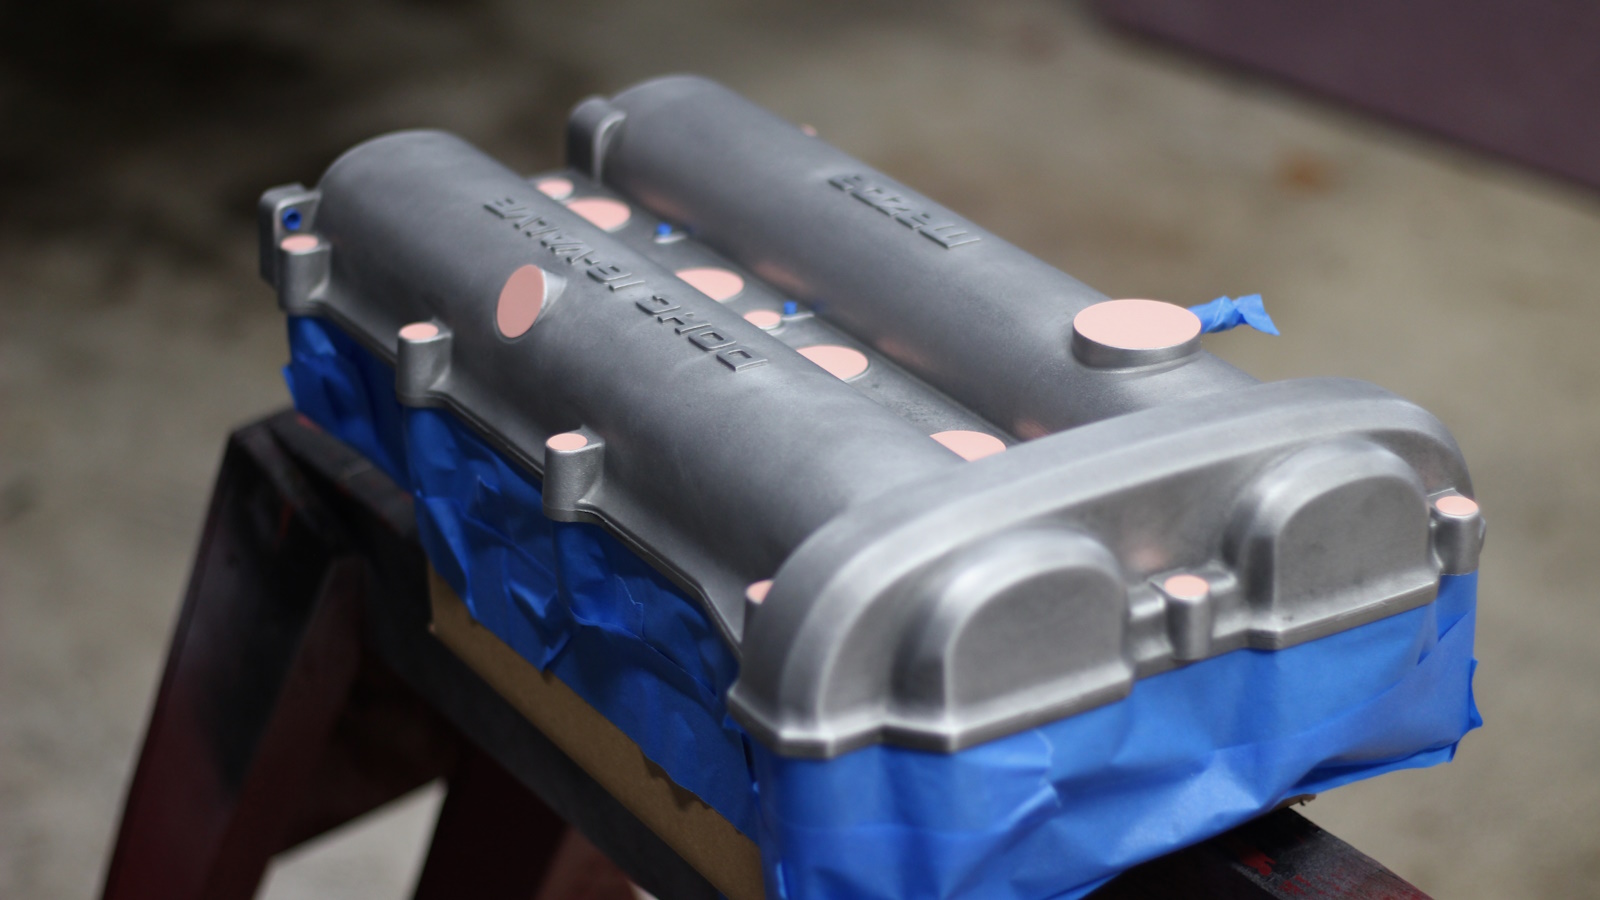
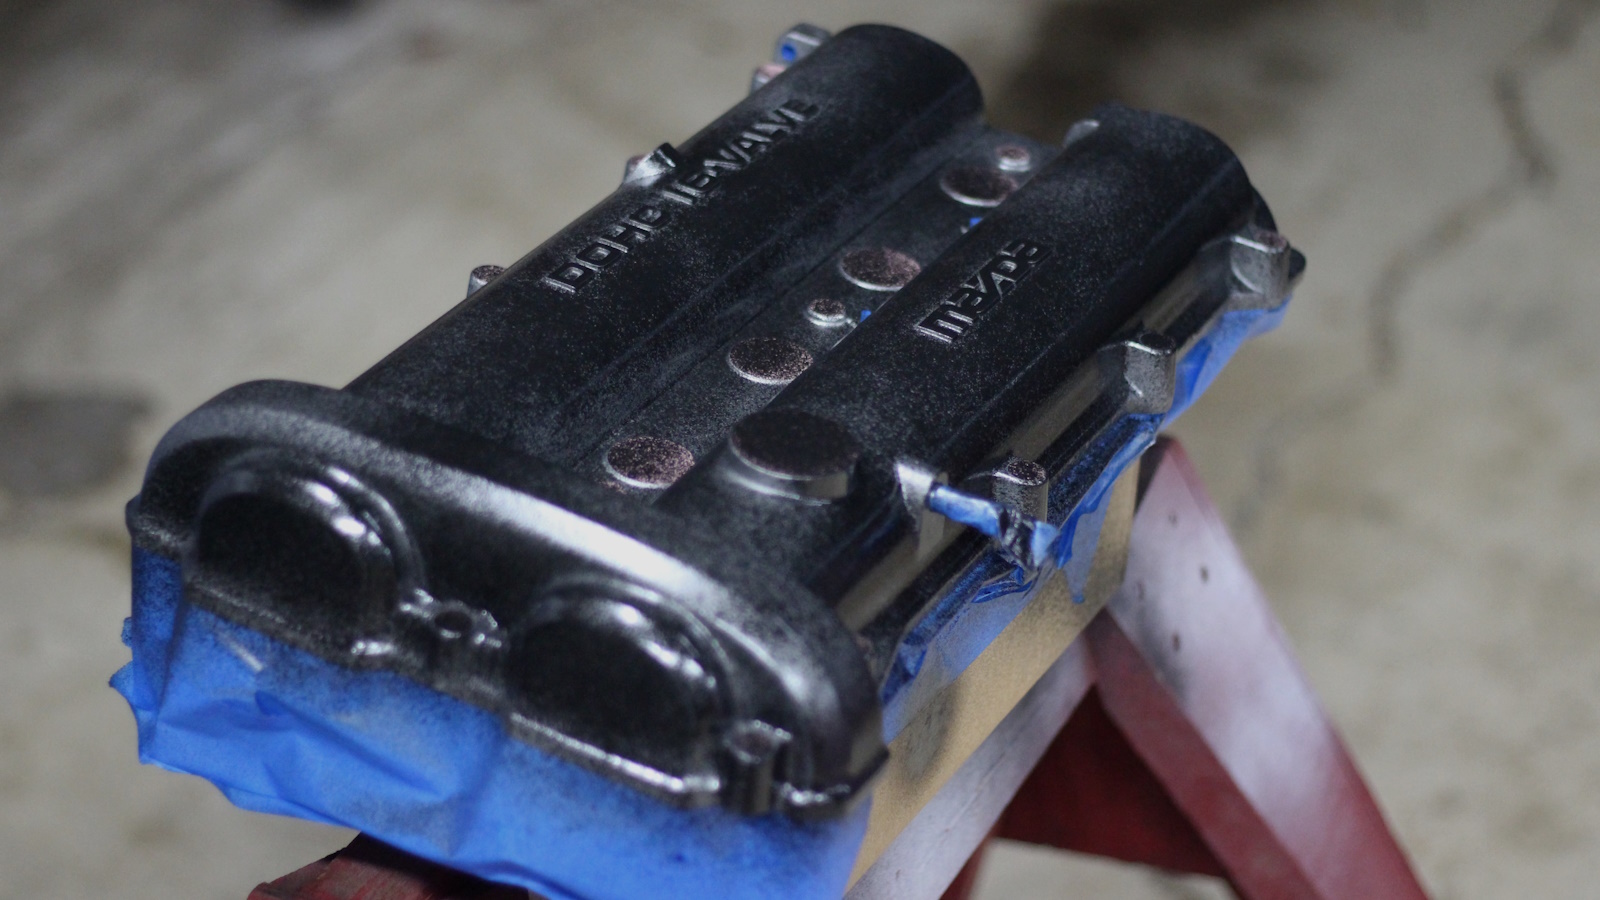
The first coat is a light dusting to create a strong bond for the next heavy layers.
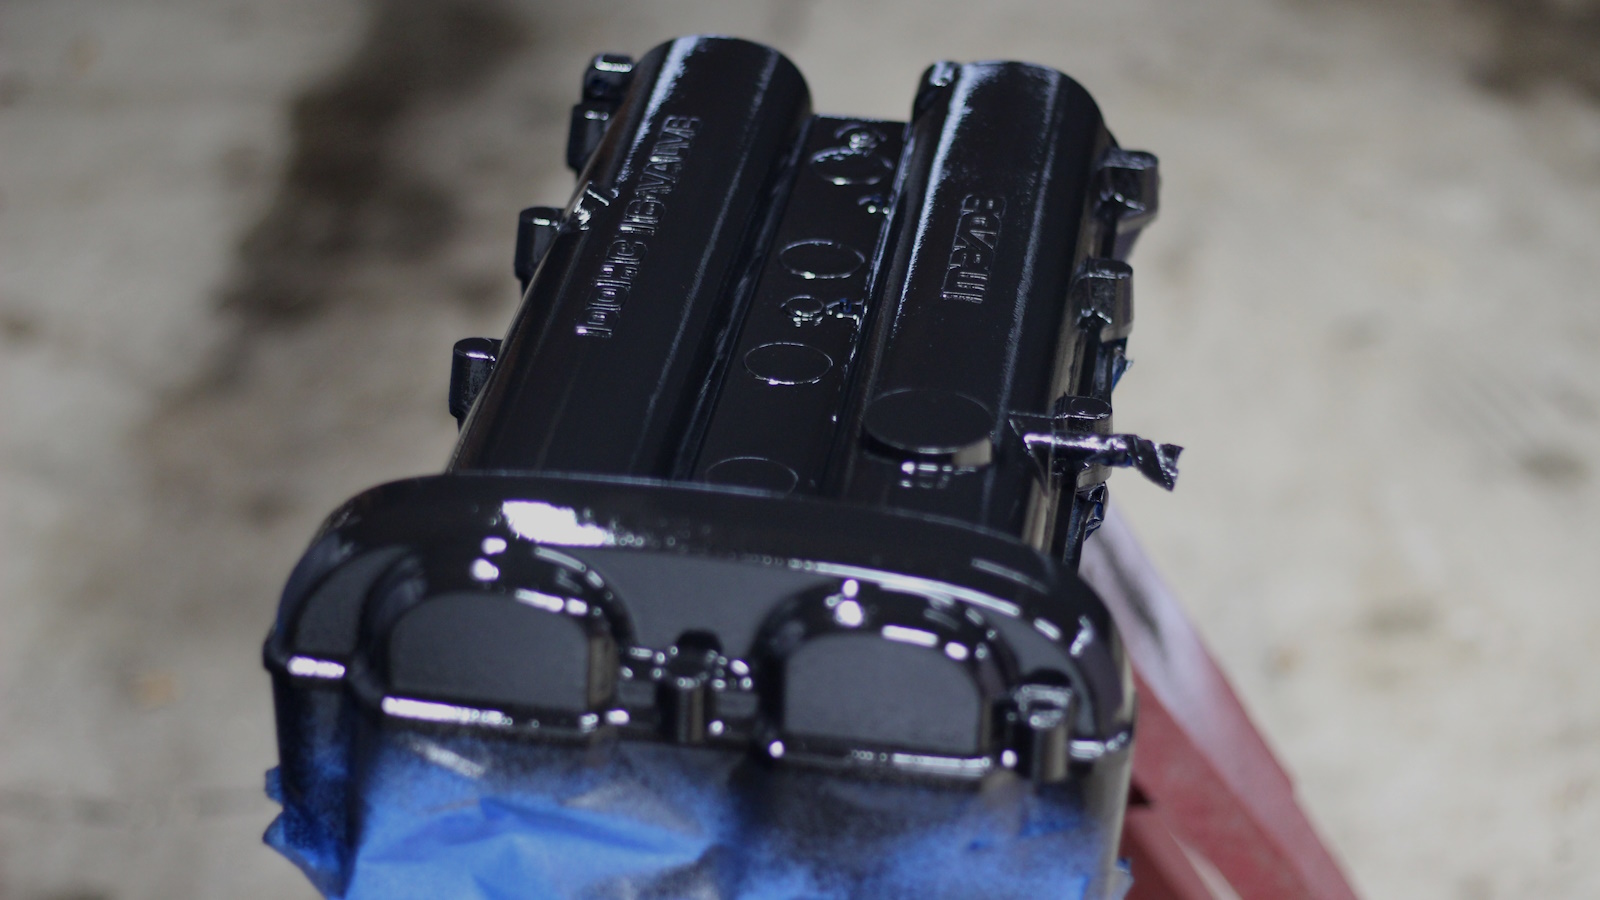
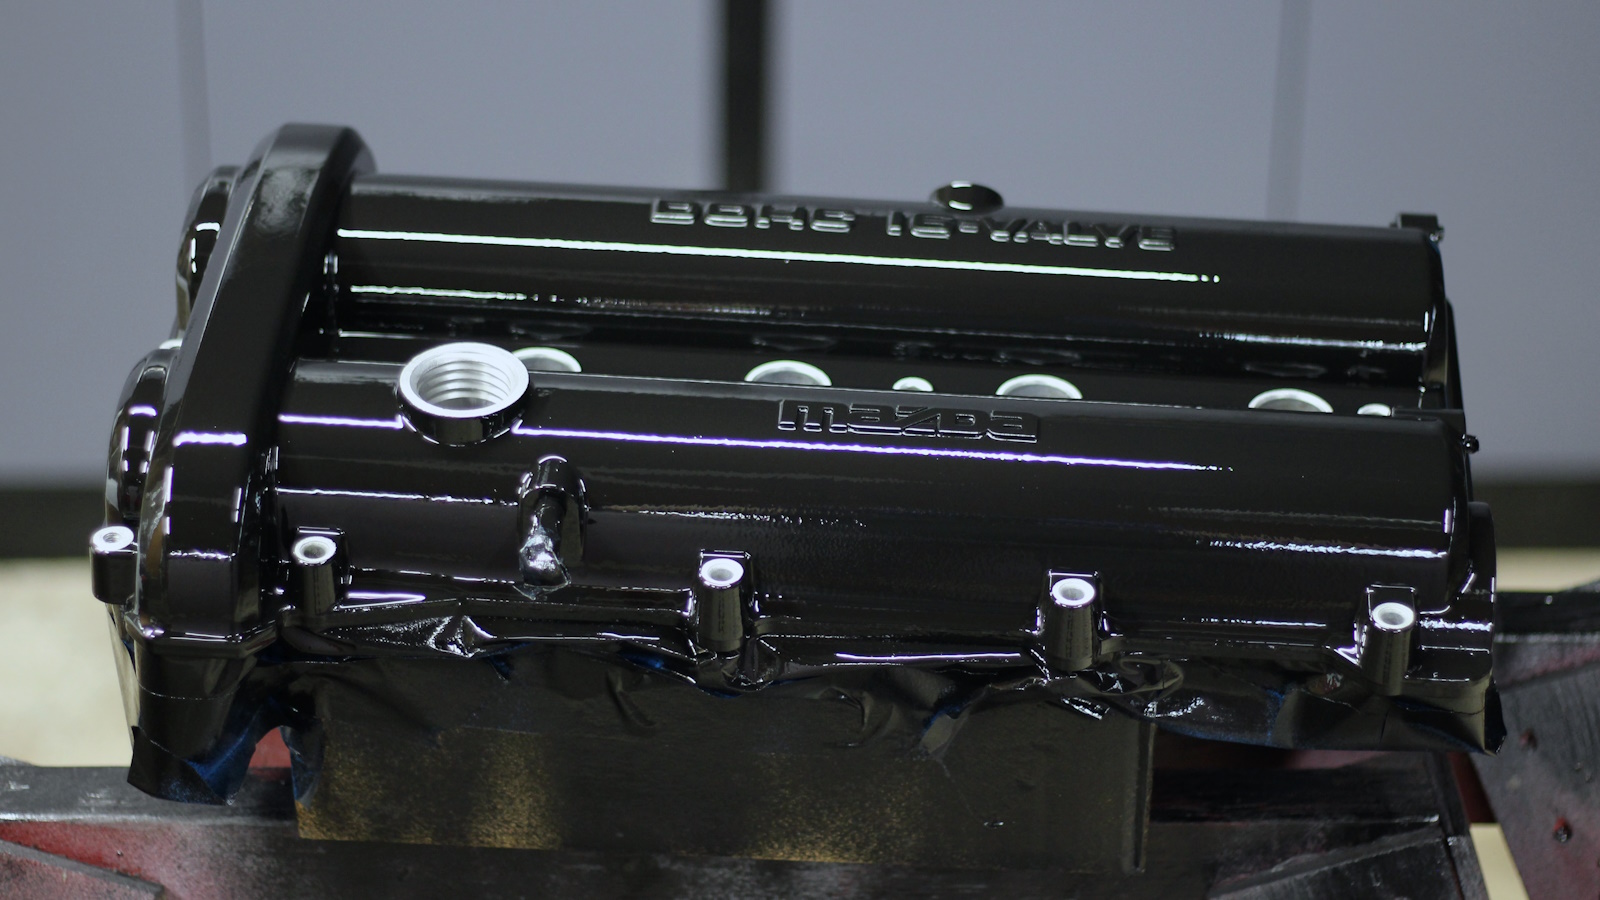
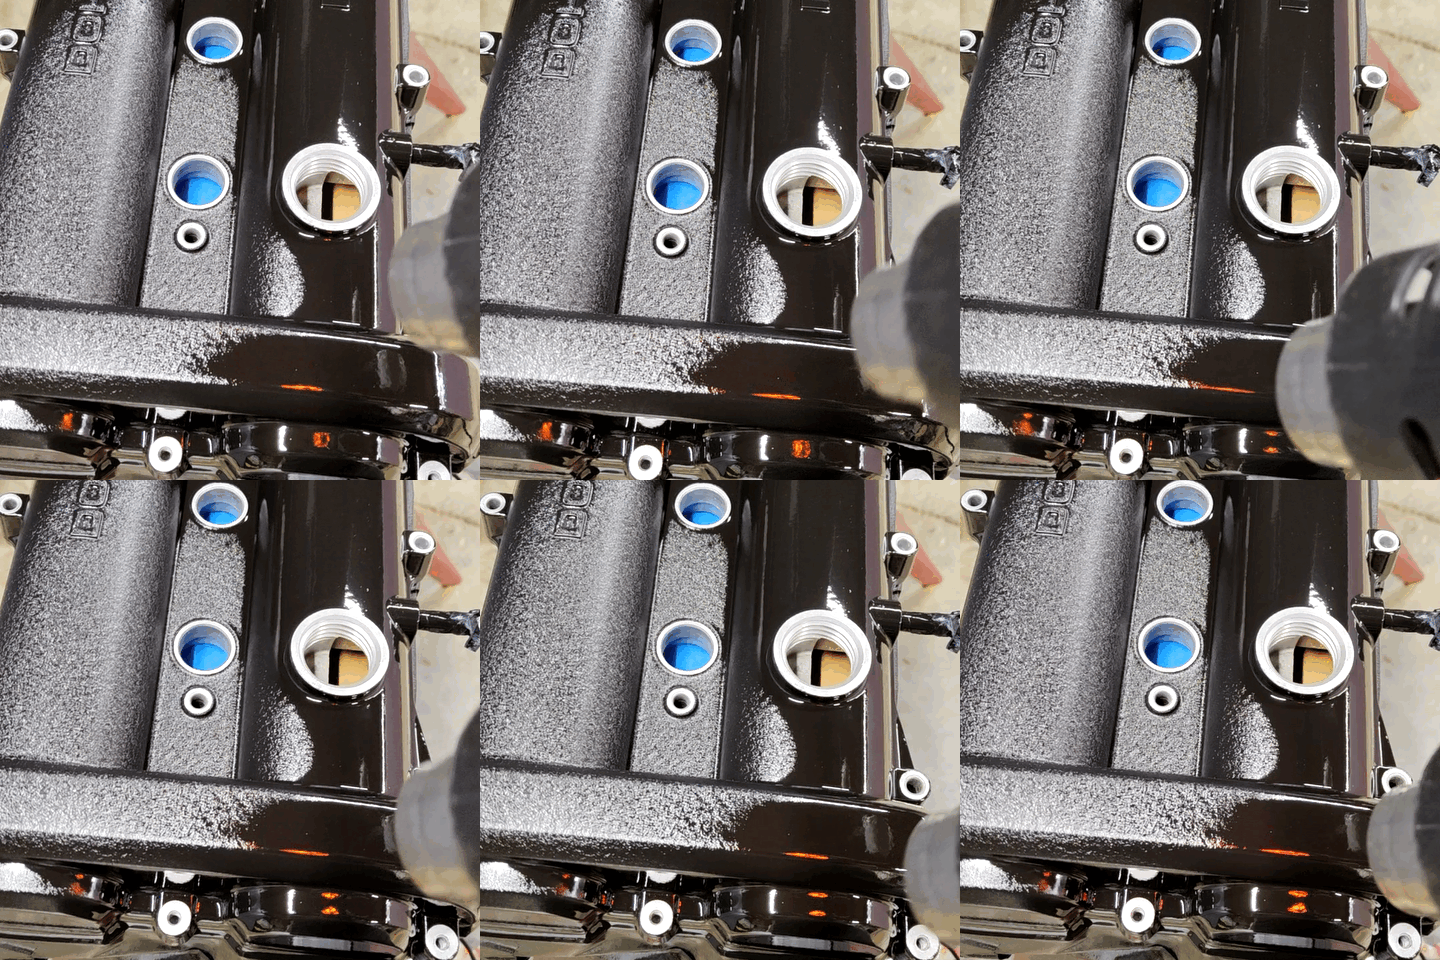
Using a heat gun instead of a kitchen oven was a great improvement over last time. I could carefully control the wrinkling and drag the wave of wrinkles across the surface. Good for safety reasons too.
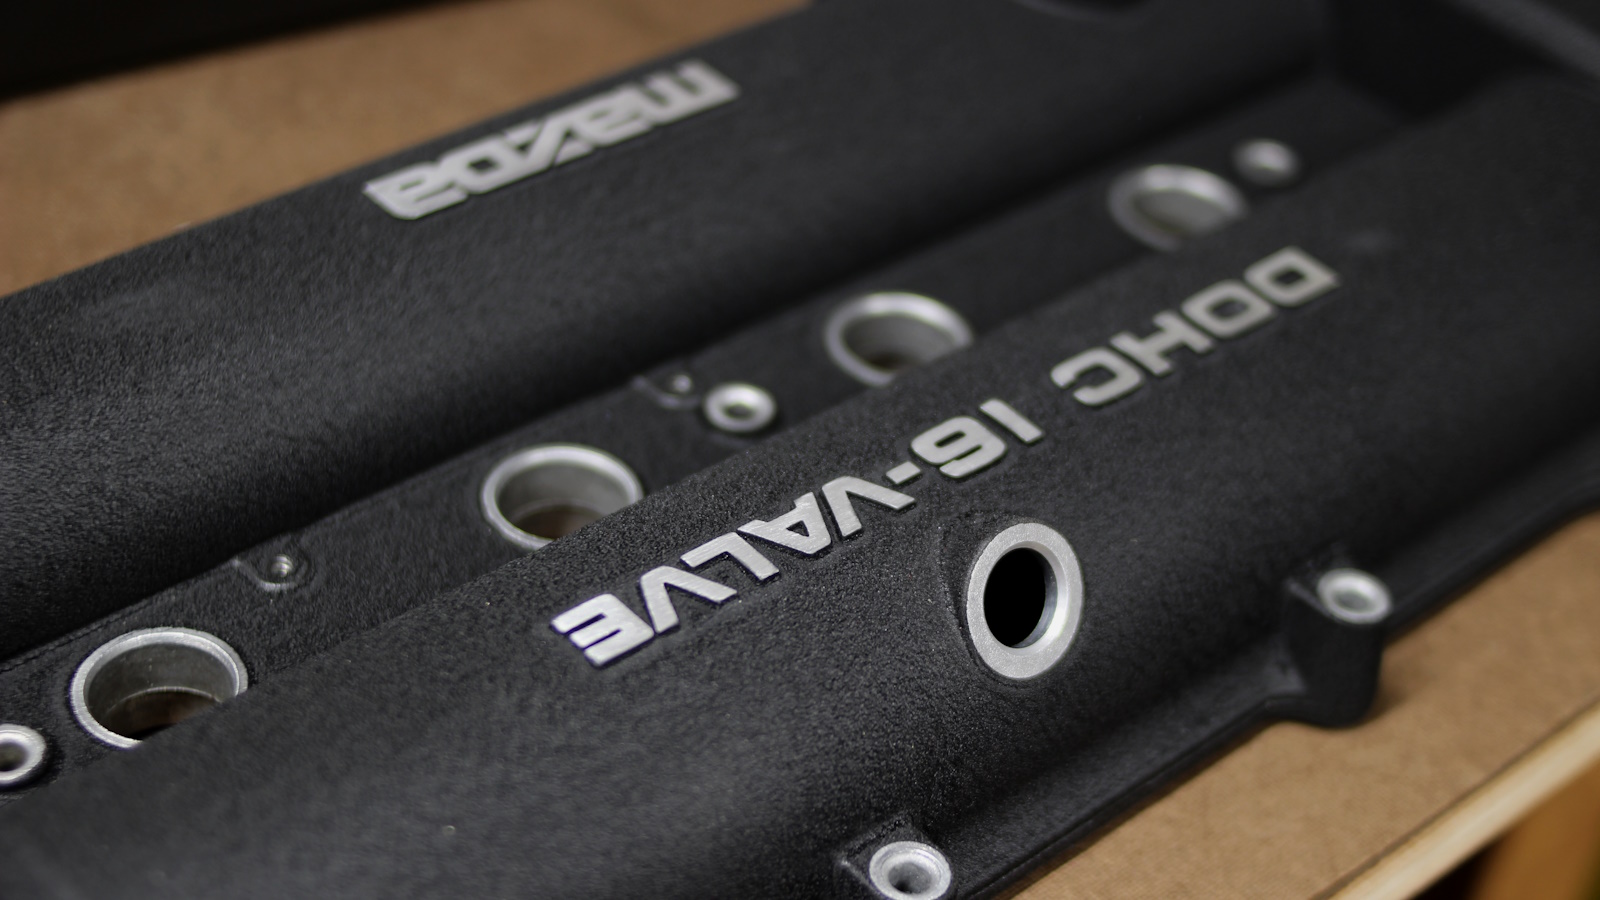
After letting the wrinkle paint cure near the heater for 48-hours, I very gently sanded off the lettering with 180 grit sandpaper.
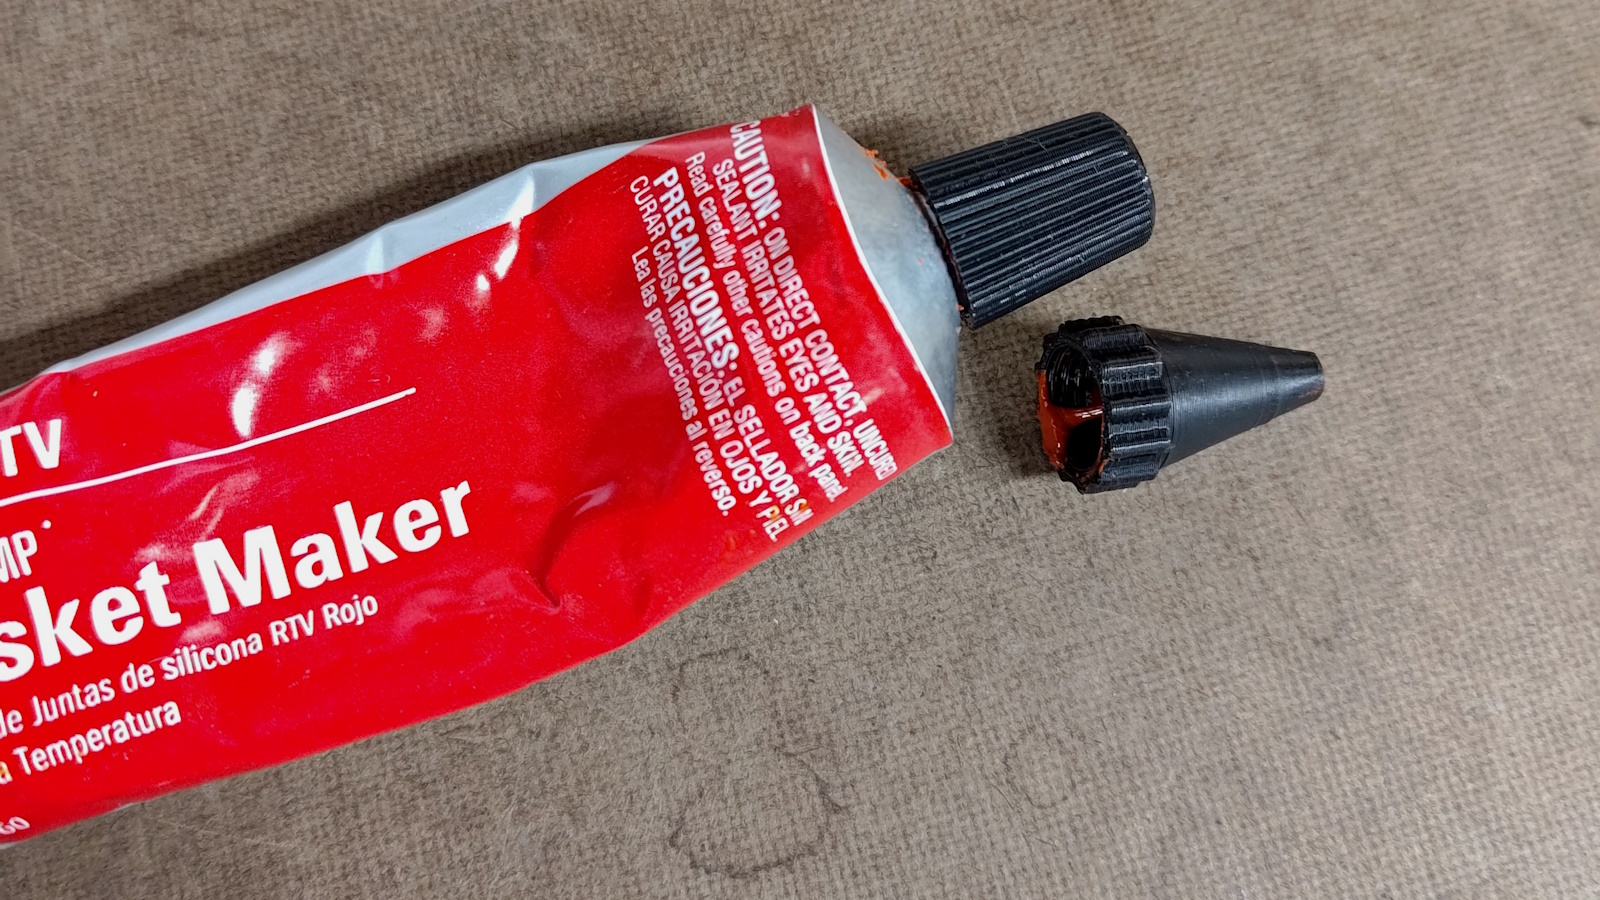
I lost the nozzle for my RTV gasket maker, but this 3D-printed nozzle worked perfectly.
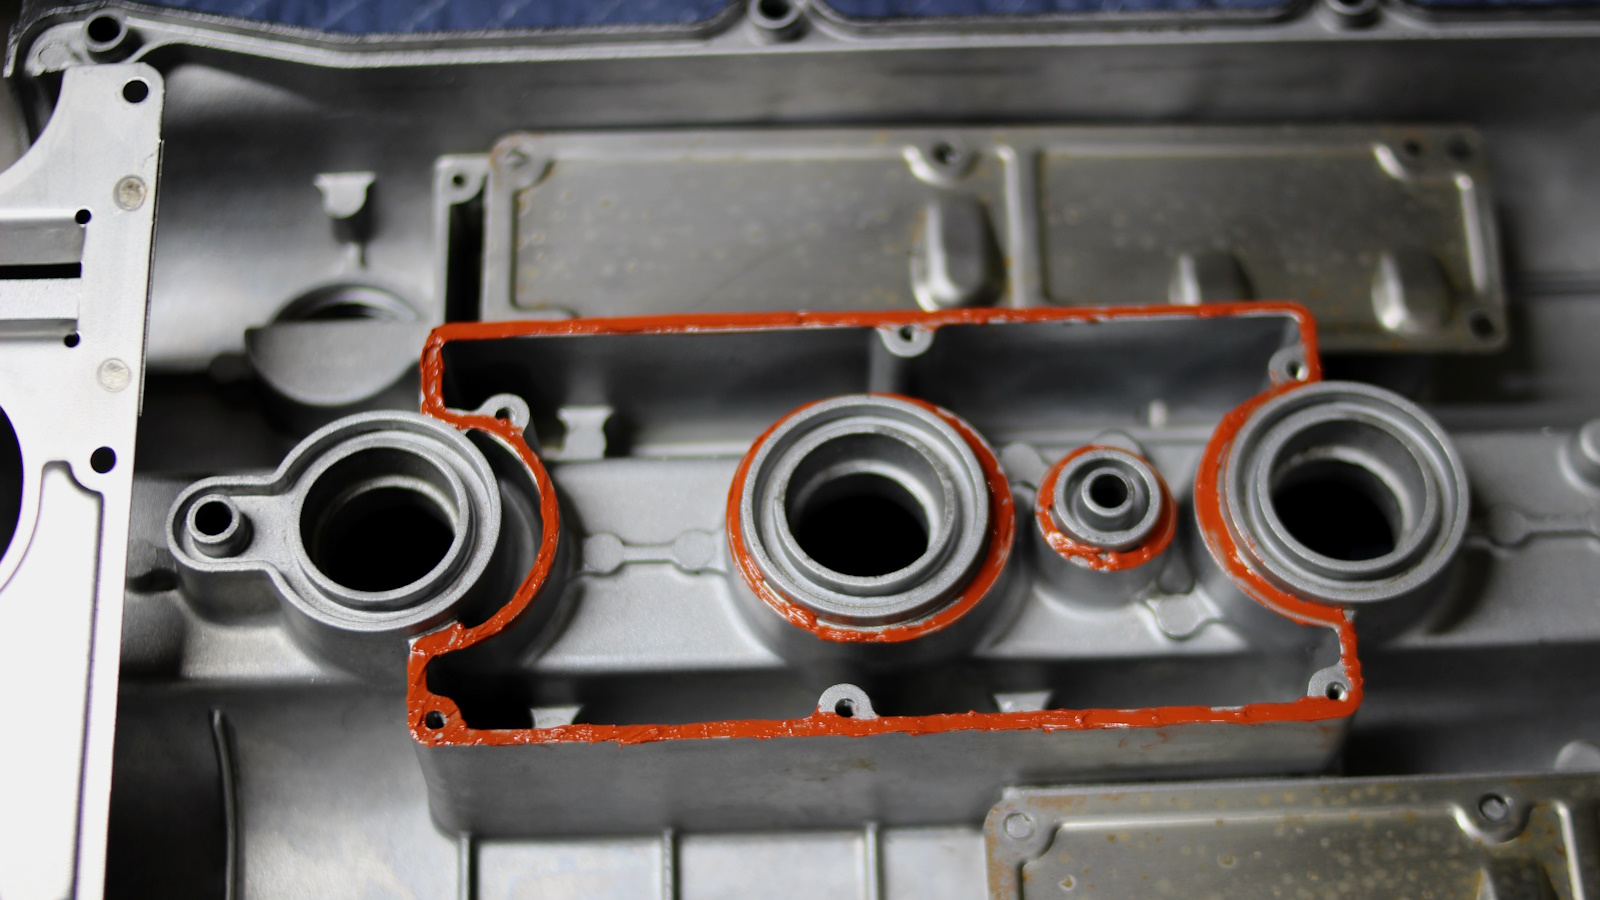
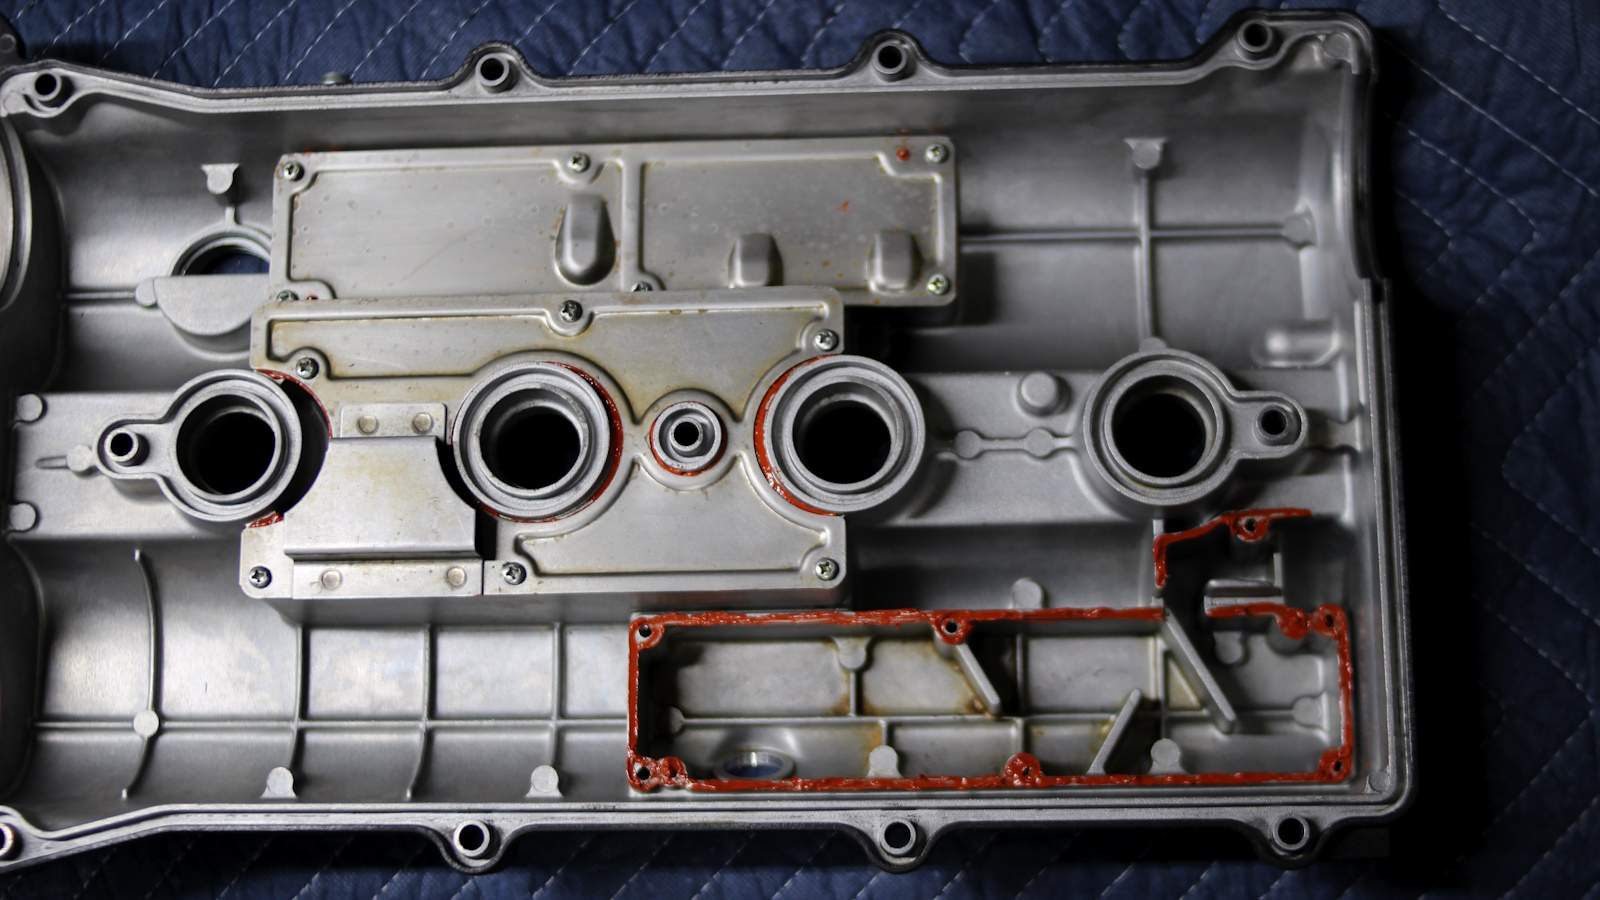
I used a tiny drop of blue Loctite on each of the baffle screws.
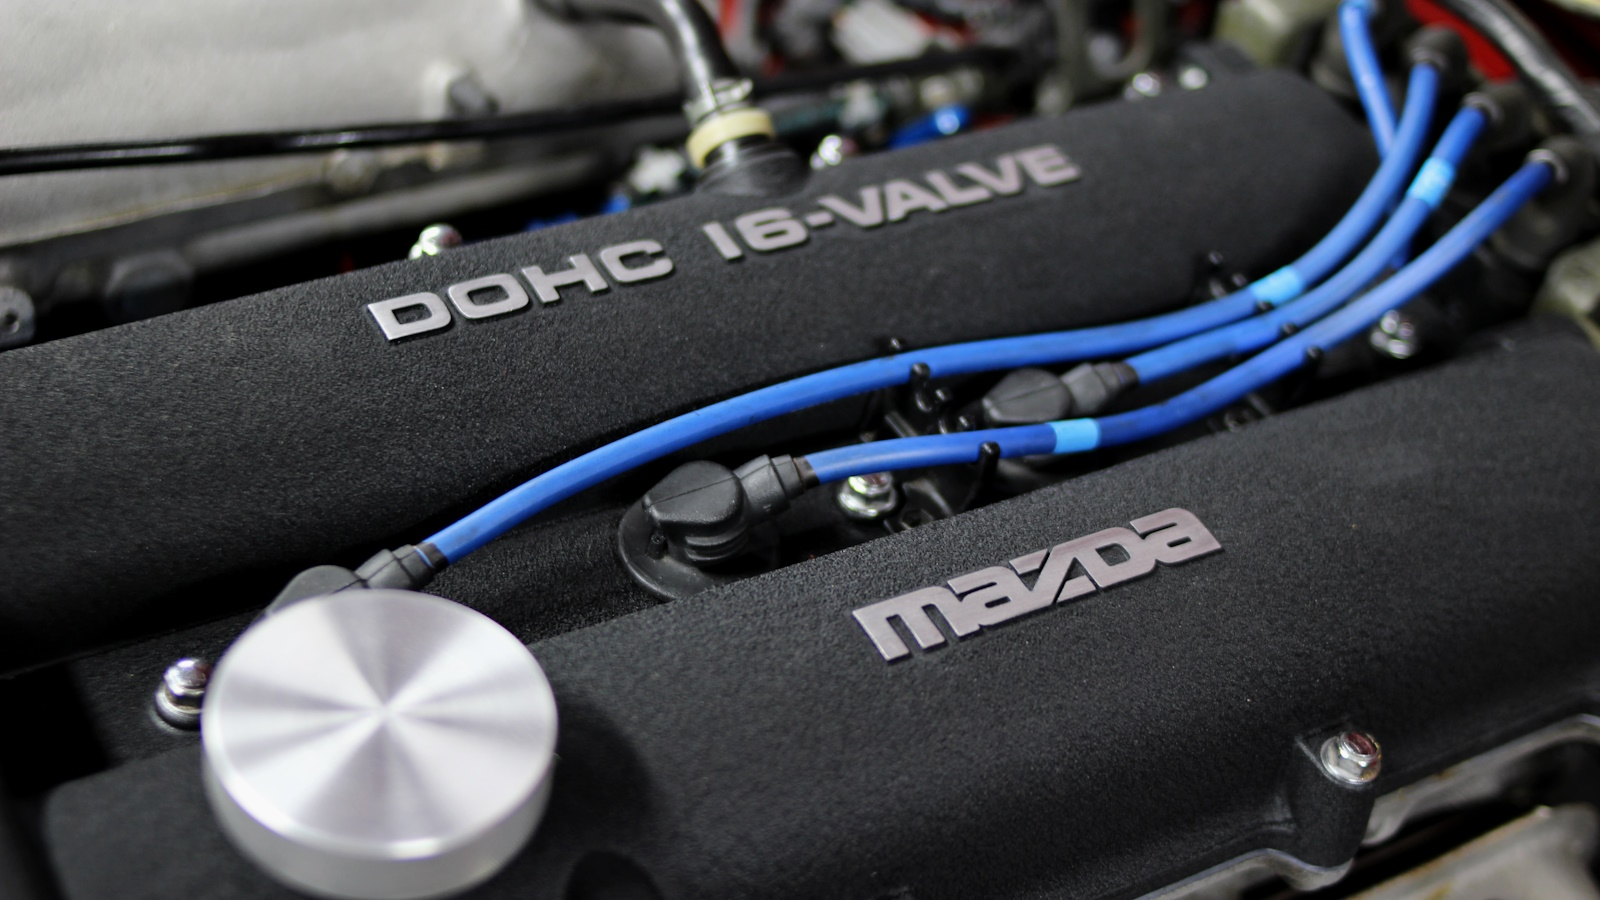
Reinstalled the valve cover with a new gasket, RTV in the cam corner spots, and torqued sequentially following the service manual.
