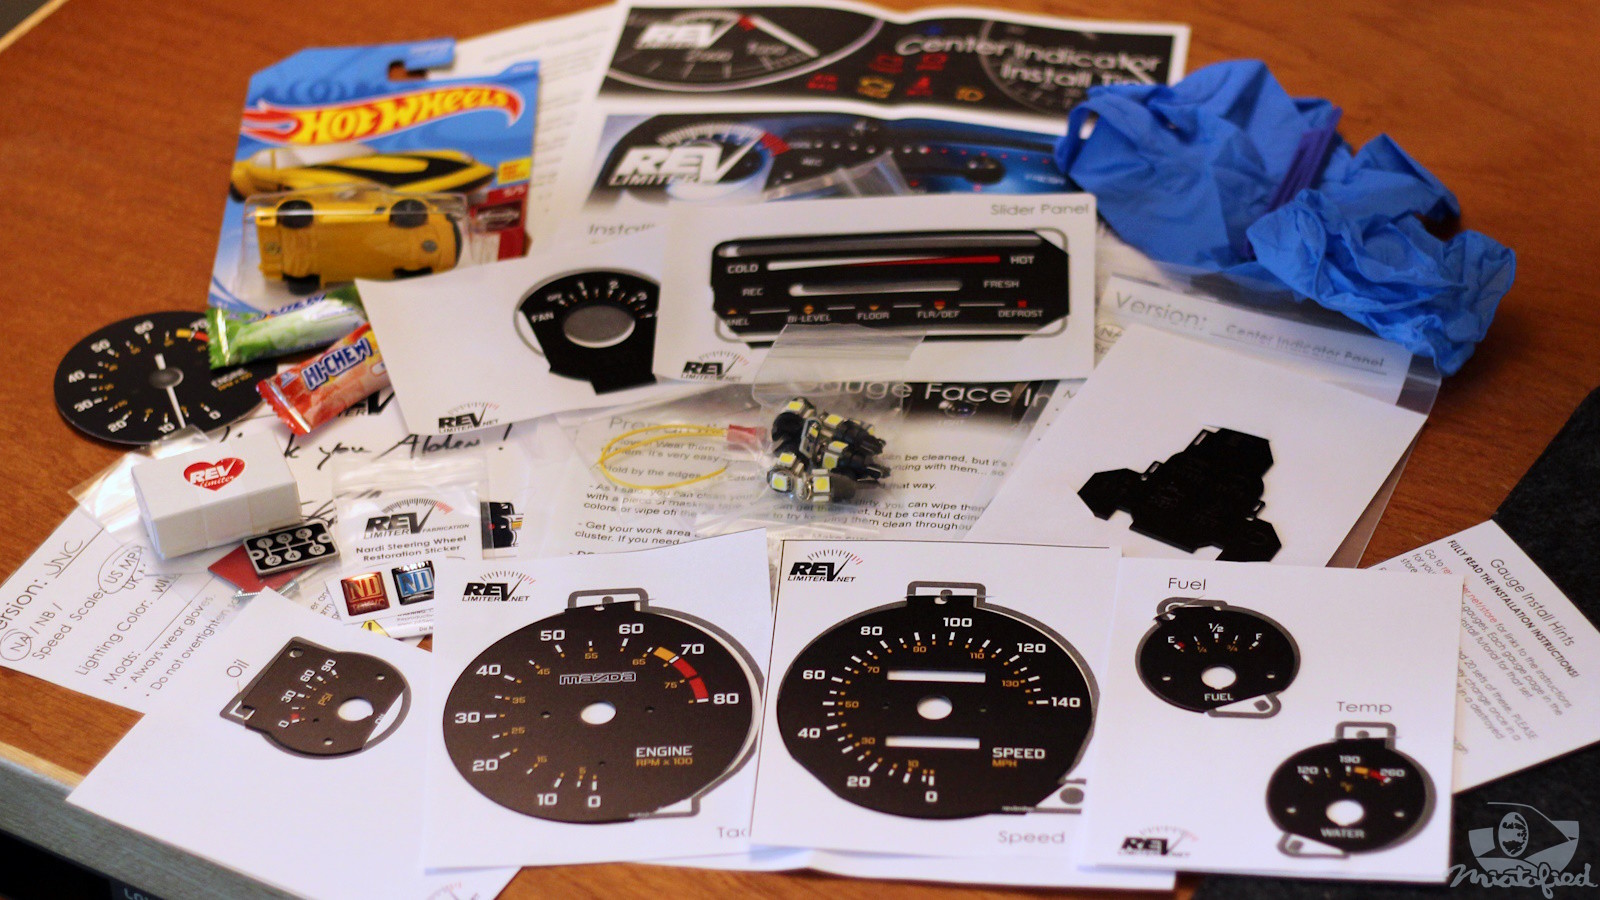
After years of ogling Sharka and the revlimiter.net store, I ordered a full compliment of interior goodies. (Don’t look too closely at the Sharka blog or you’ll realize where I copied the entire premise and style of Miatafied 😂). Other posts document installing the retro shift plate, Nardi steering wheel sticker, and HVAC panel. The JNC-style gauge design was inspired by classic Japanese cars, which is why Adam called it JNC (Japanese Nostalgic Car). It’s also the same gauge set Sharka has, at least when I saw the interior at Miata Reunion 2024.
Revlimiter has great gauge install instructions, and there are also solid install videos by thecarpassionchannel (Greg Peters) and lowtege (Alex Perrucci).
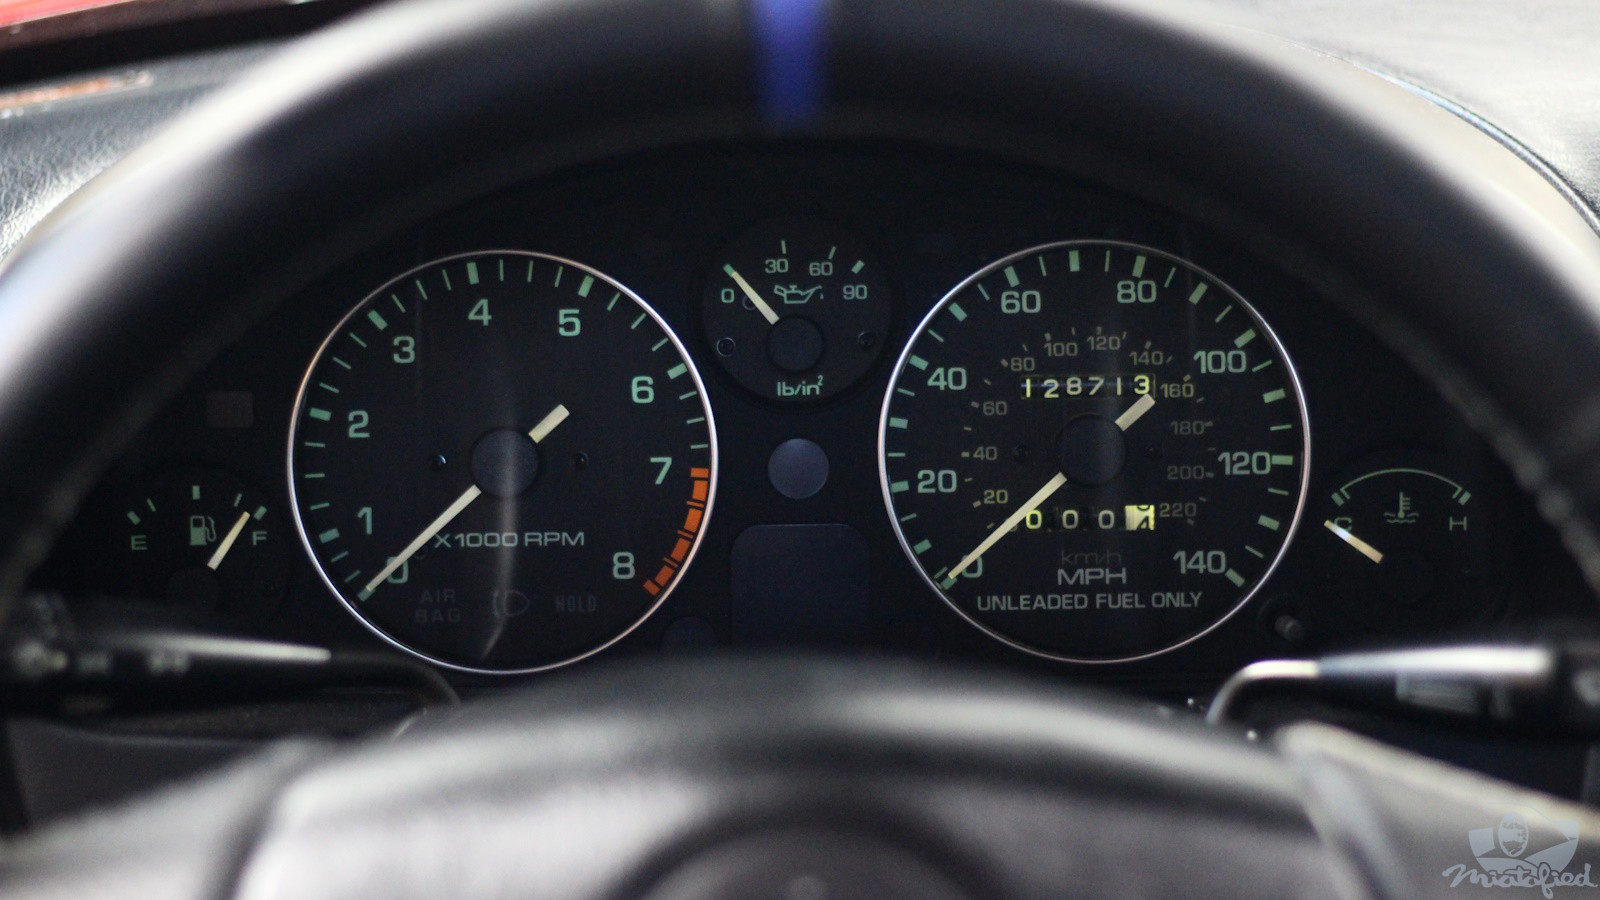
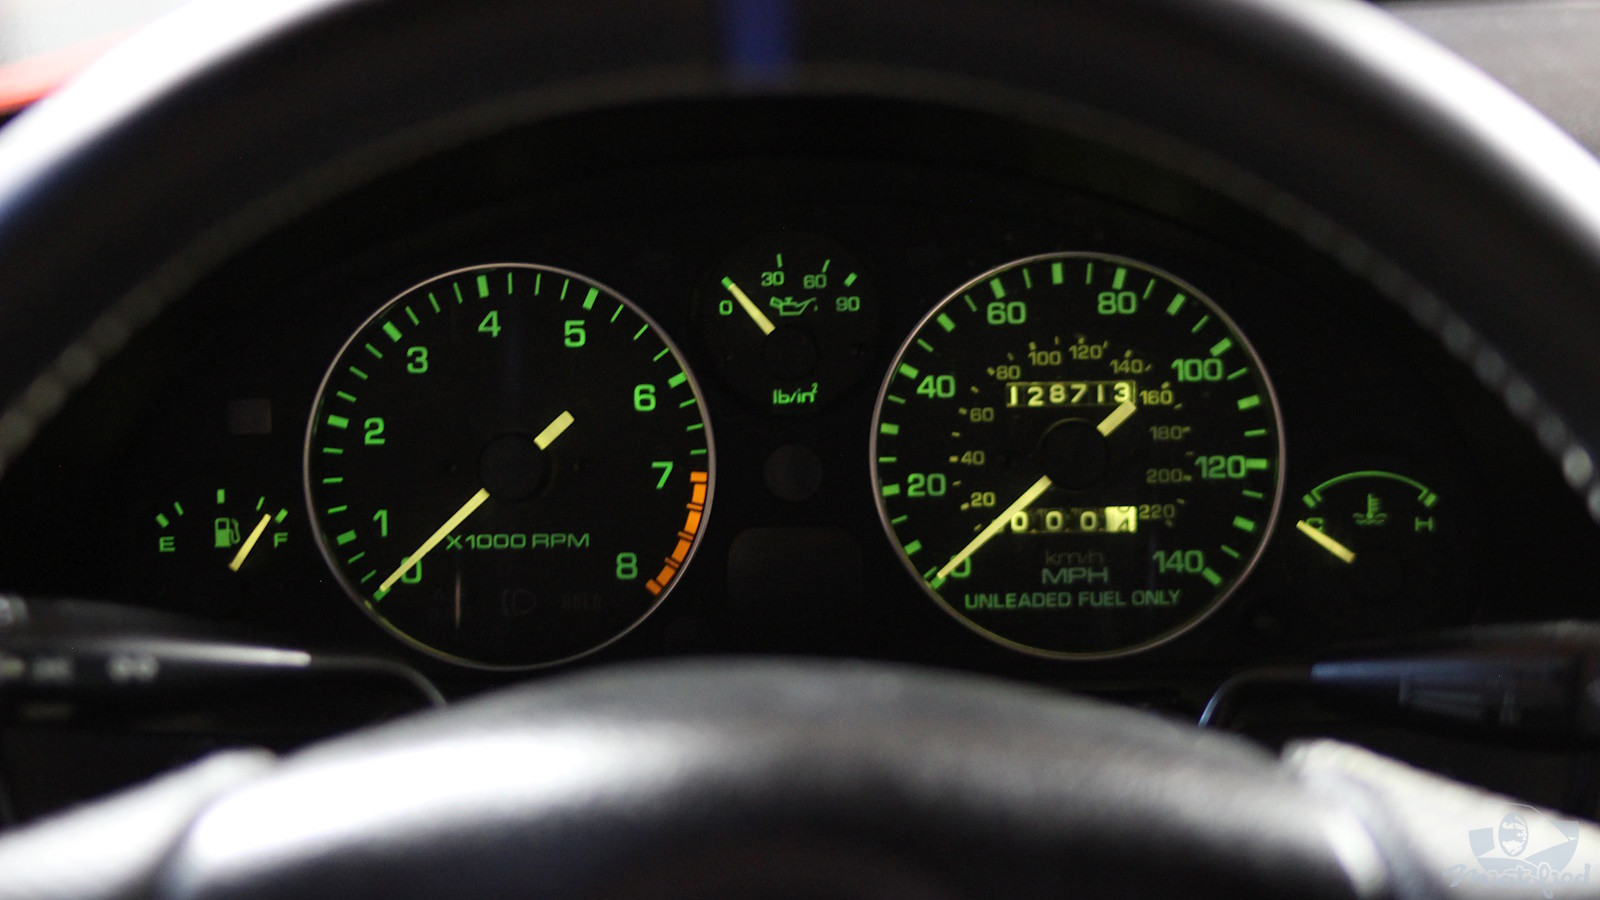
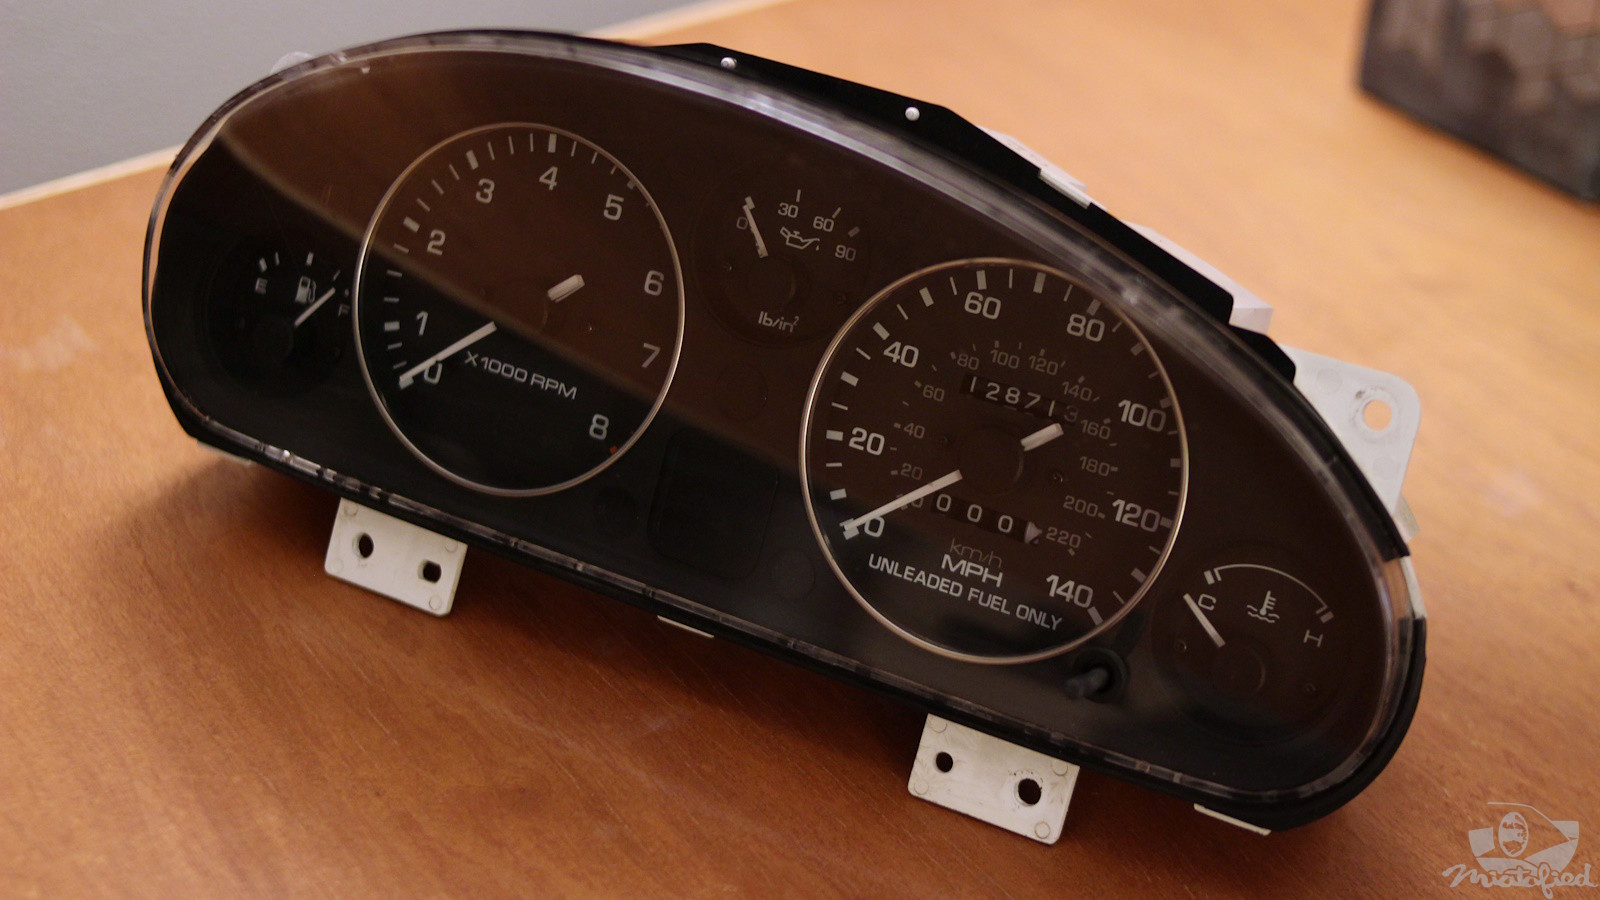
Some before pictures to capture the original Miata gauges in their best light. They served me well and have their own distinct clean style. Farewell OEM gauges 👋
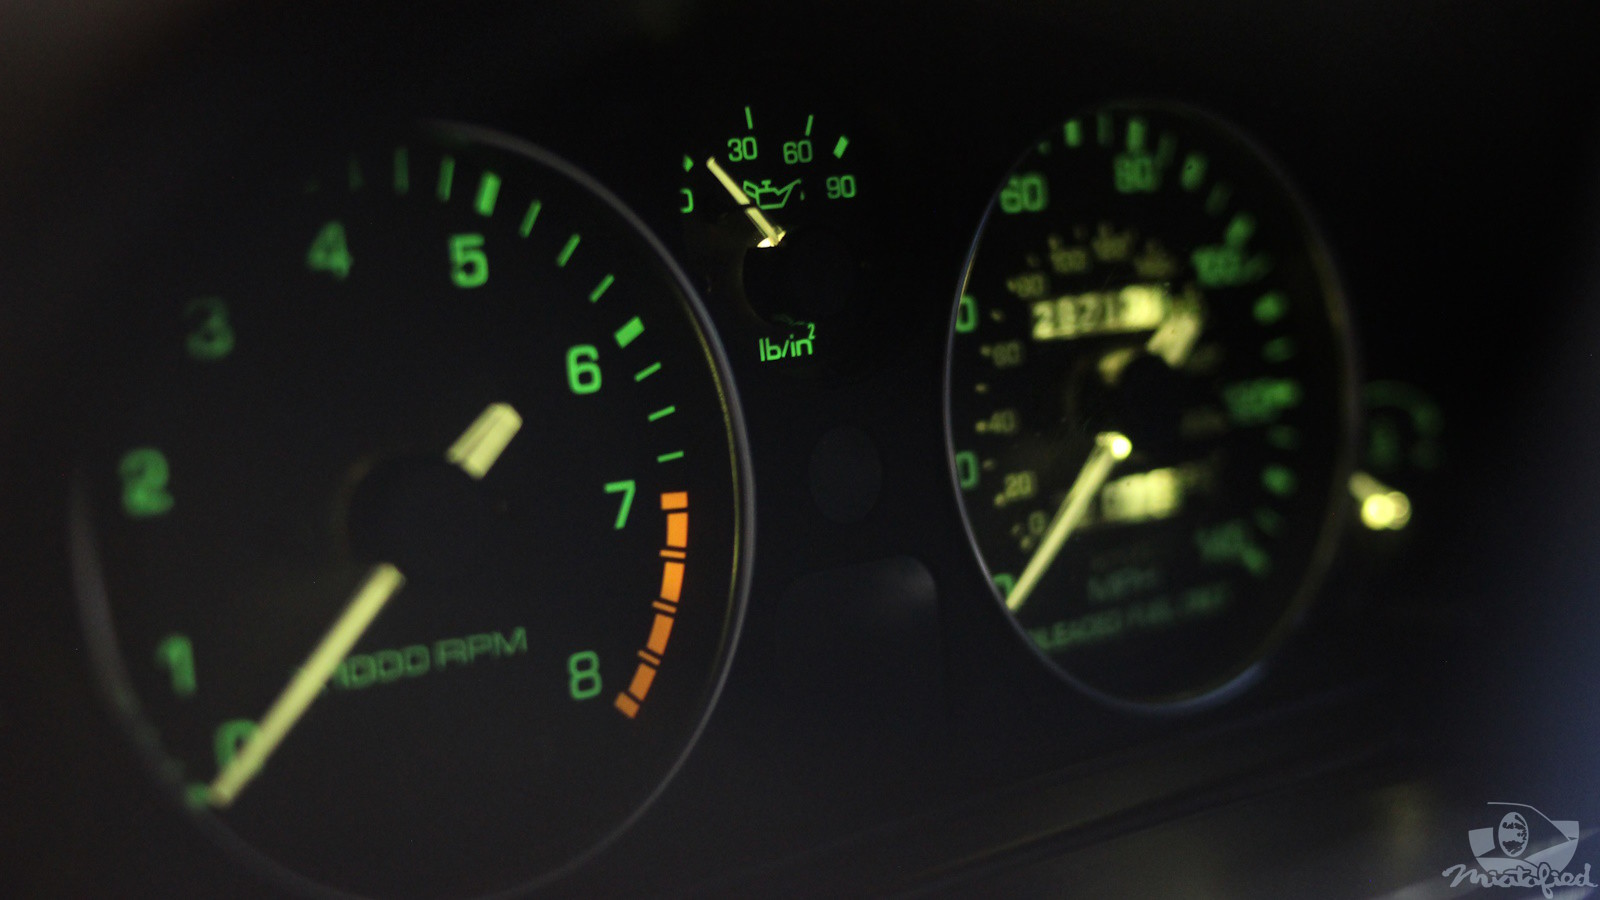
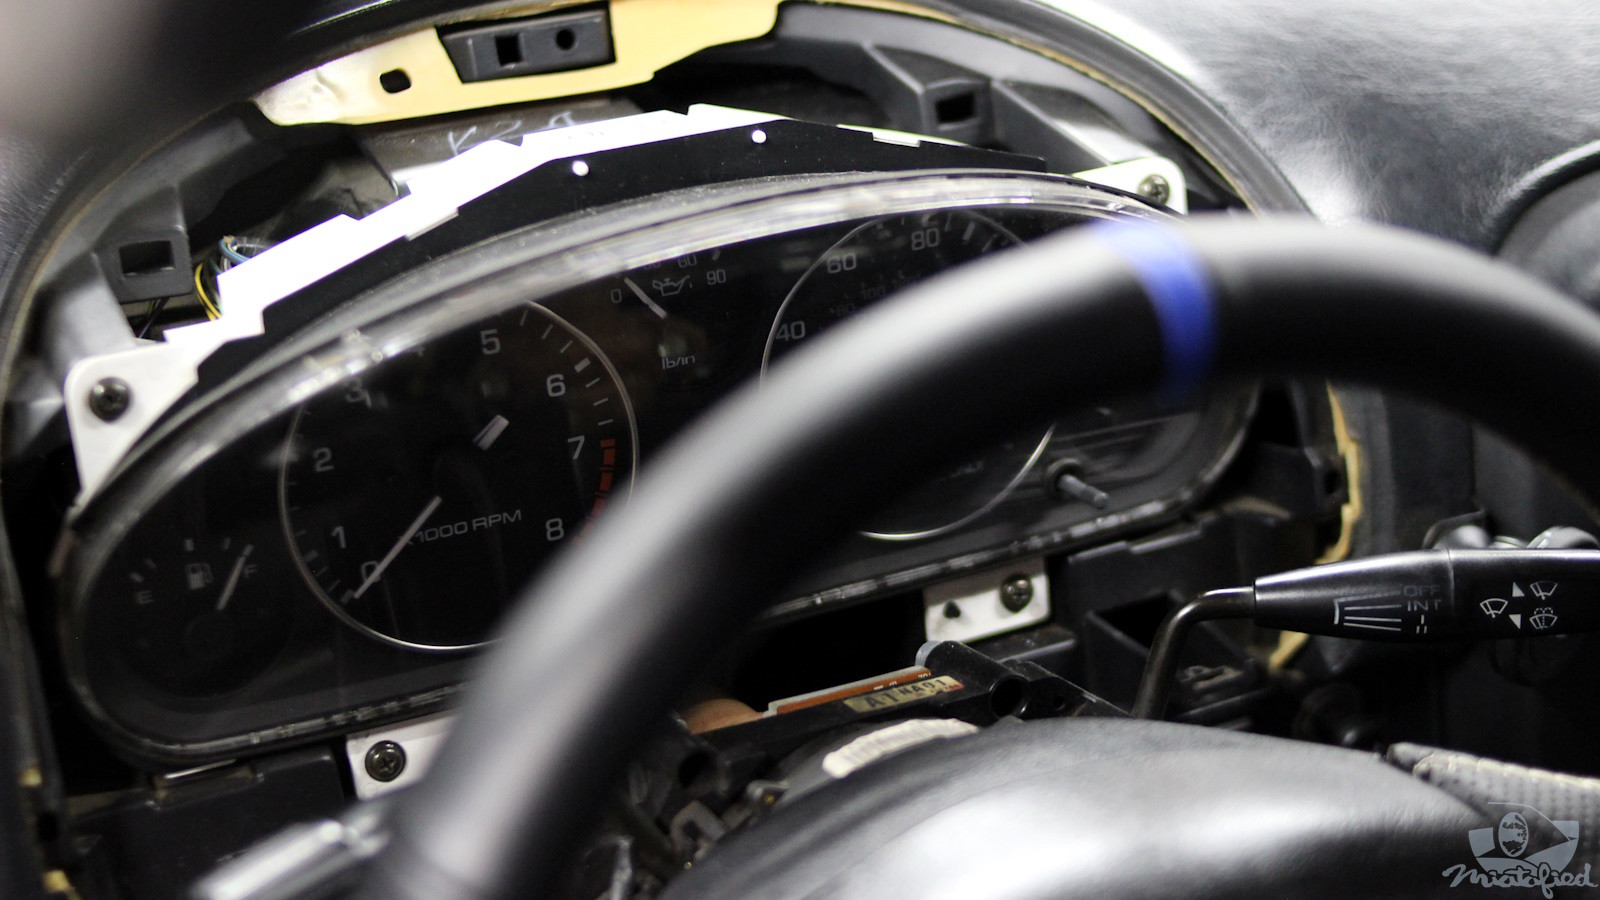
The first step of this project is to remove the gauge hood and take the cluster out of the car. I already replaced my gauge hood recently, so no clips broke when I removed it this time. The trim around the steering column has to be removed to make room.
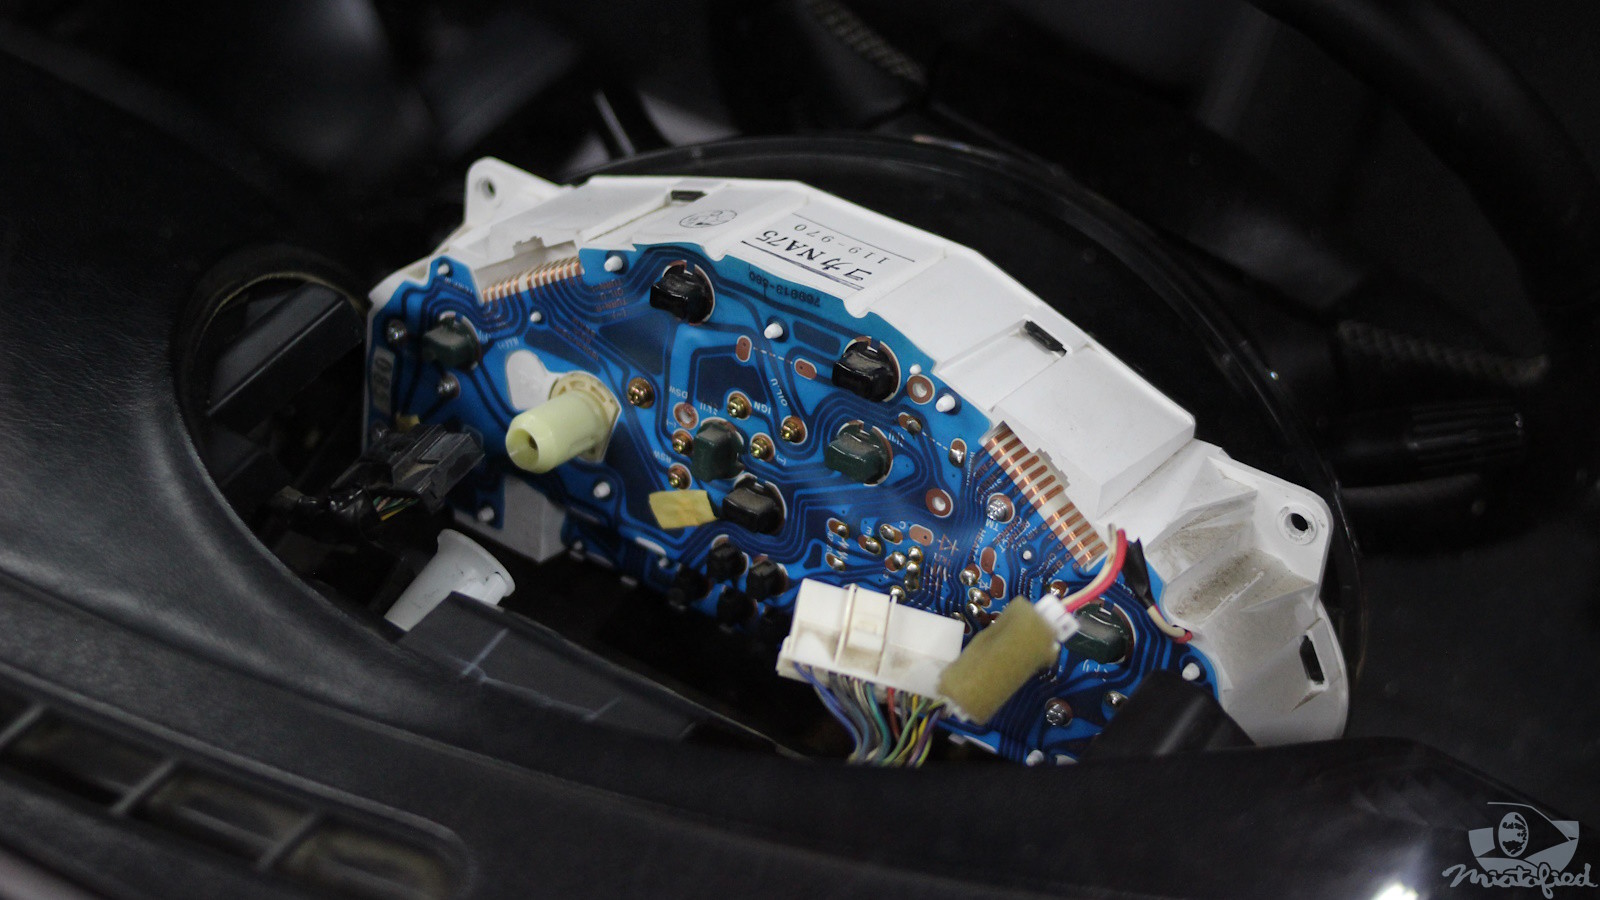
There are three electrical connectors on the back of the gauge cluster. Two large plugs that control gauge features, and one pigtail in the corner for the rear-glass defroster light. There is also the speedometer cable connection, which was easy since I already learned from replacing my speedometer cable.
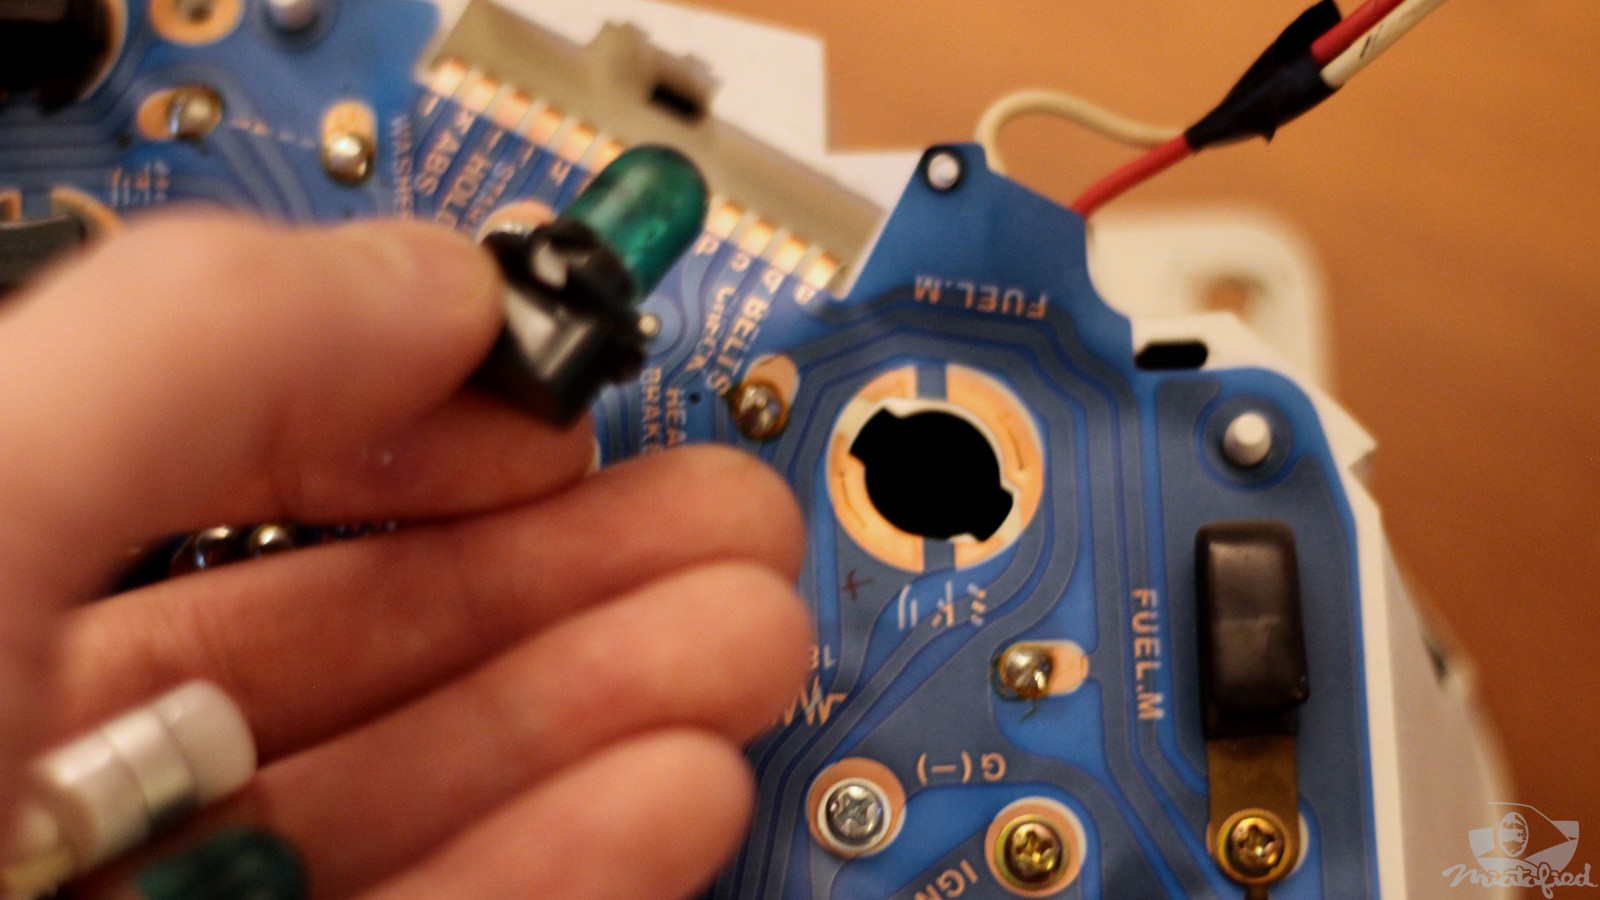
There are four bulbs in the gauge cluster for main illumination. The revlimiter gauge face kit can be optioned with replacement LEDs. The bulbs holders have twist connectors that hold the bulb contacts against the copper pads on the cluster. The OEM incandescent bulbs have green covers (condoms) stuck over them. Revlimiter gauges have options for baked-in lighting color effect custom orders, but mine are just clear.
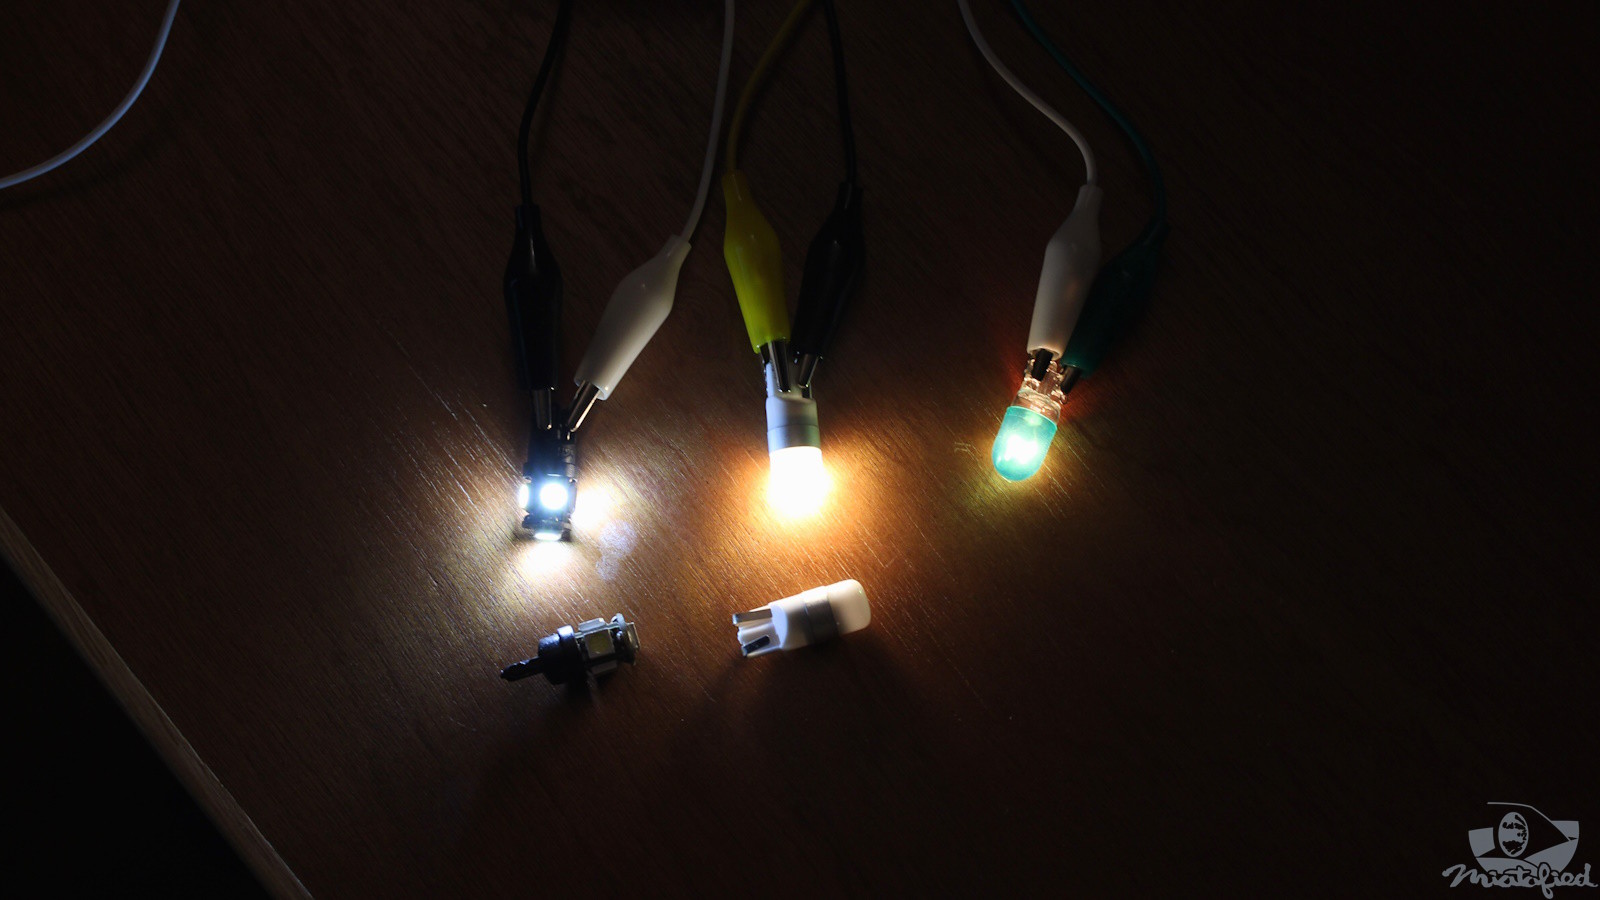
Photographing light bulbs is difficult, but here’s the best shot I have comparing the color of the bulb options I had. I’ve been avoiding blue-tinted LED bulbs wherever possible. The soft warm white bulbs I used are cheap, but work well: VEHICODE 194 LED Bulb Soft Warm White.
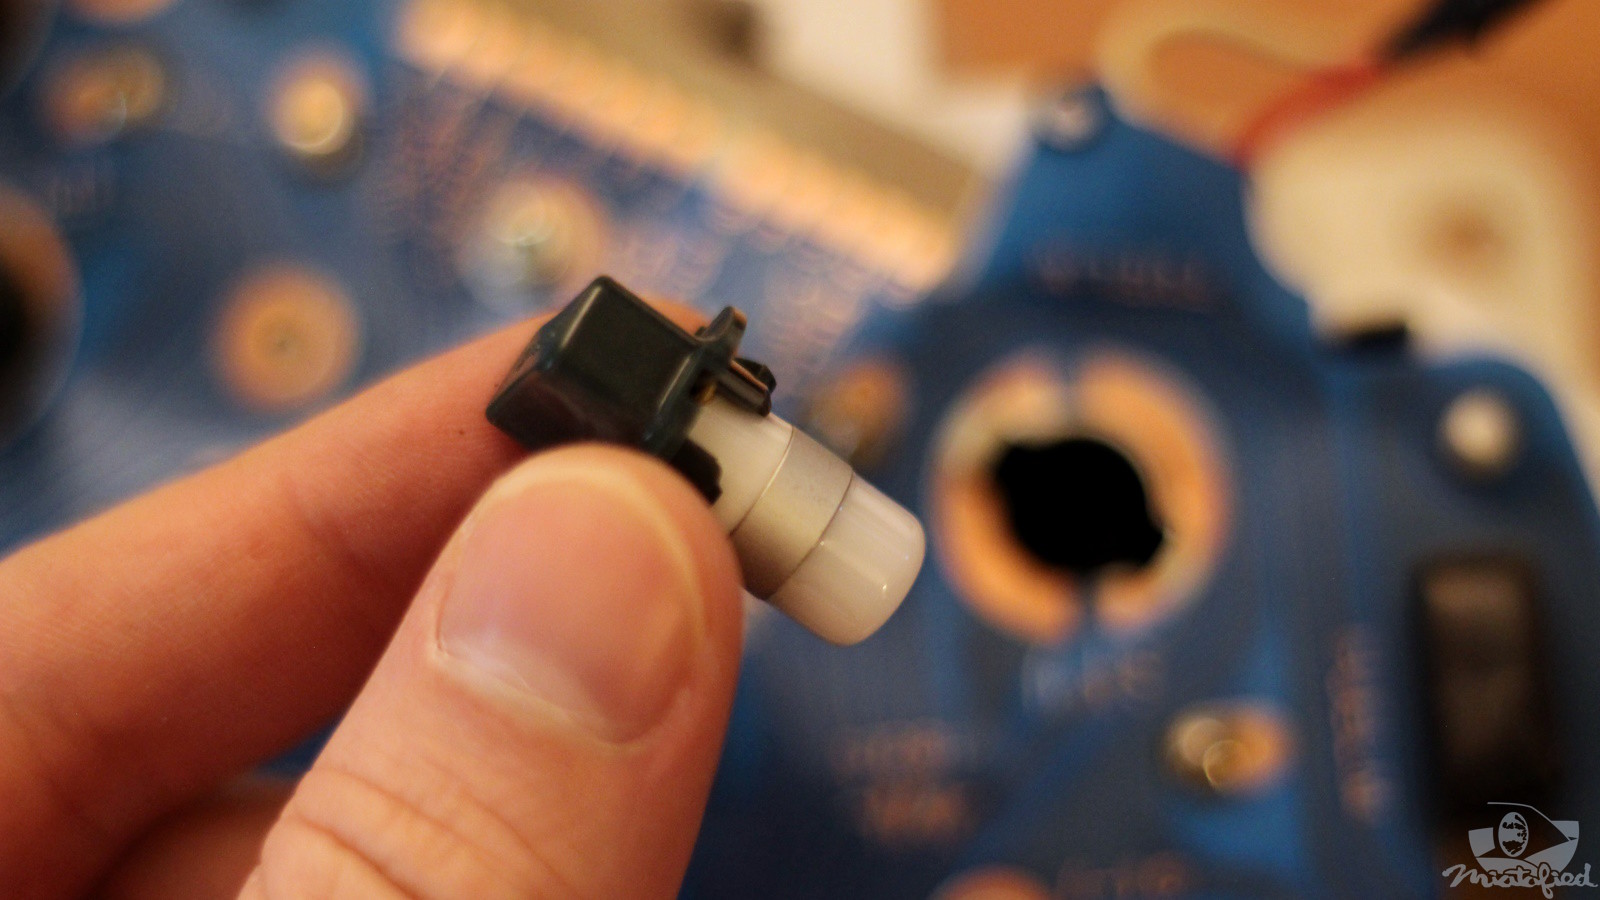
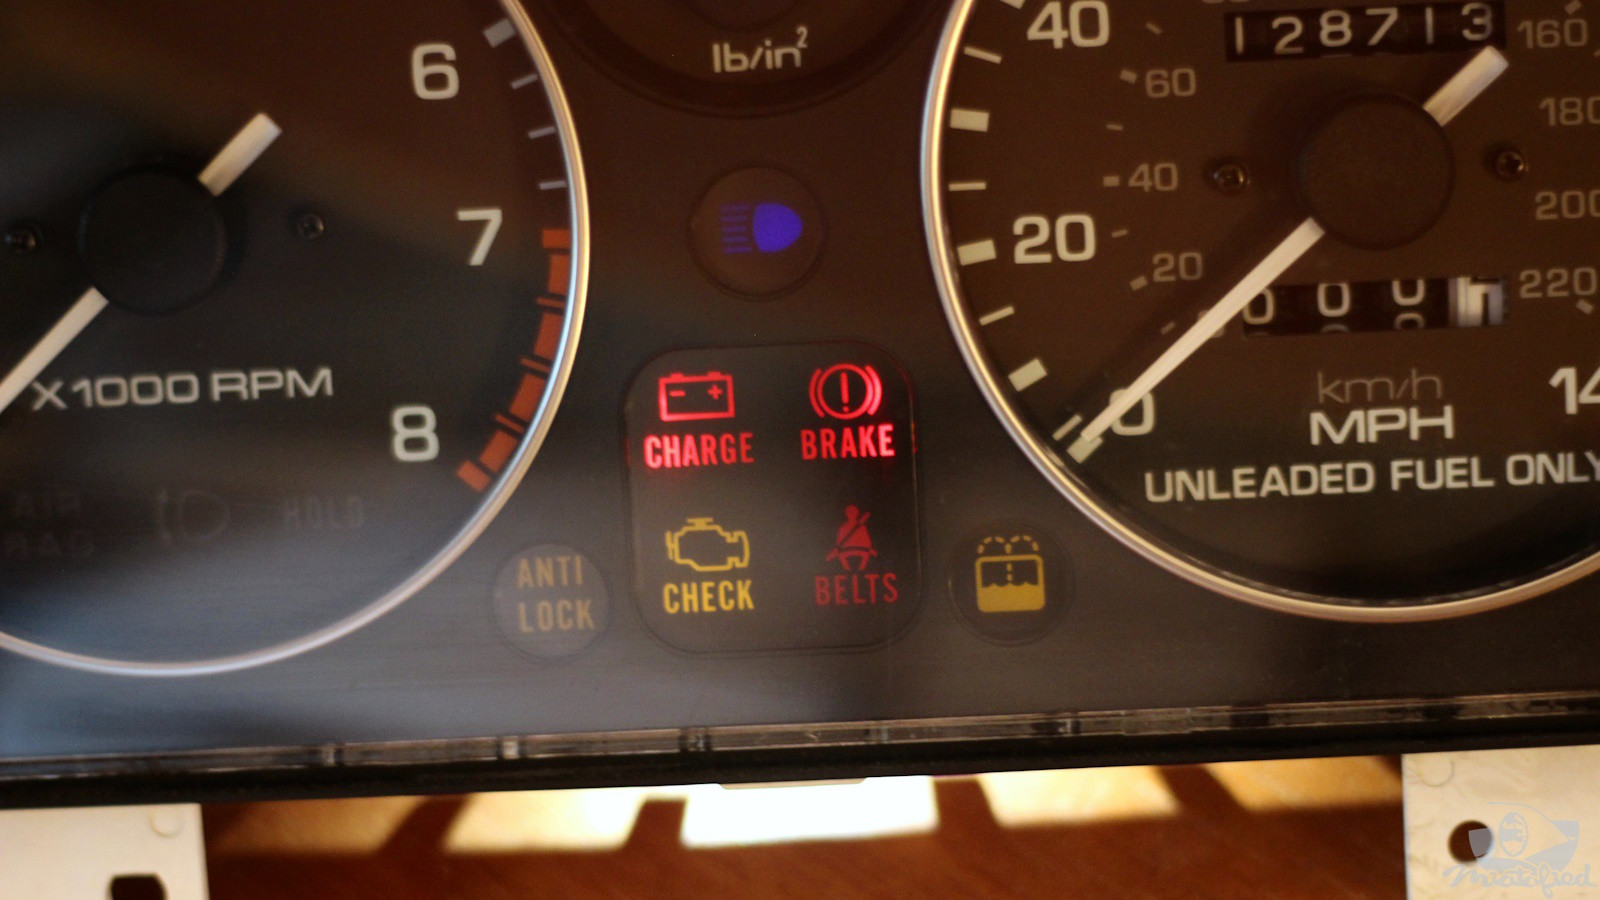
Aftermarket gauge faces from revlimiter don’t include the “AIR BAG”, “headlight retractor”, and “HOLD” (for automatic transmissions) dash lights under the tachometer. To preserve these, revlimiter offers the replacement center indicator panel. This also has its own set of good revlimiter instructions, for installing the replacement panel and changing the bulb wiring.
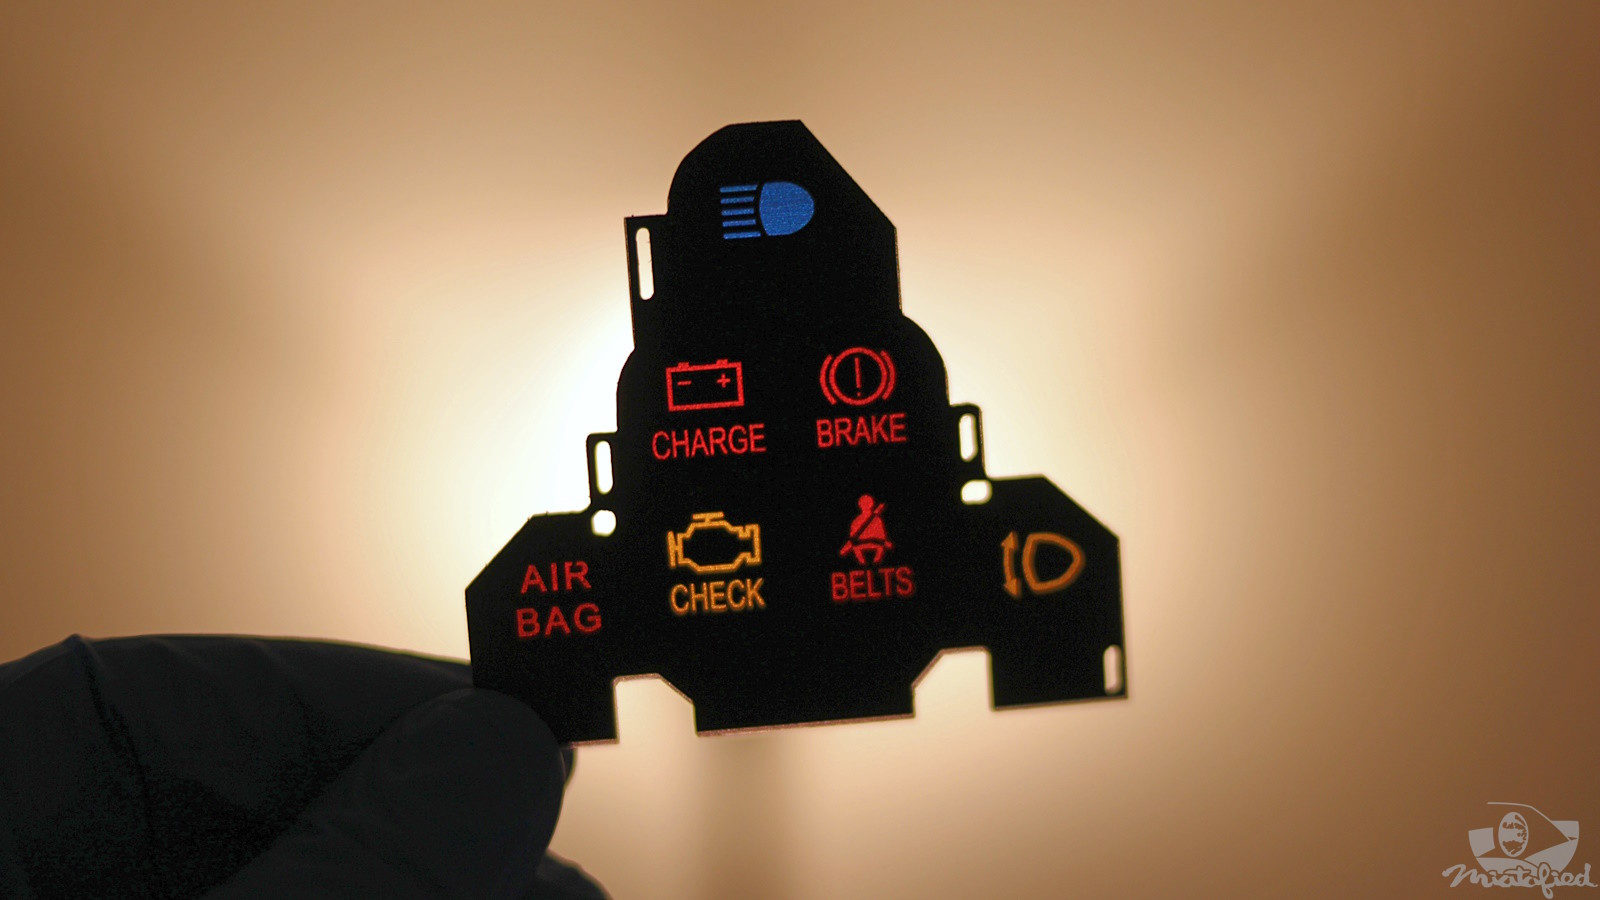
The replacement panel adds the “AIR BAG” light where the “ANTI LOCK” lights was, and puts the headlight retraction light where the windshield washer fluid light was. The instructions call for rewiring the power wires for these indicator lights to route to the new bulb locations.
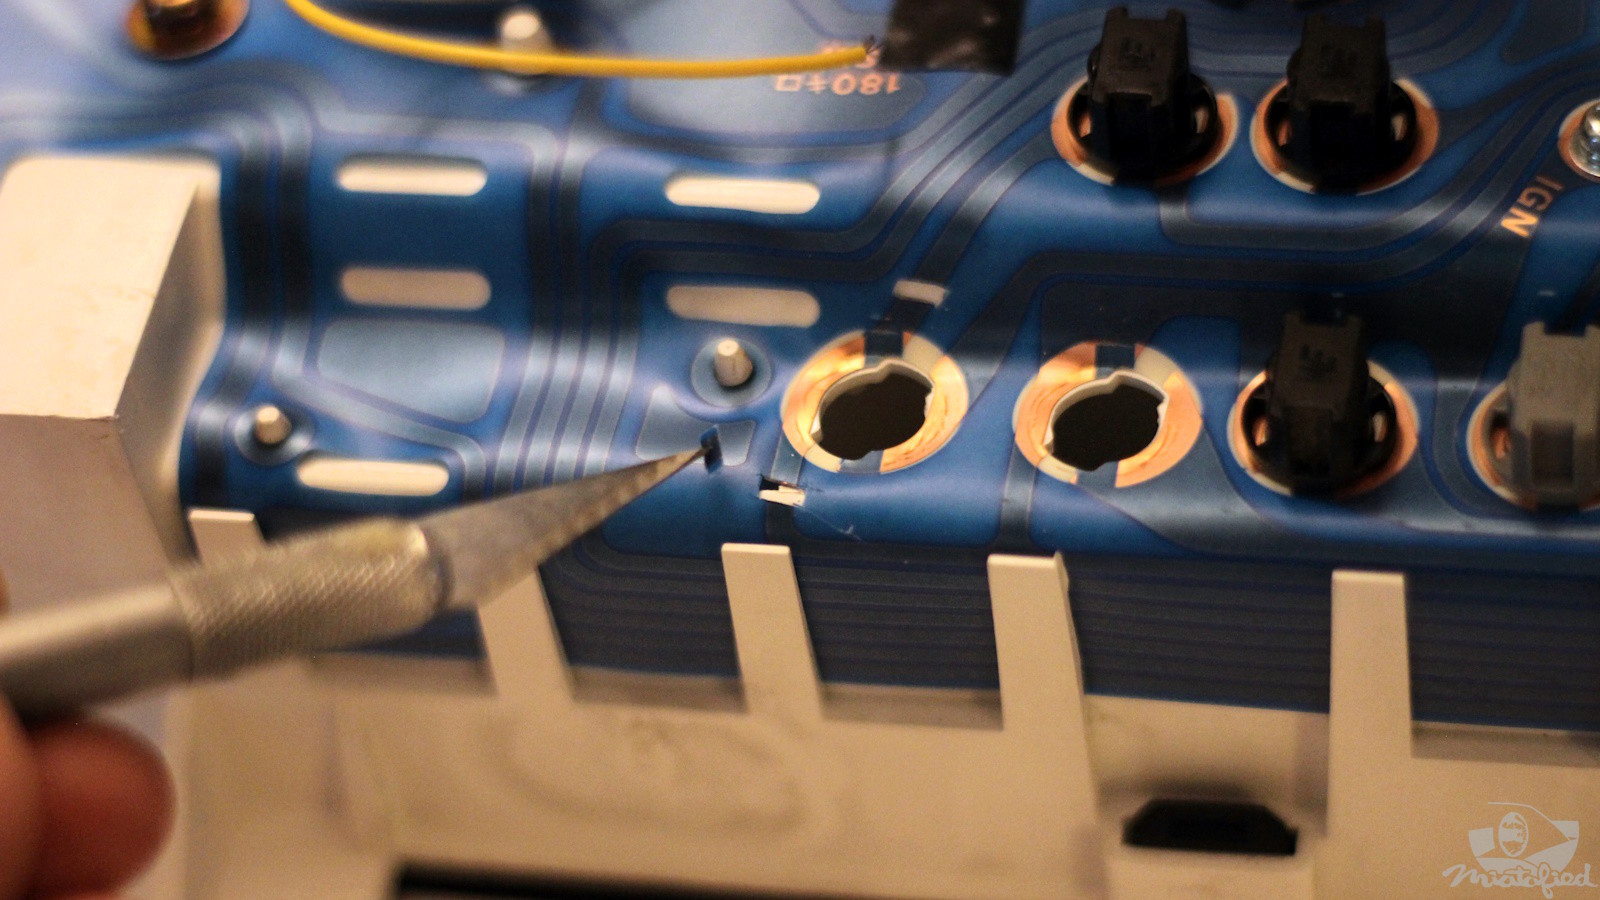
The above photo shows carefully disconnecting the electrical trace for the old washer fluid light by cutting the connection out of the circuit board on both sides of the bulb contact. A jumper wire will power this bulb instead for the headlight retraction light.
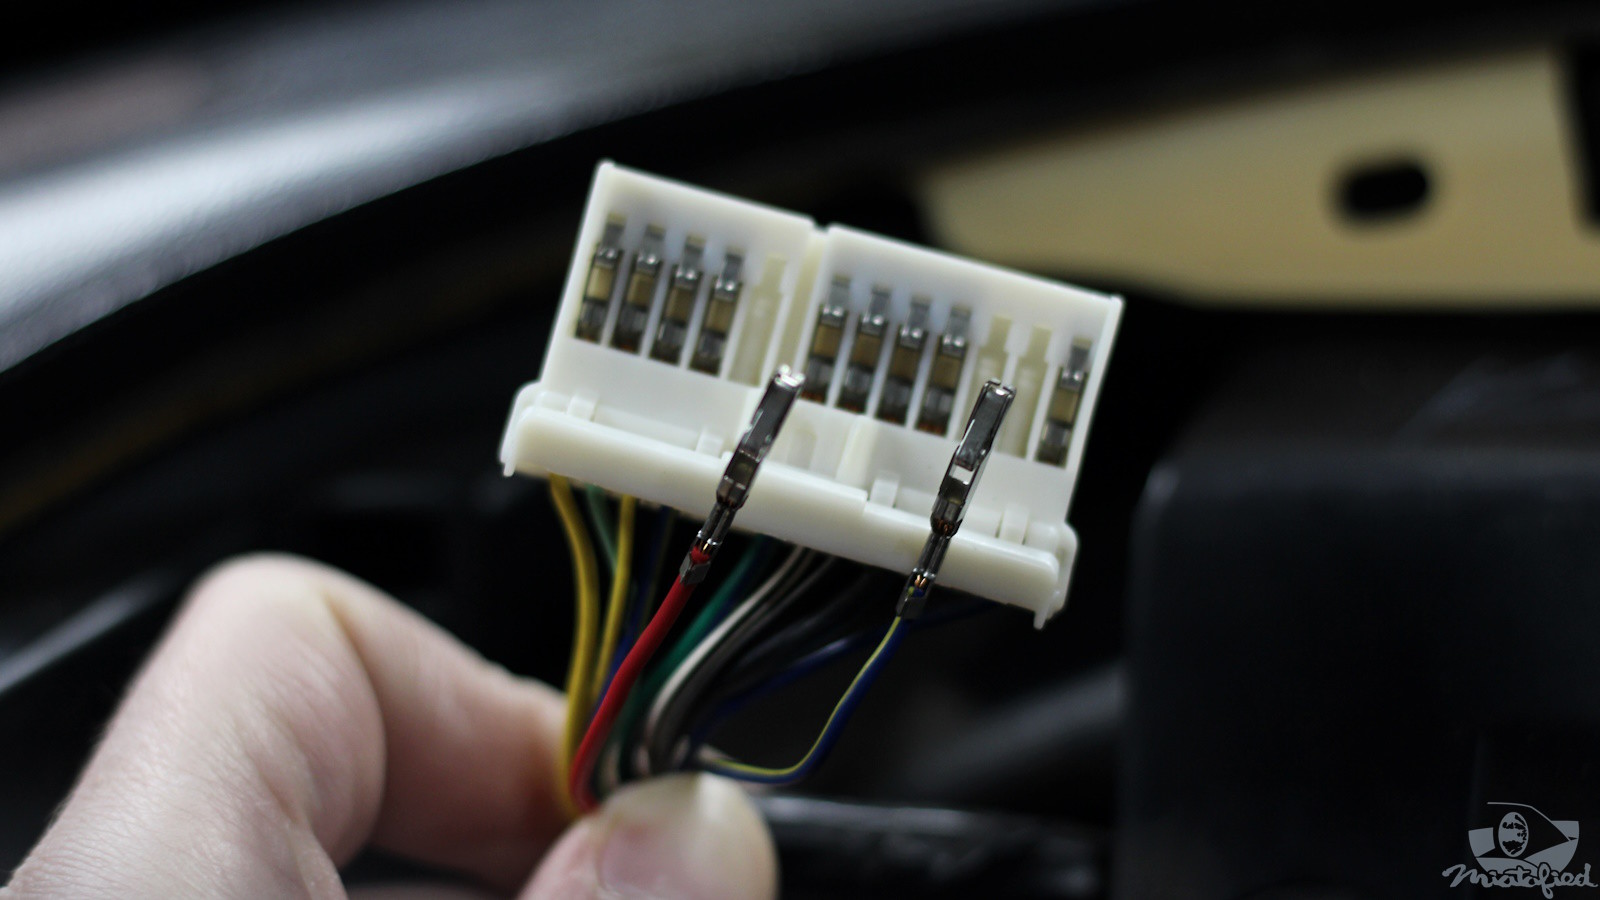
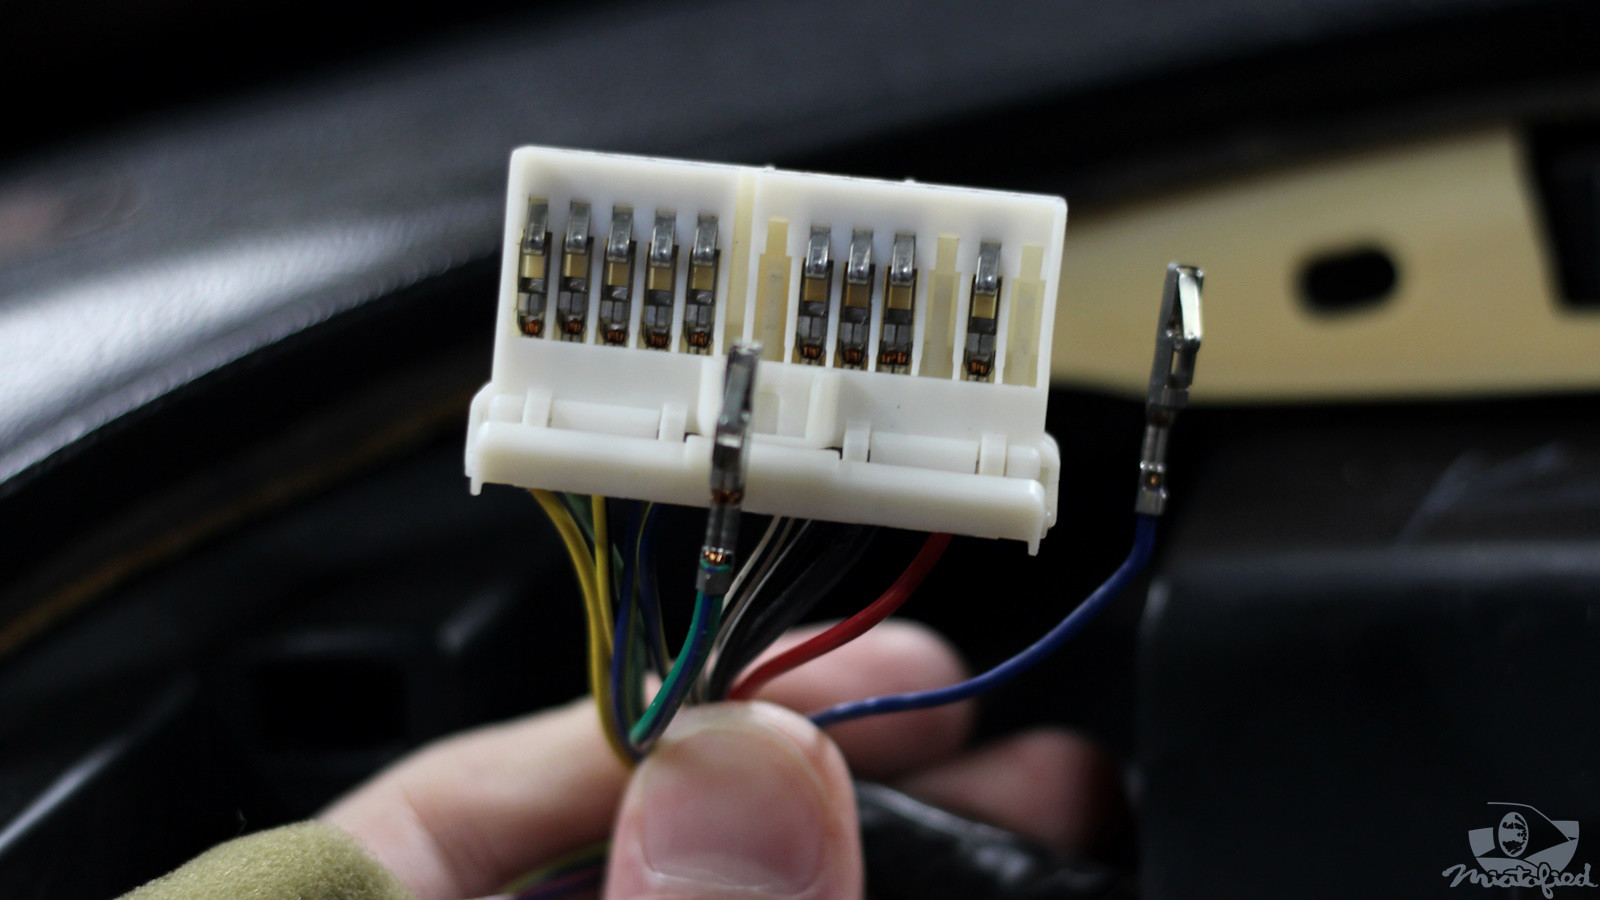
Pairs of wires are swapped in the connector for the gauge cluster to power the center indicators. The revlimiter instructions cover how to open the back of this plug housing and de-pin the connector by gentling pressing the tab in the center of each pin and tugging it out of the housing.
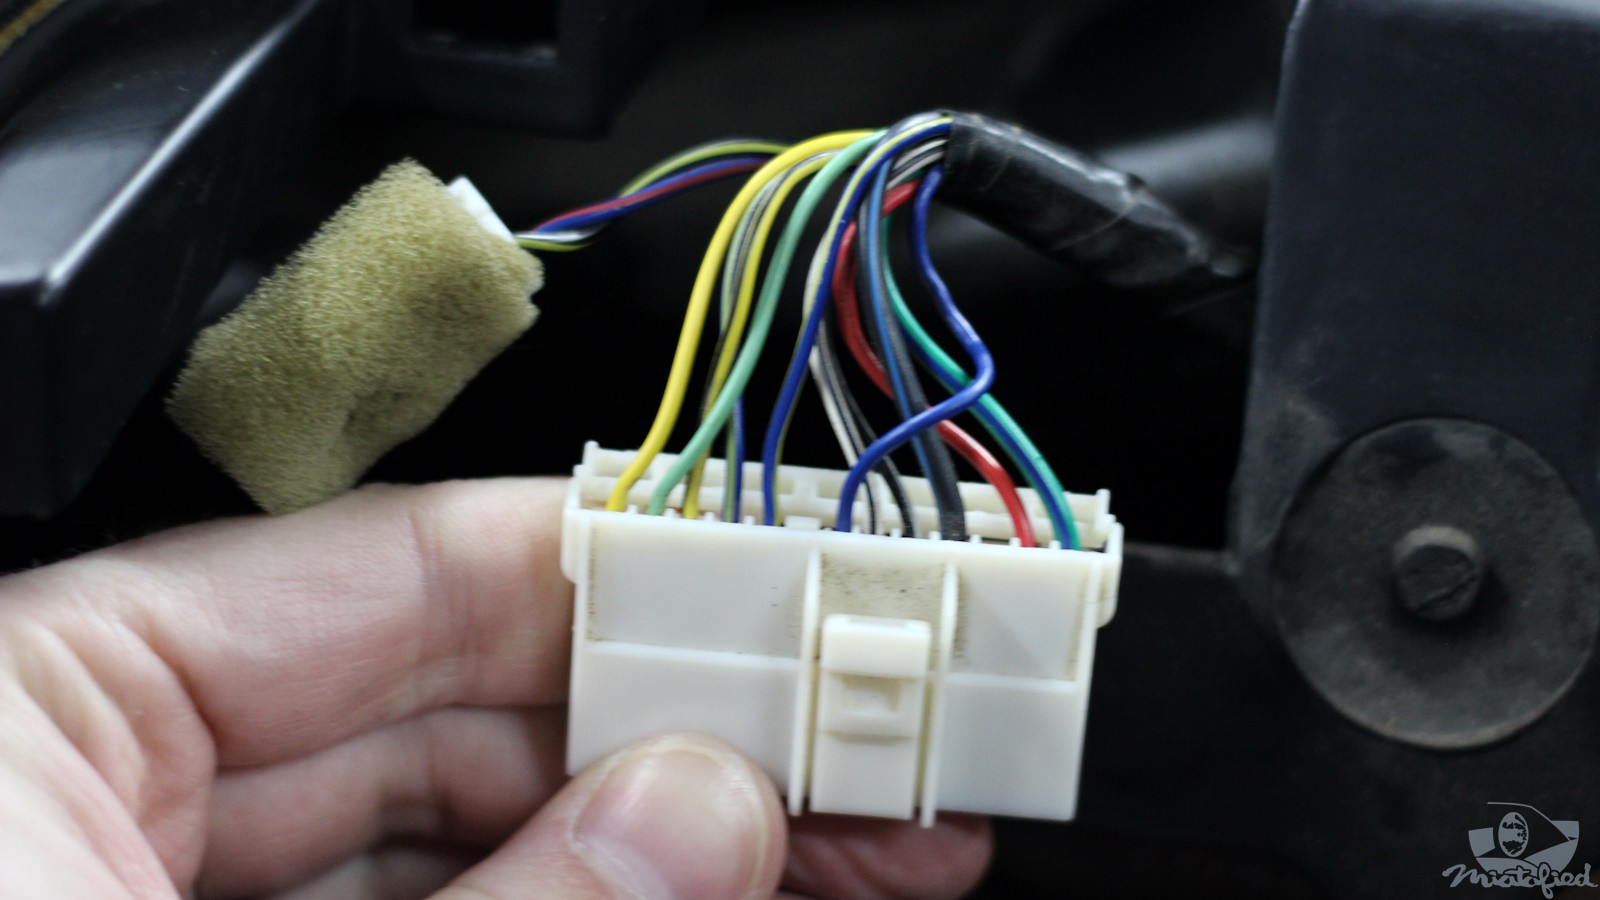
The colors of the wires in my Miata were slightly different than in the revlimiter instructions, but the positions were the same, and they are labeled on the back of the gauge cluster circuit board for reference.
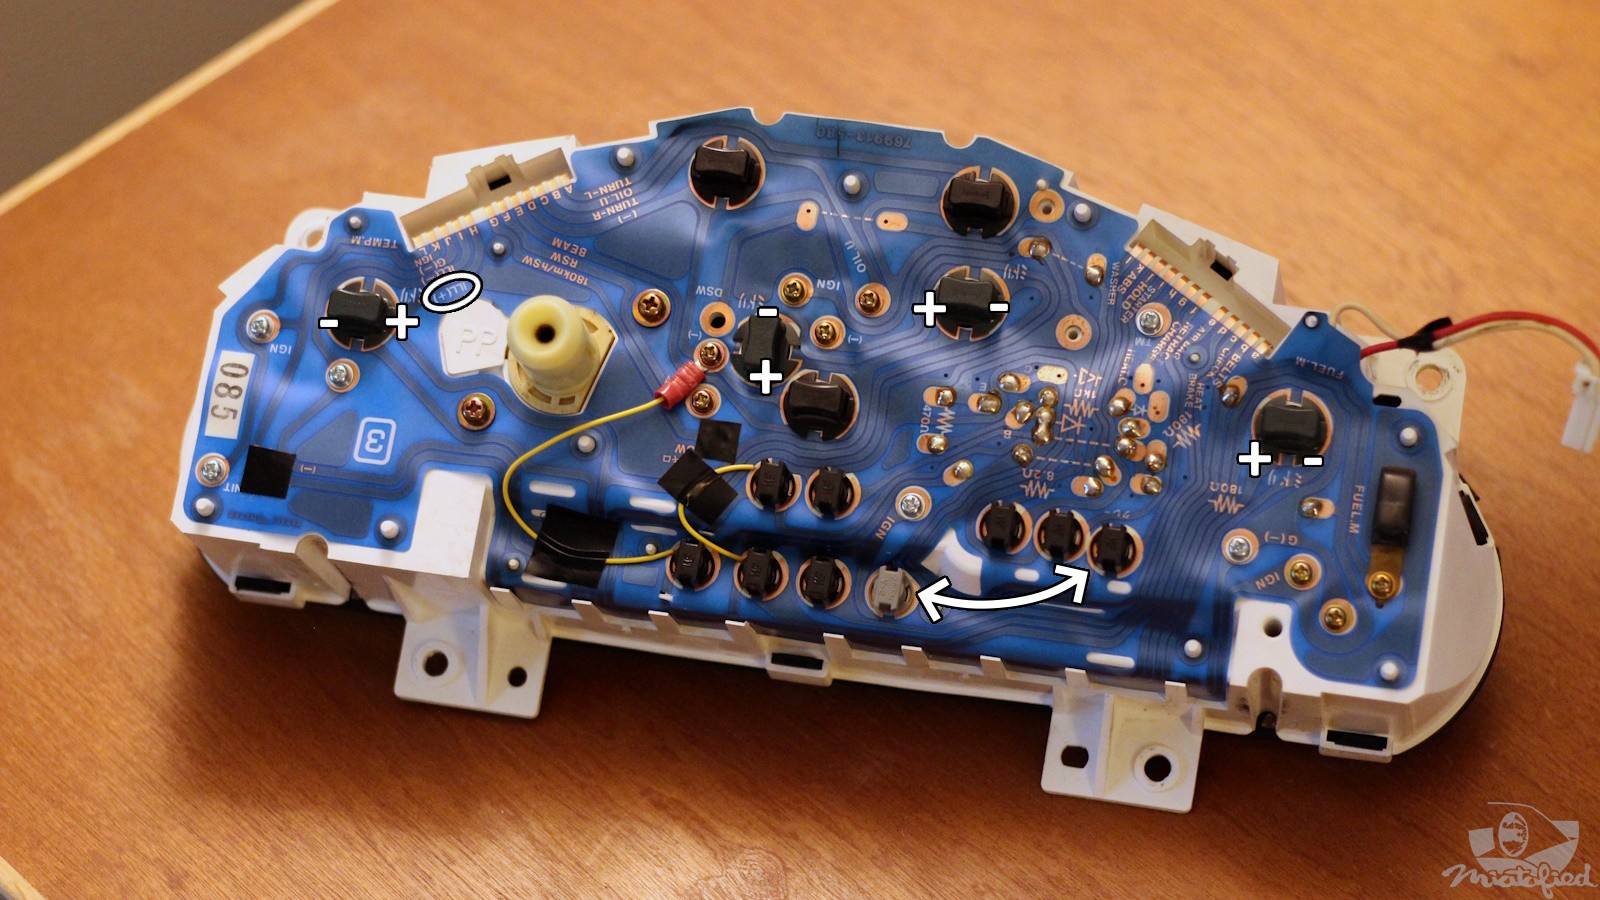
The above photo shows all of the electrical rewiring completed:
– Jumper wire installed for the new headlight retractor bulb location after snipping the traces connected to one side.
– Short jumper wire providing ground connection to the seatbelt indicator, although it is technically redundant because the there is another electrical ground path for that bulb even with the washer fluid traces removed.
– Air Bag bulb has been moved to its new position (supposedly the grey housing bulb is electrically different from the other ones with black housings).
– Positive and negative terminals of the four illumination bulbs are labeled for LED bulb orientation.I followed the trace paths along the circuit board starting from the label near the connector.
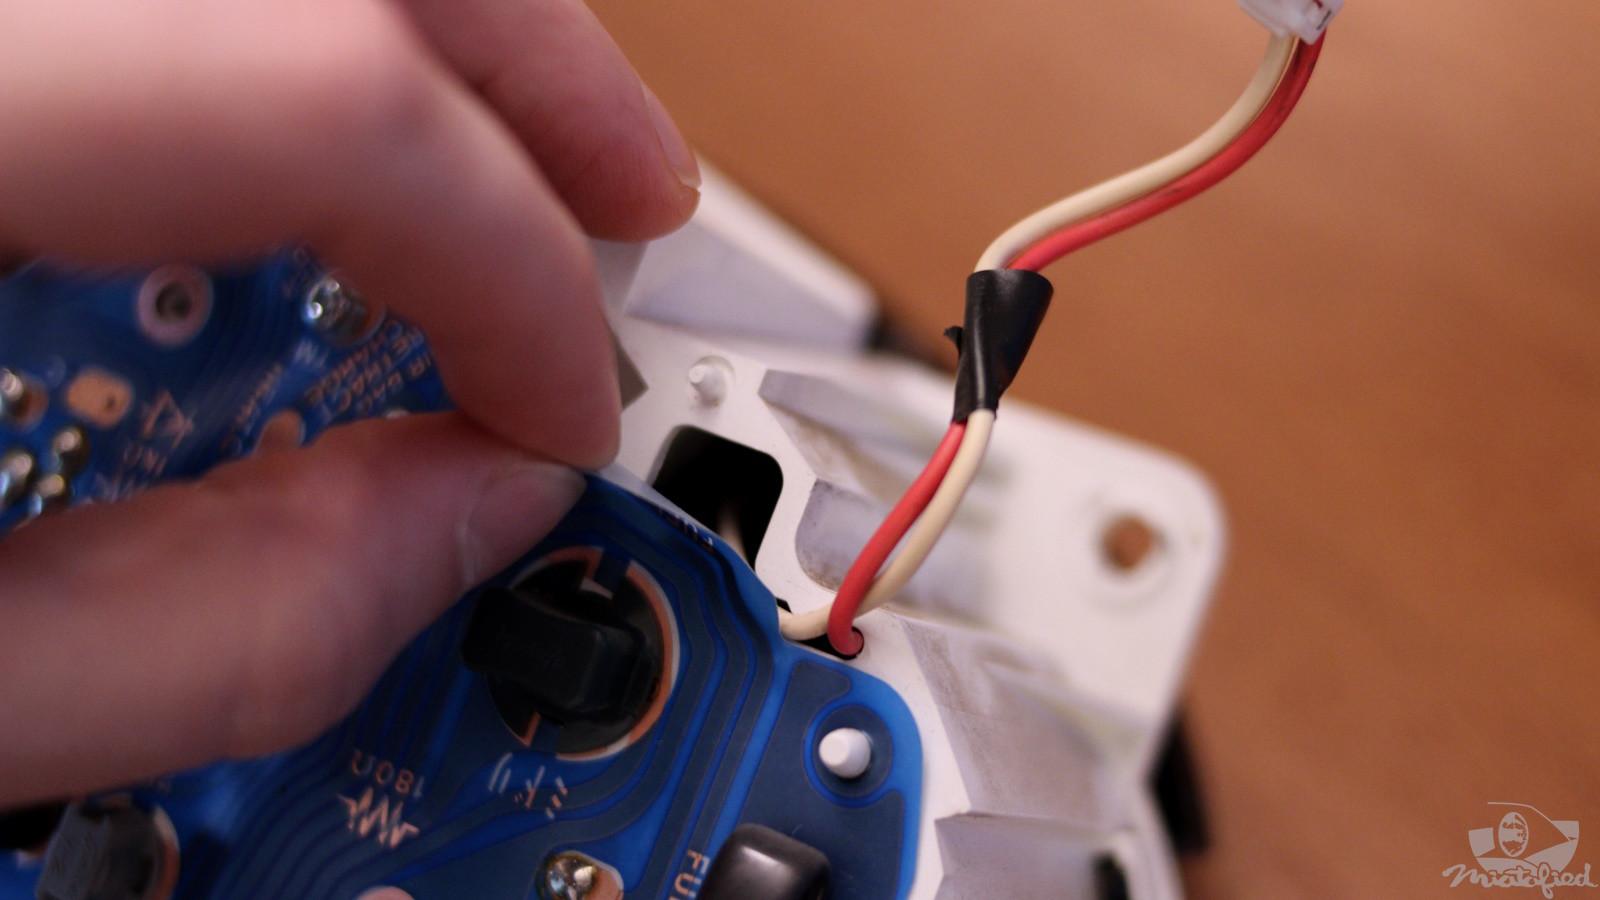
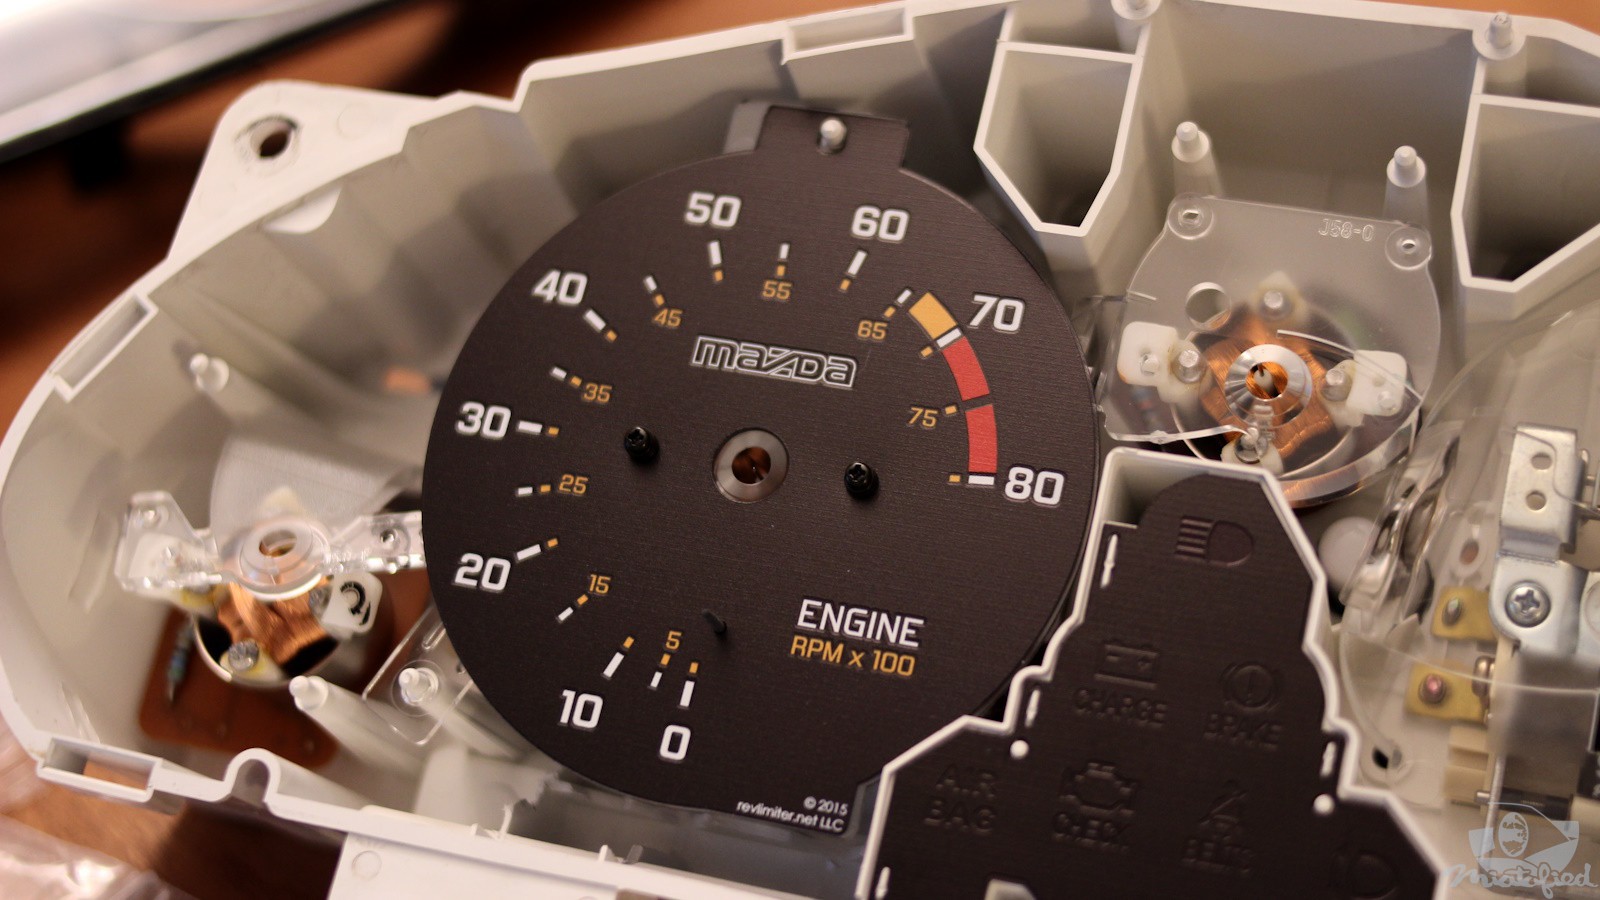
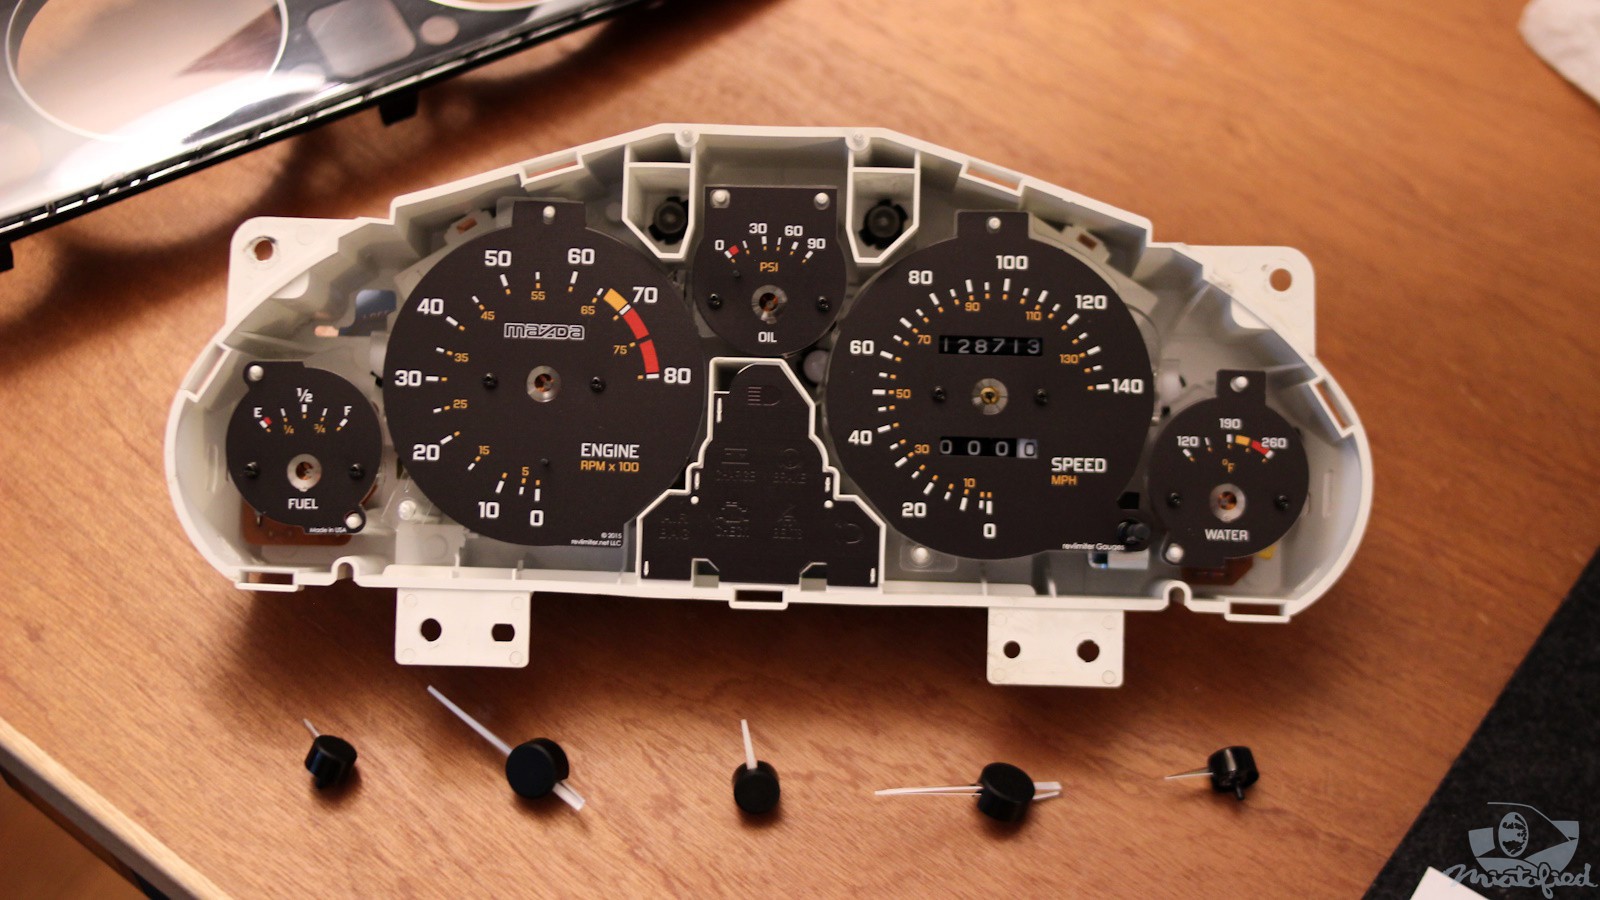
With all the electrical changes done, it’s time for the fun part! Crack this gauge cluster open and swap out the faces!
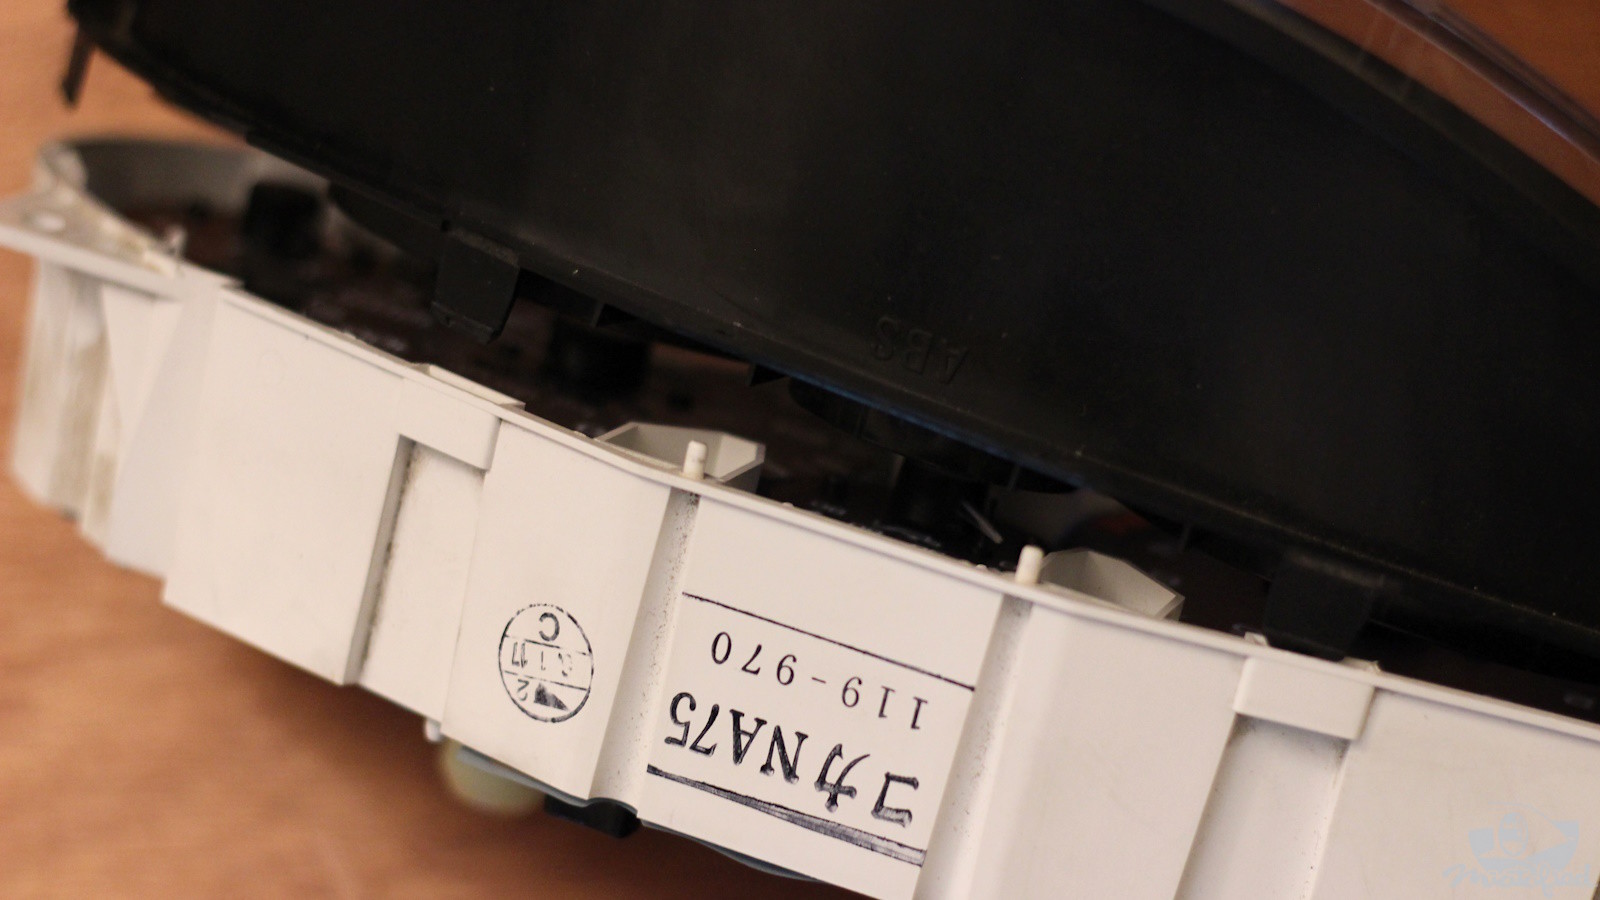
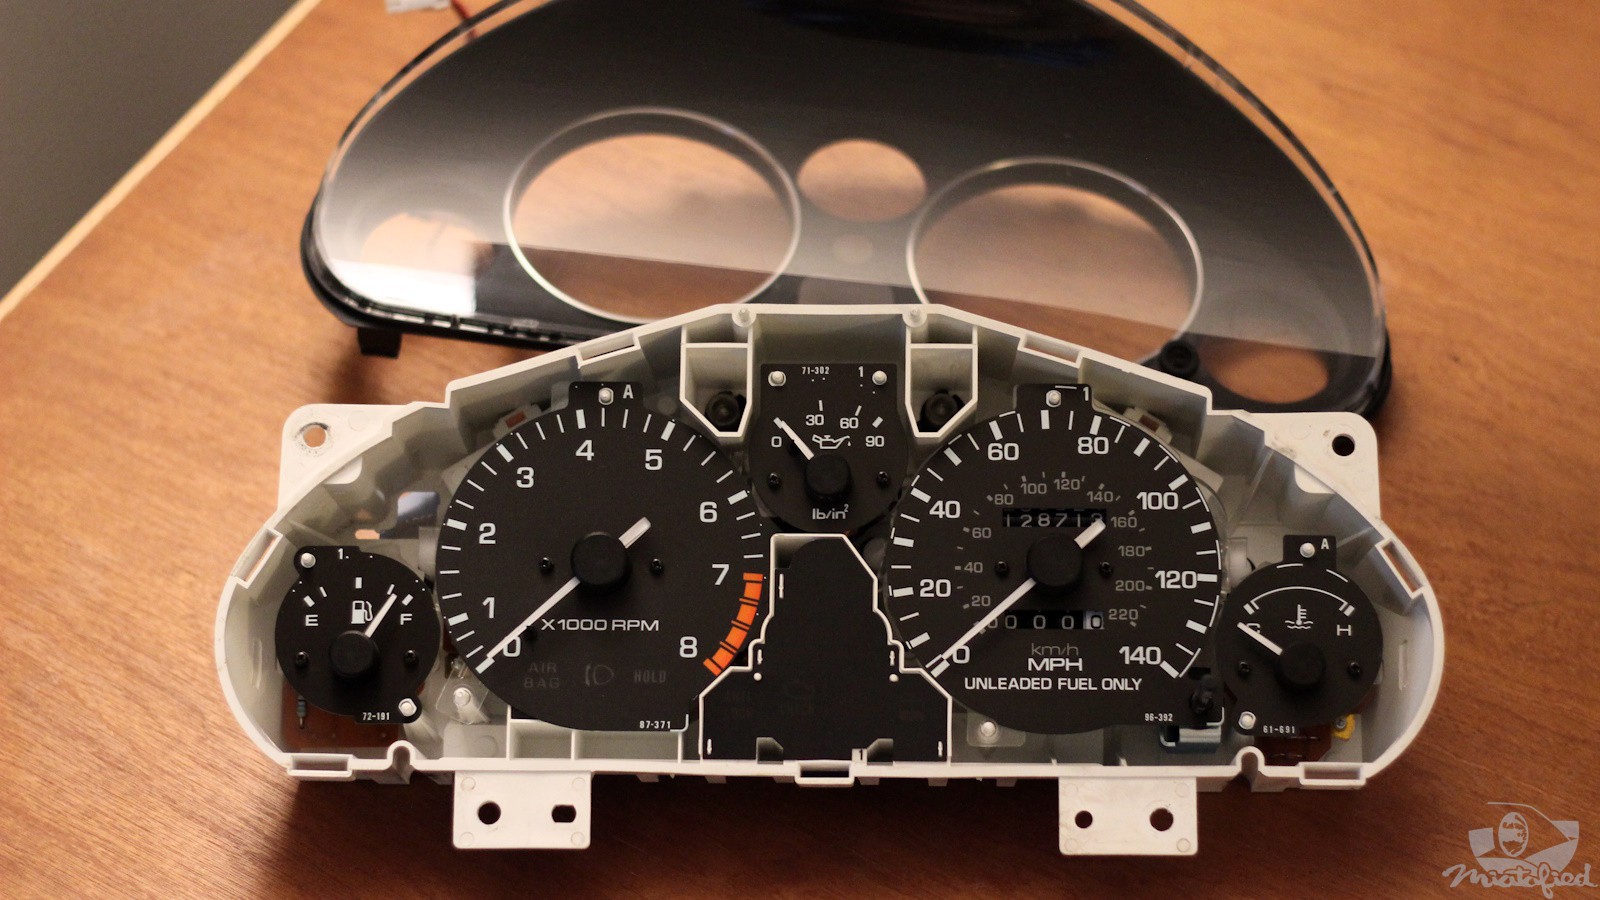
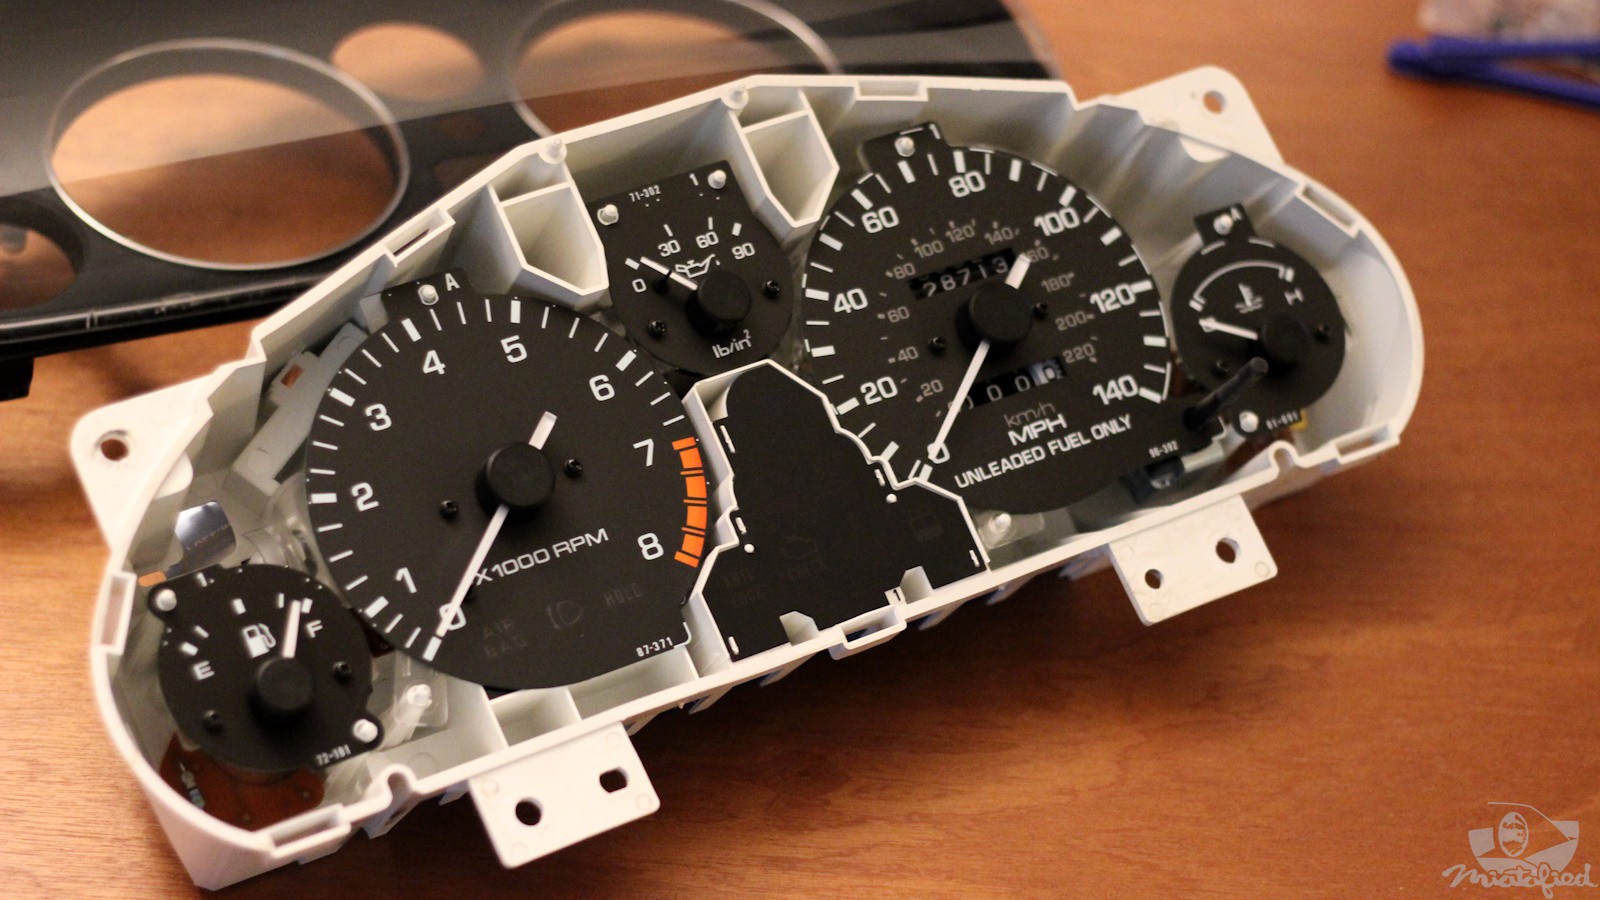
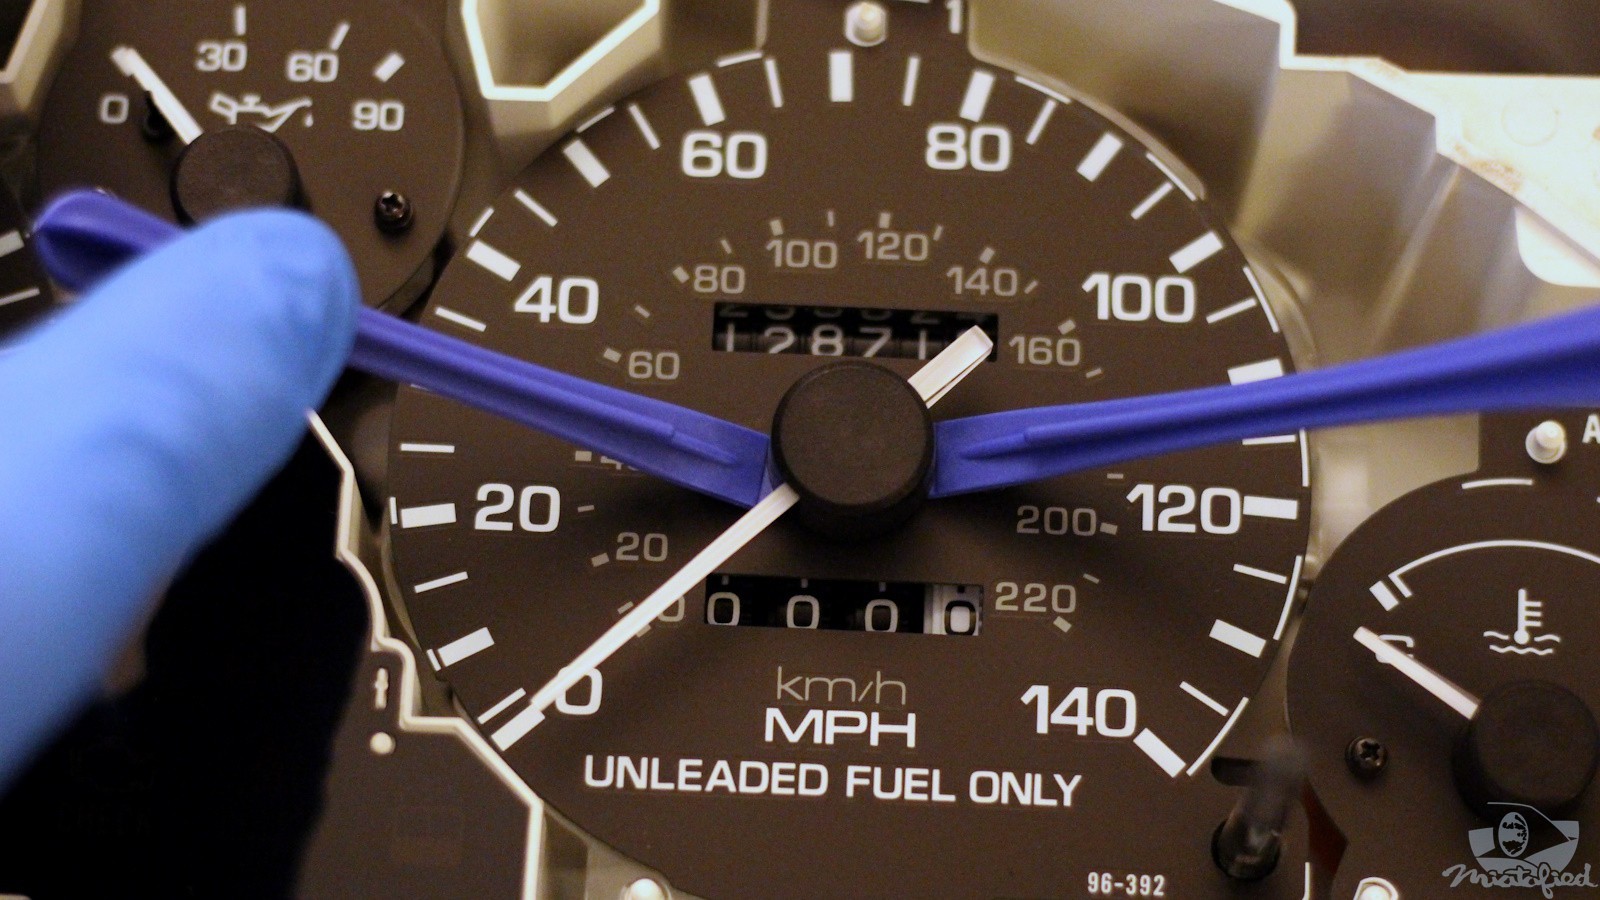
Removing the needles was trickier than in revlimiter’s instructions. The recommendation is to leverage against the mounting screws rather than the face itself, but the included pry tools are difficult to wedge into the correct angle. I should have placed a protective layer over the gauges (maybe a playing card?) or tried different pry tools. With some very careful effort I was able to remove the gauges without noticeably scratching the faces.
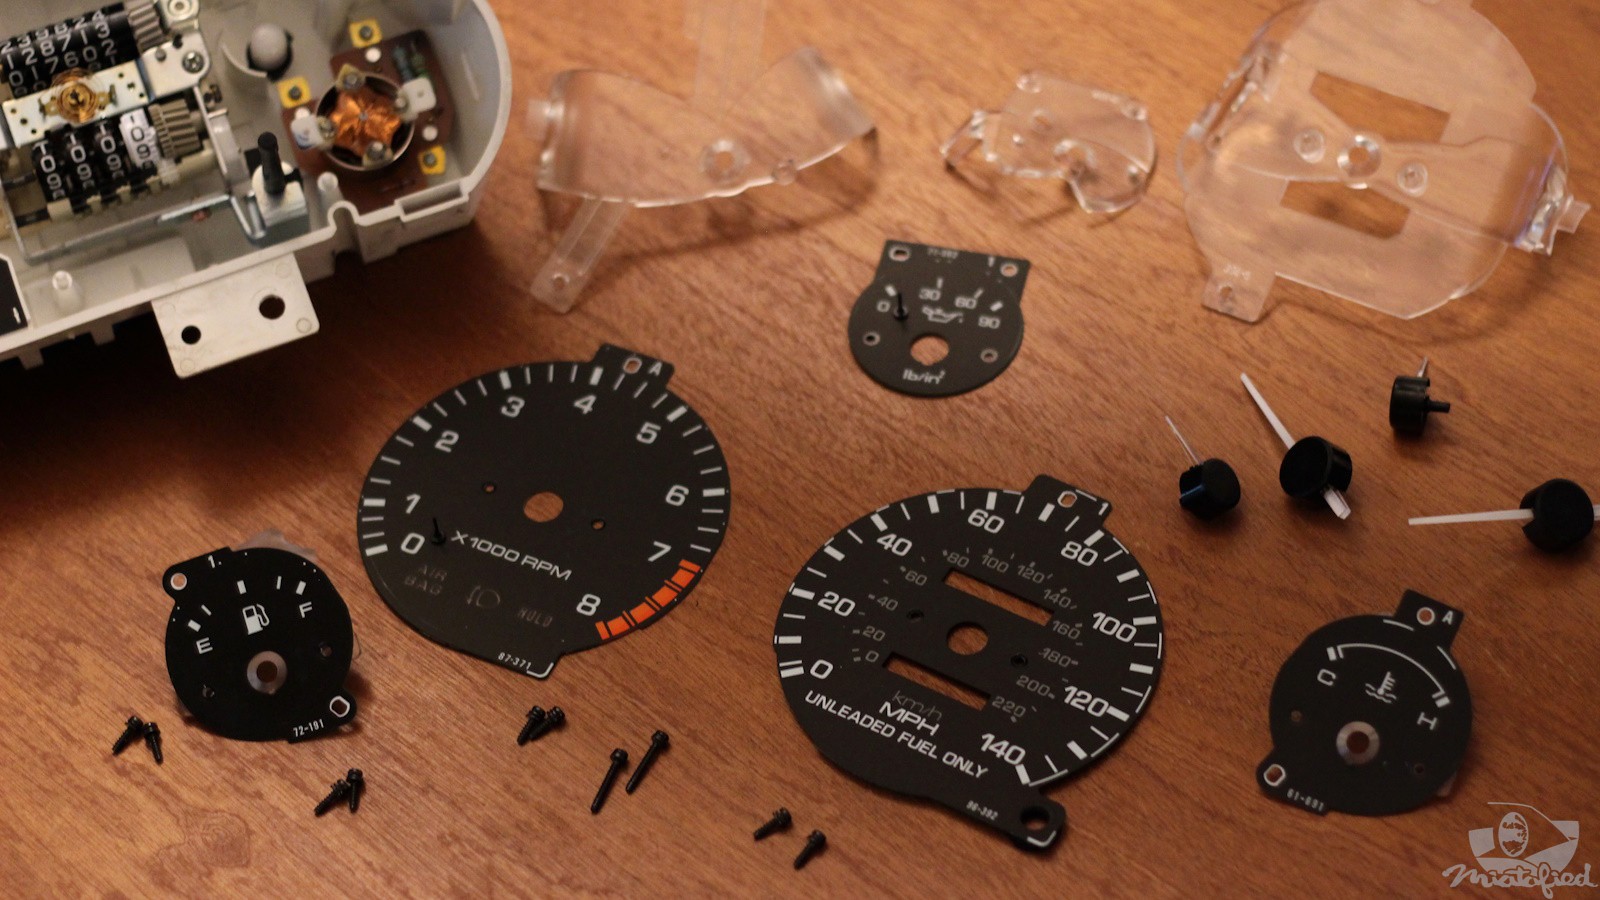
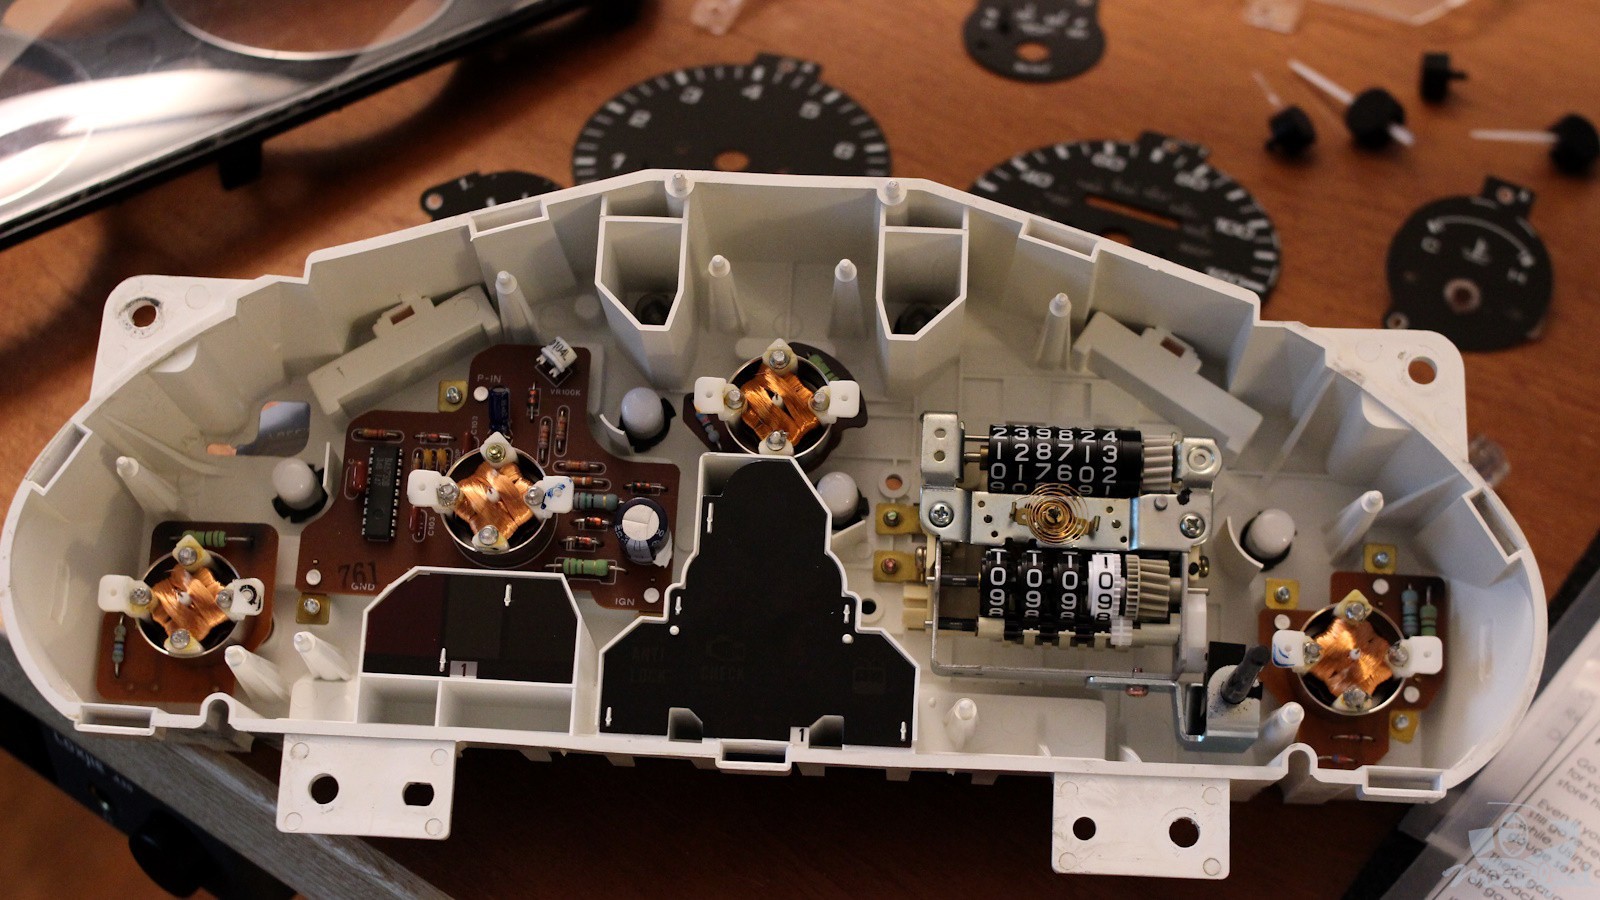
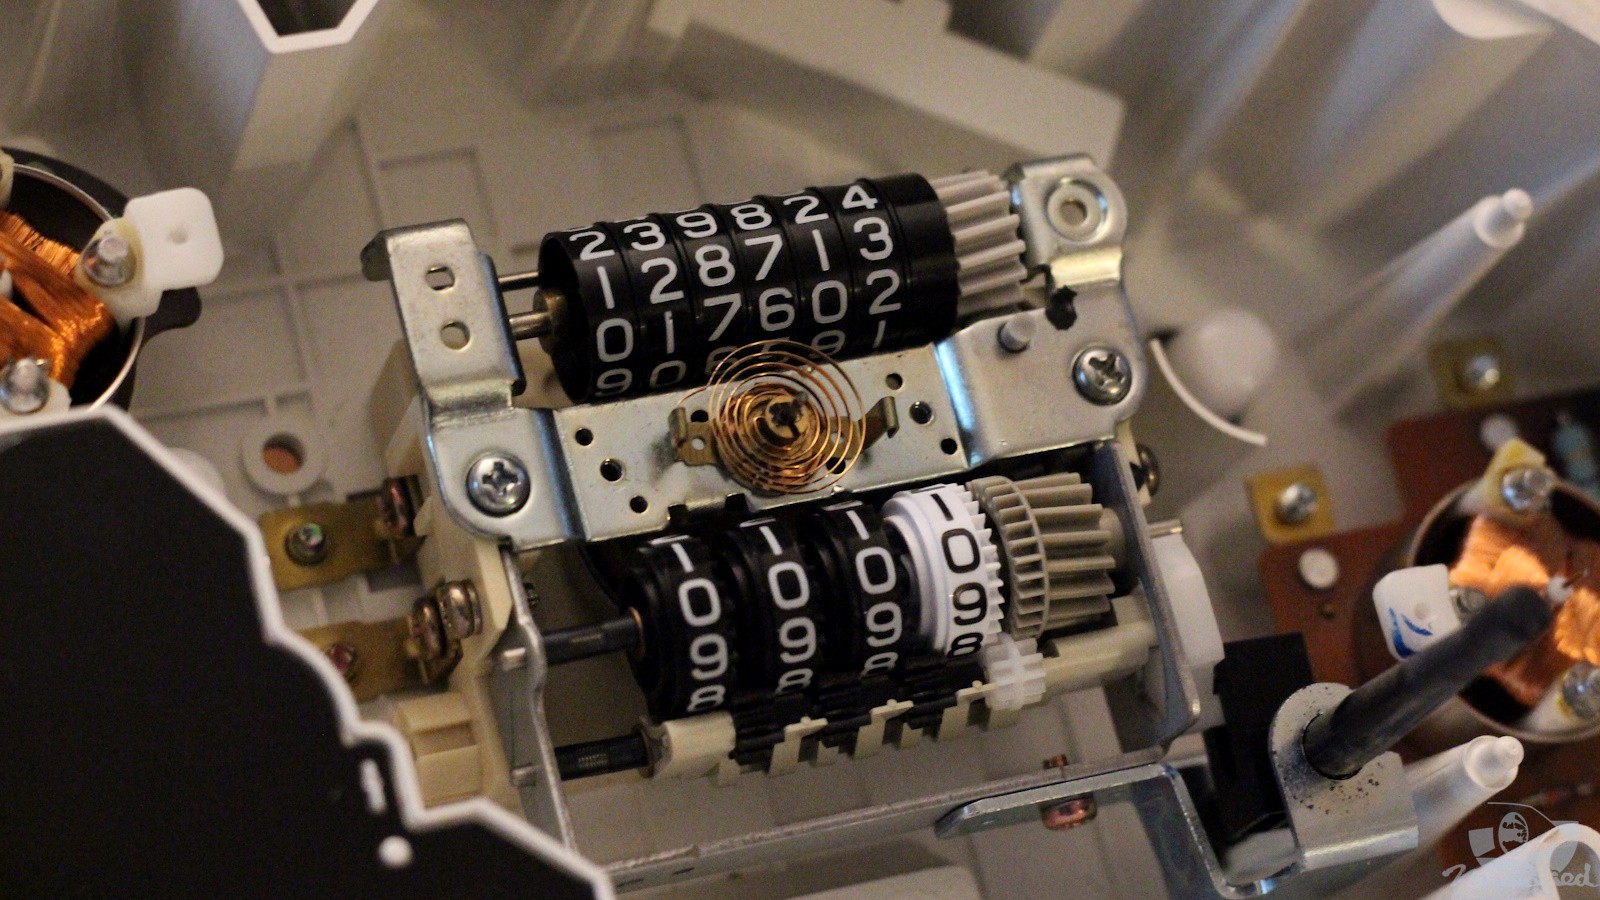
The speedometer is the one gauge needle that will be possible to pre-install later. The mechanism is mechanical rather than electronic, with a cute harispring like a watch.
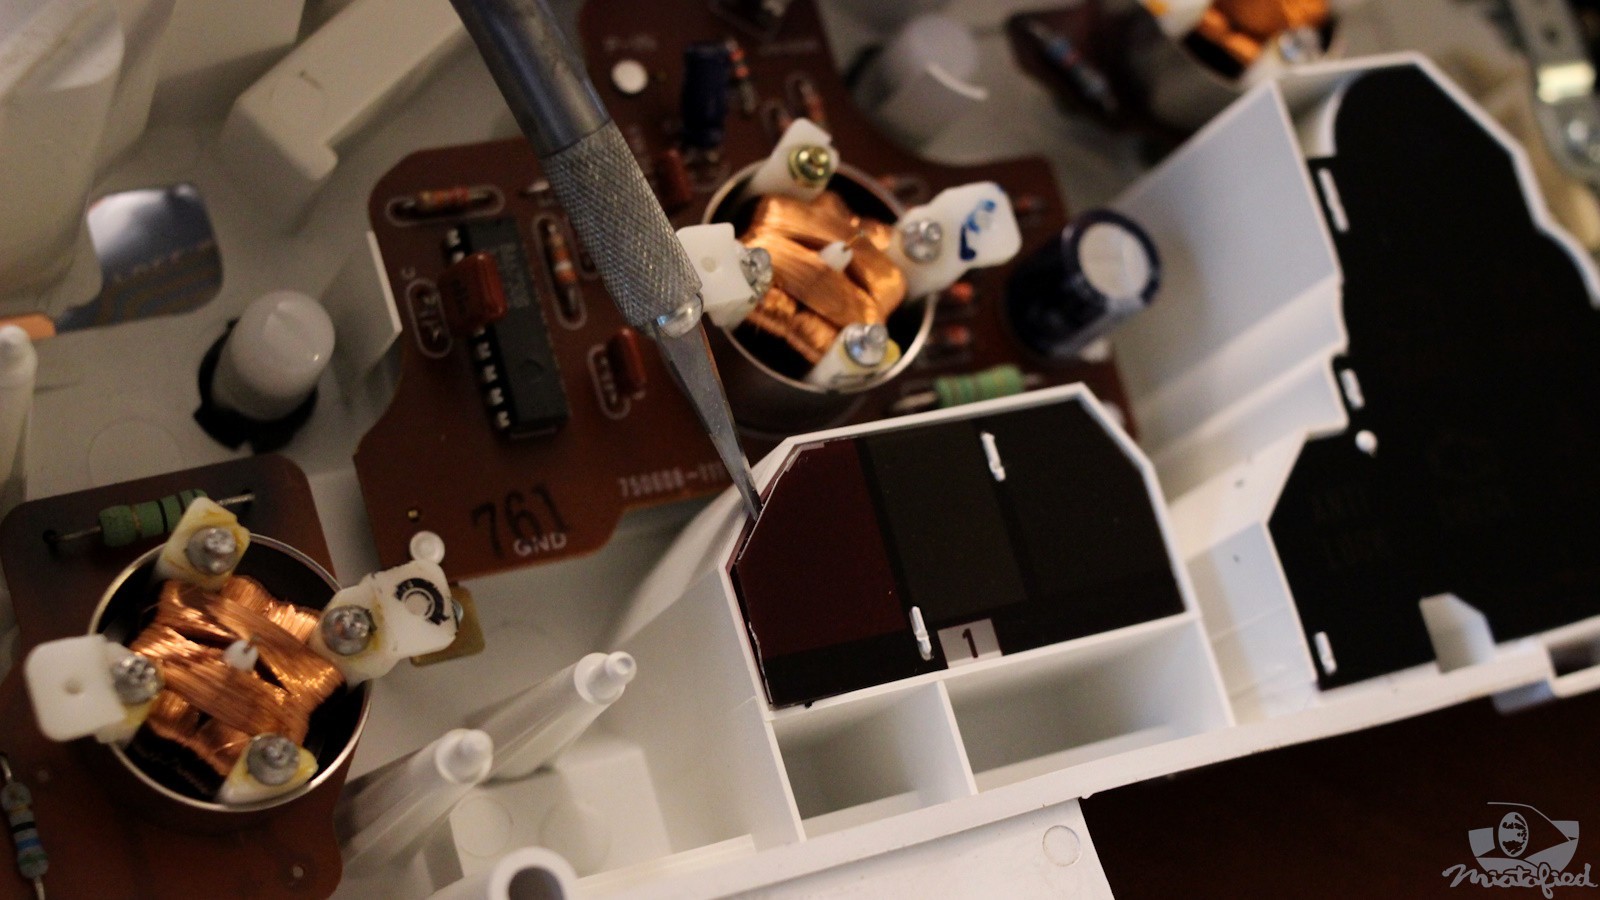
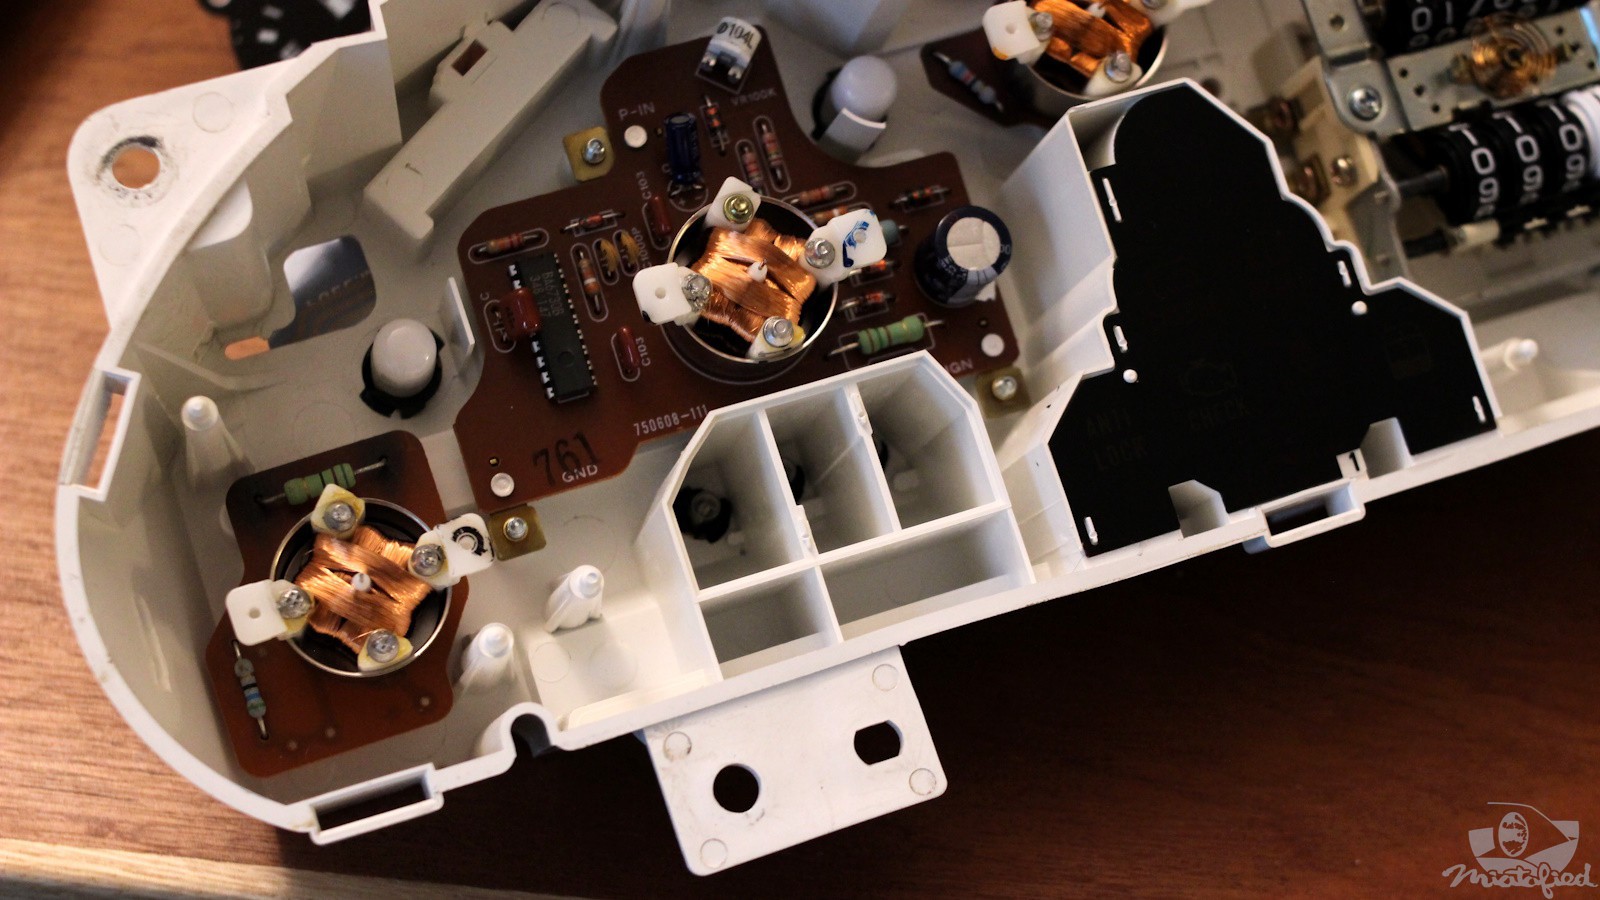
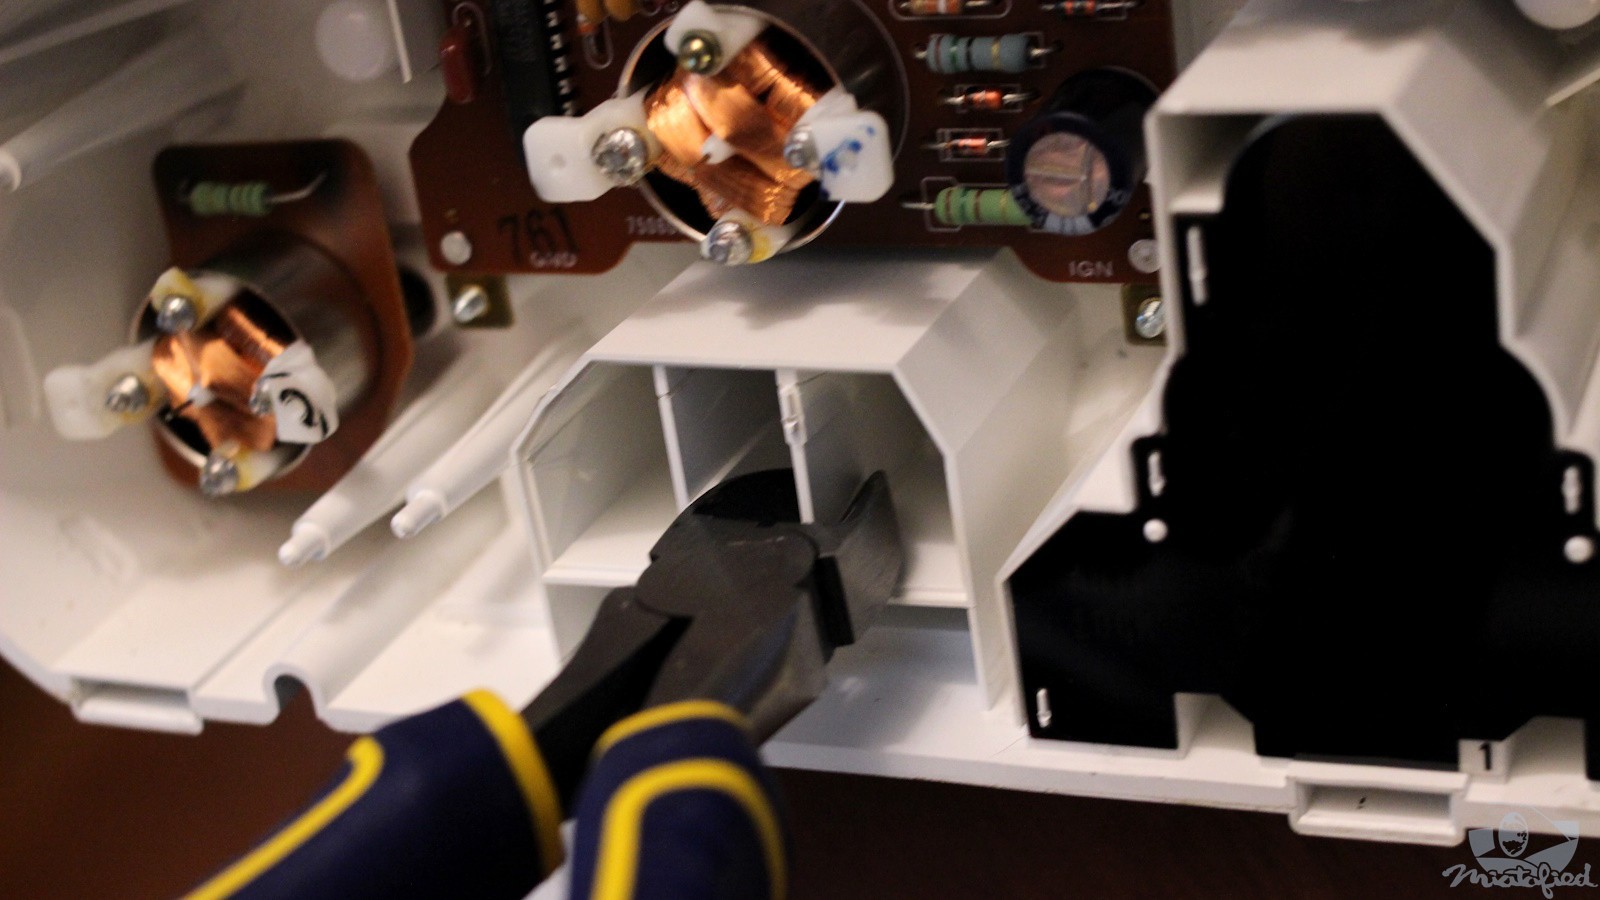
This was the scariest part 🫣. The lighting dividers need to be removed for the bottom of the new tachometer face to be evenly illuminated.
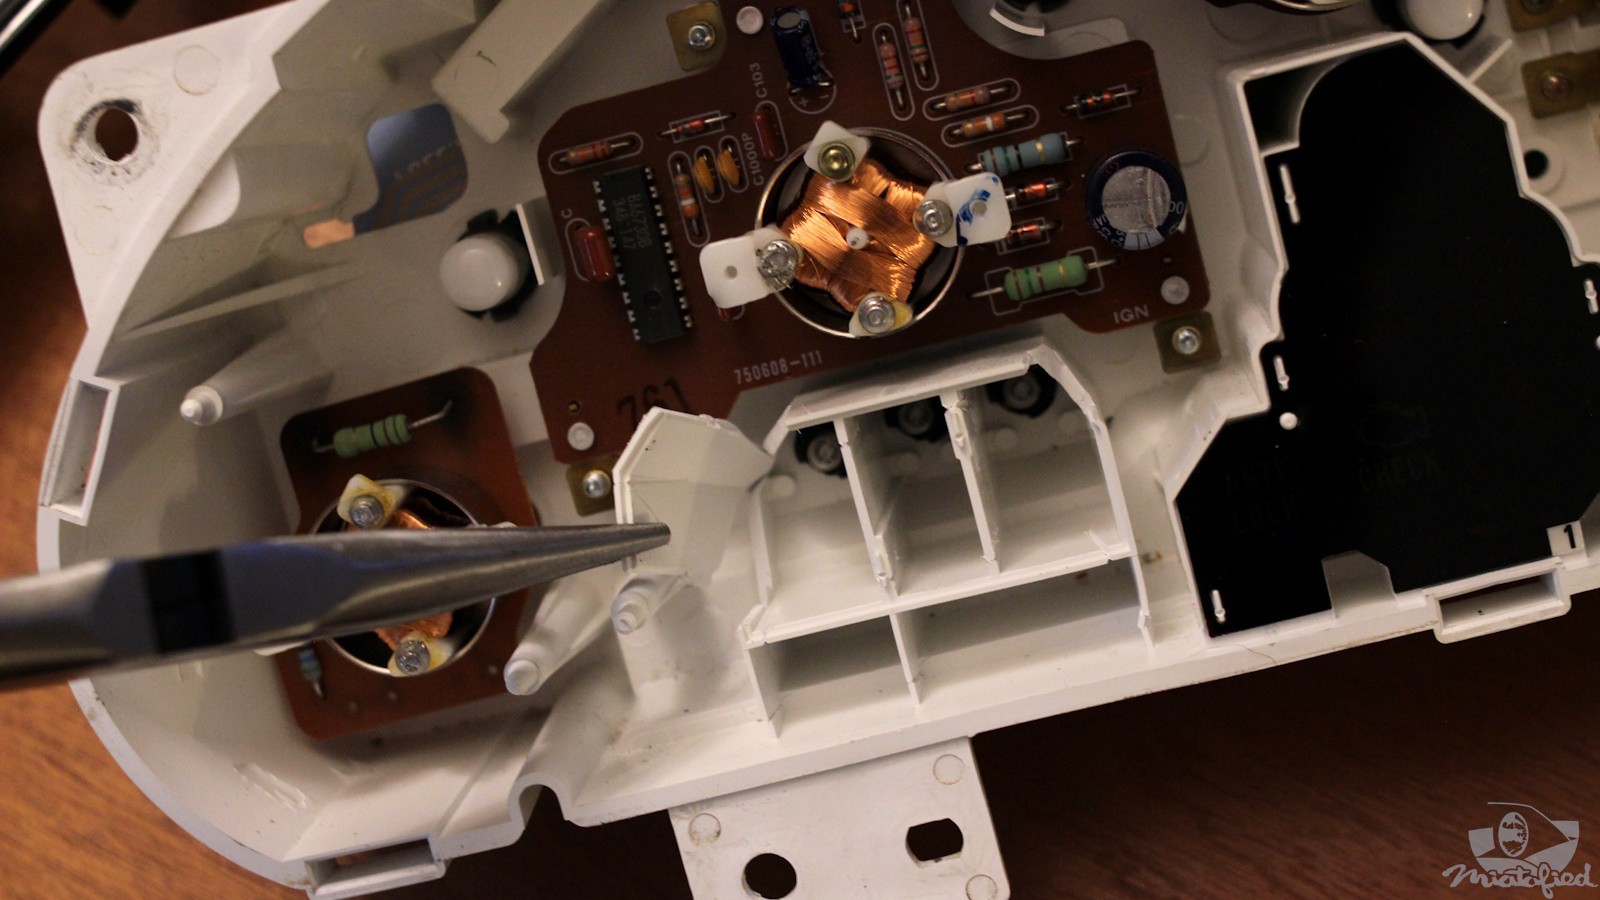
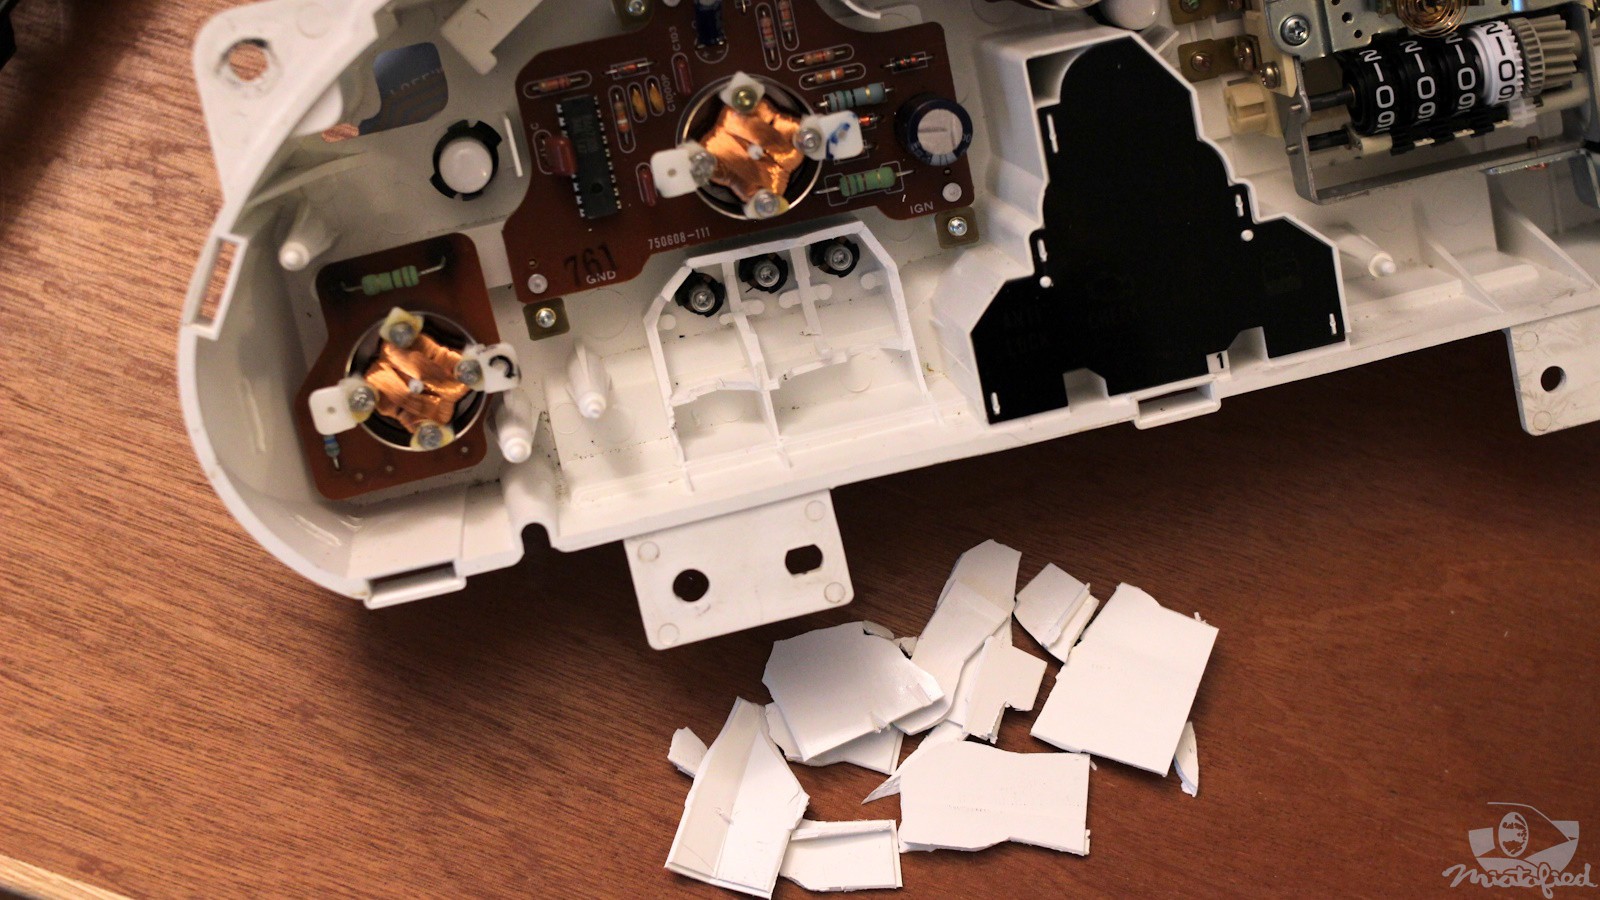
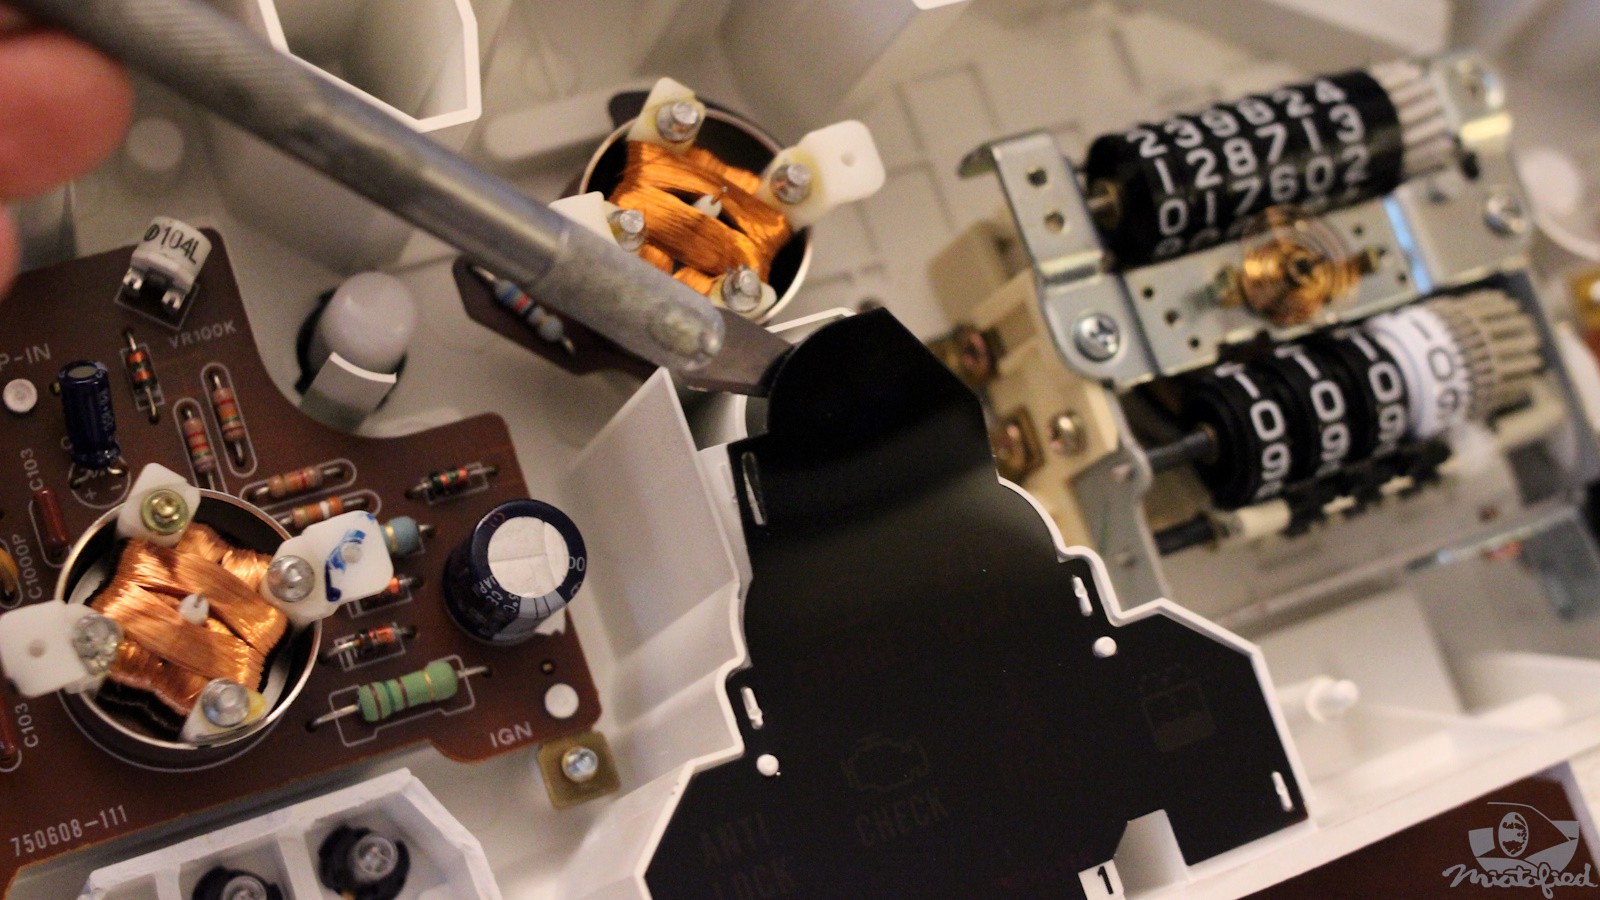
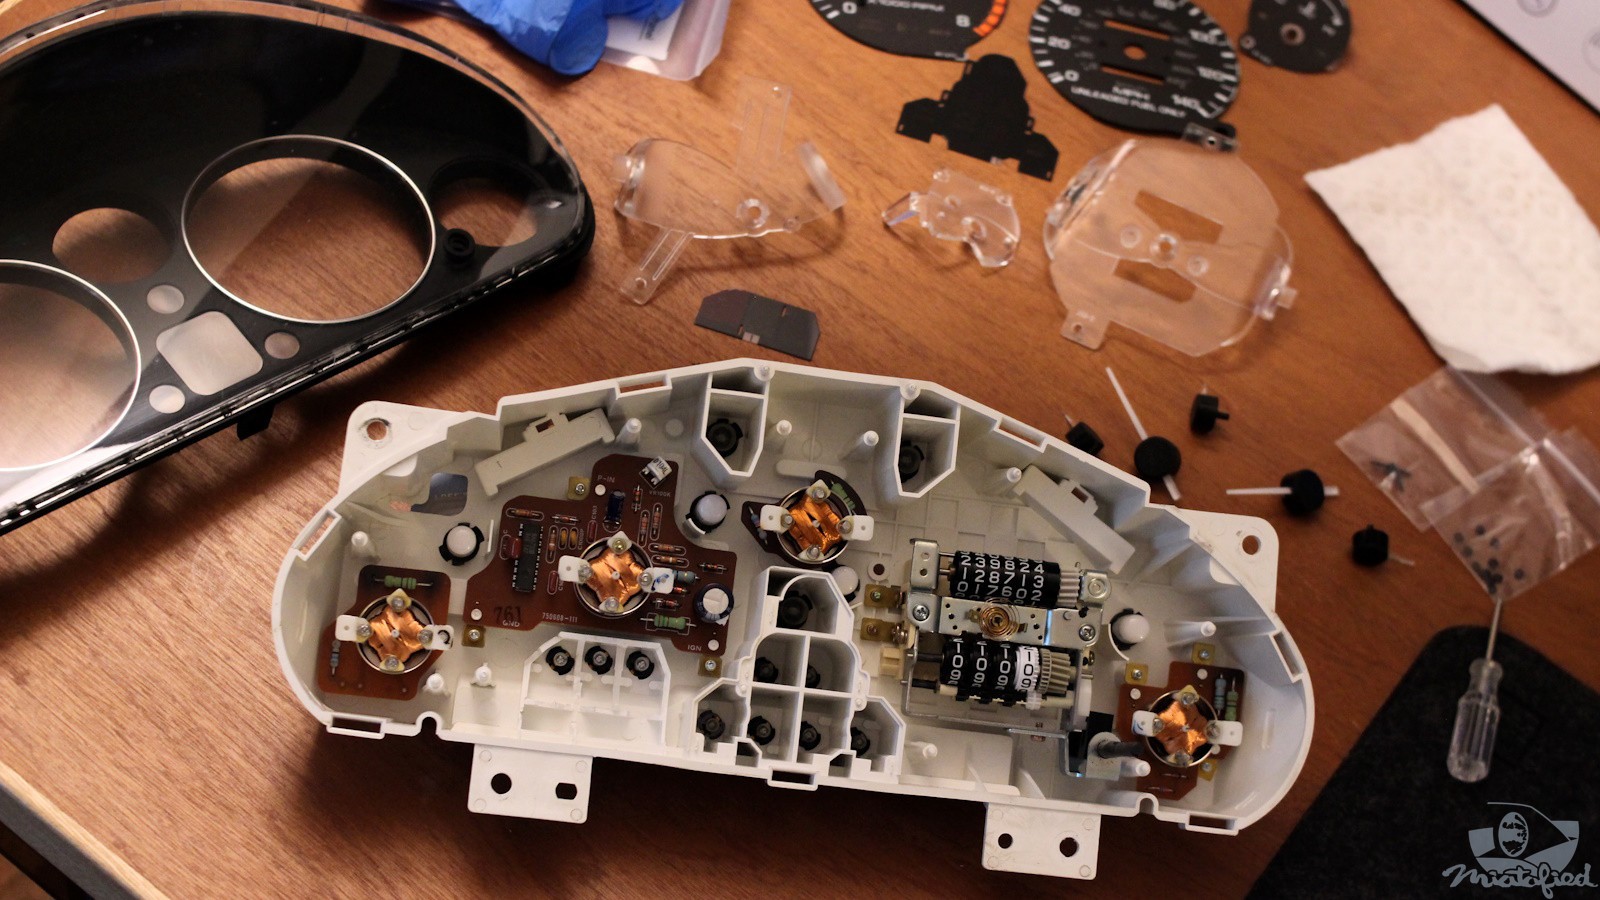
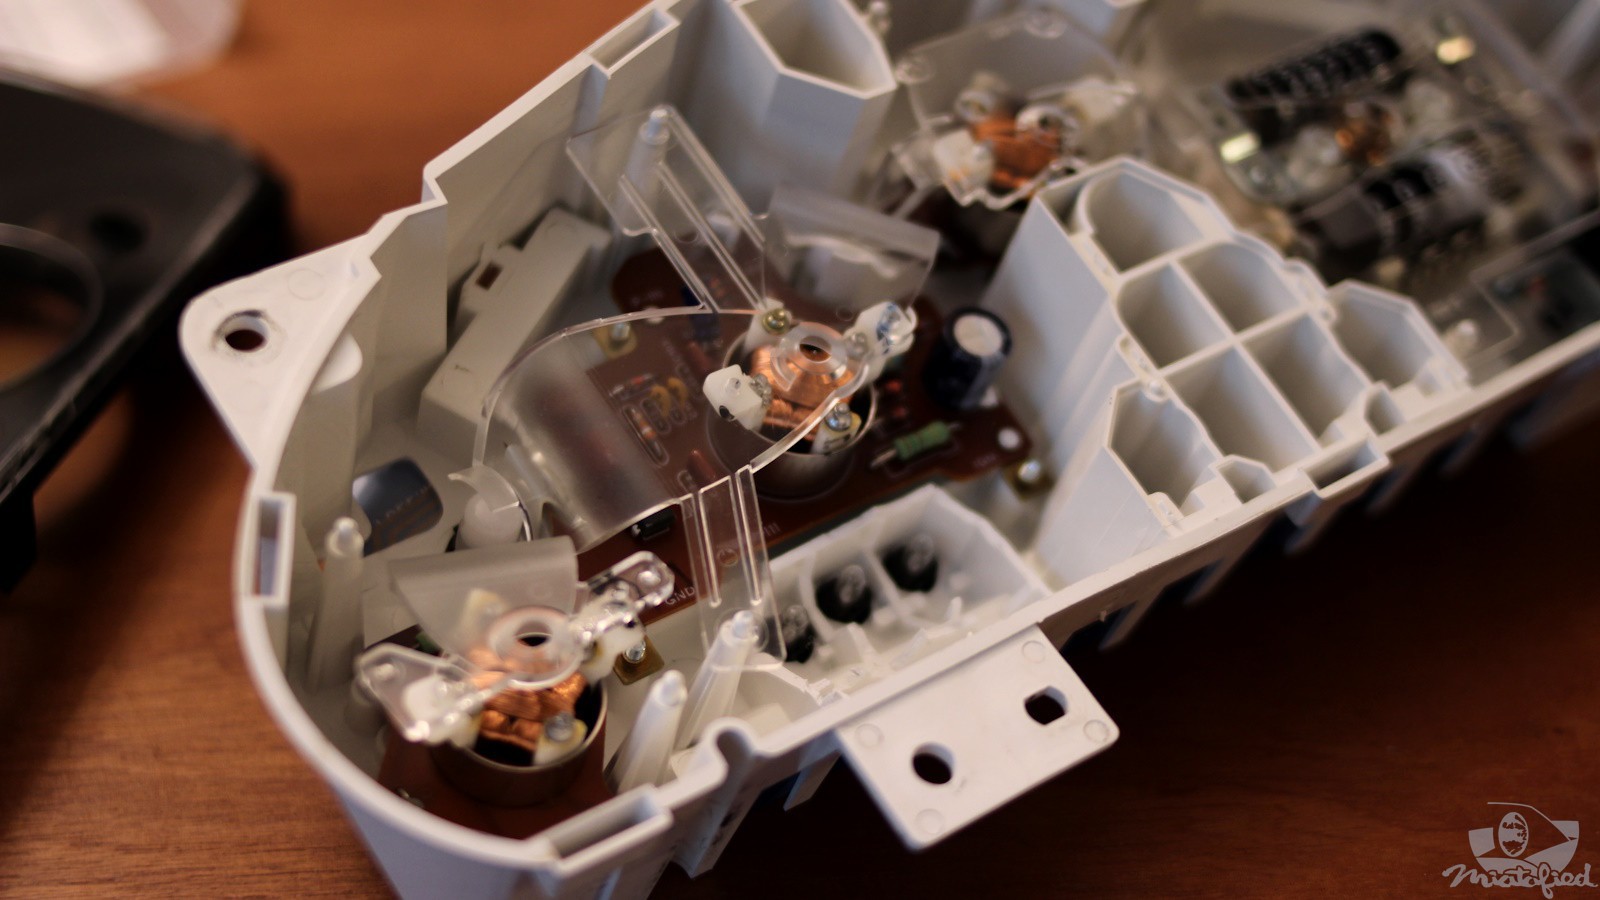
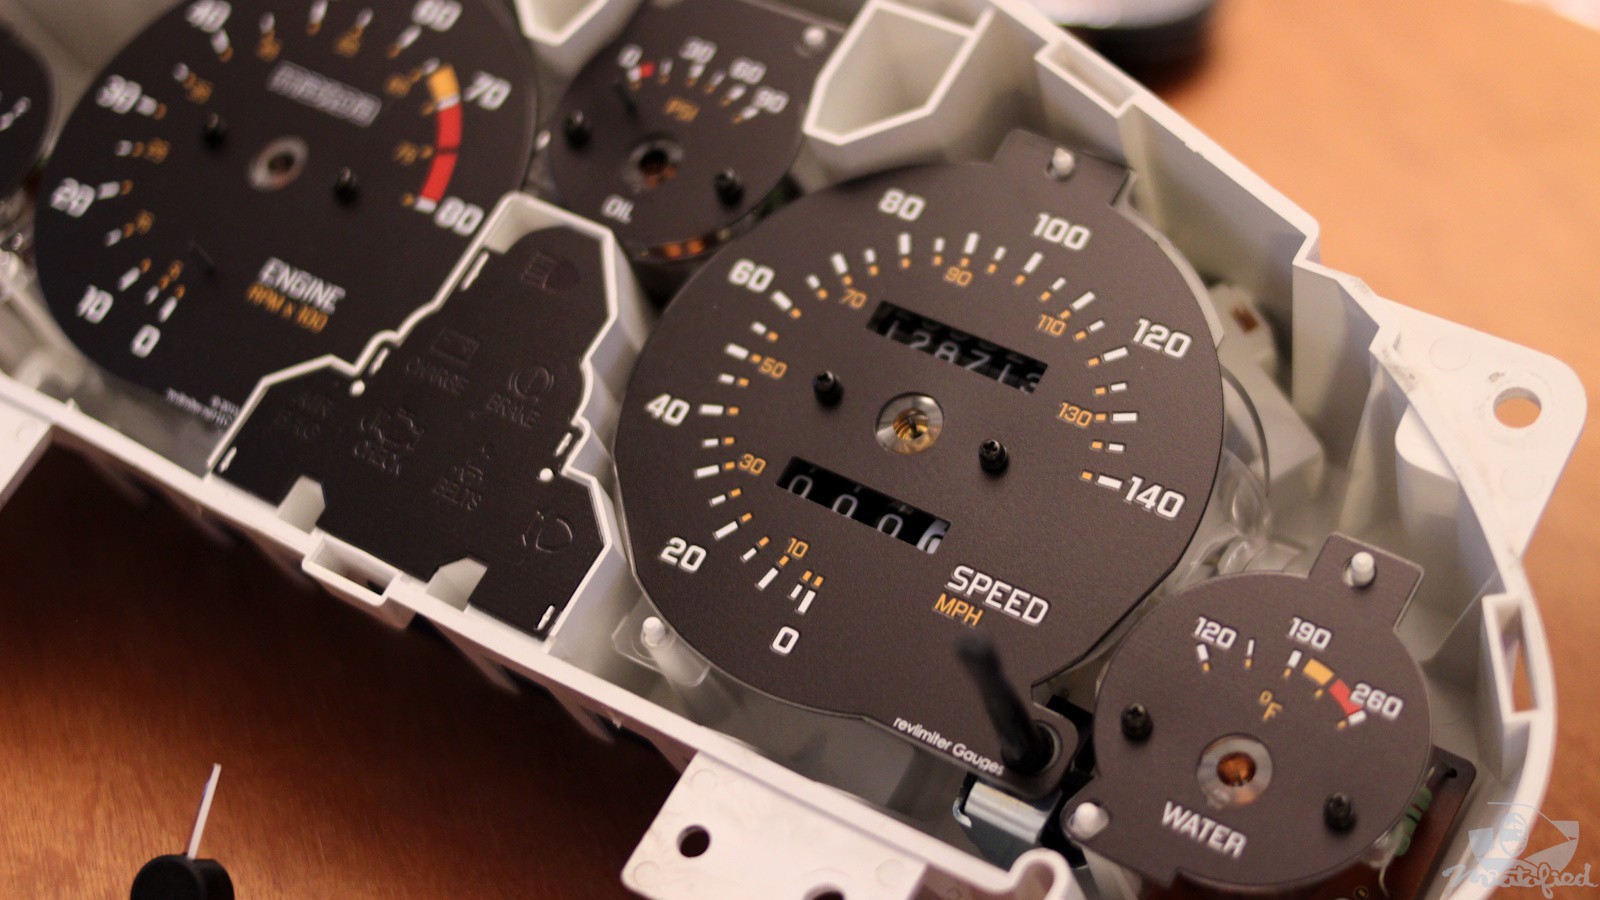
The large clear-plastic light diffusers for the speedometer and tachometer have locating pins to hold them in place. The smaller ones for fuel, oil pressure, and temp are held by the gauge face screws. It’s cool to see how the diffusers divert light from each of the bulbs to the gauge faces.
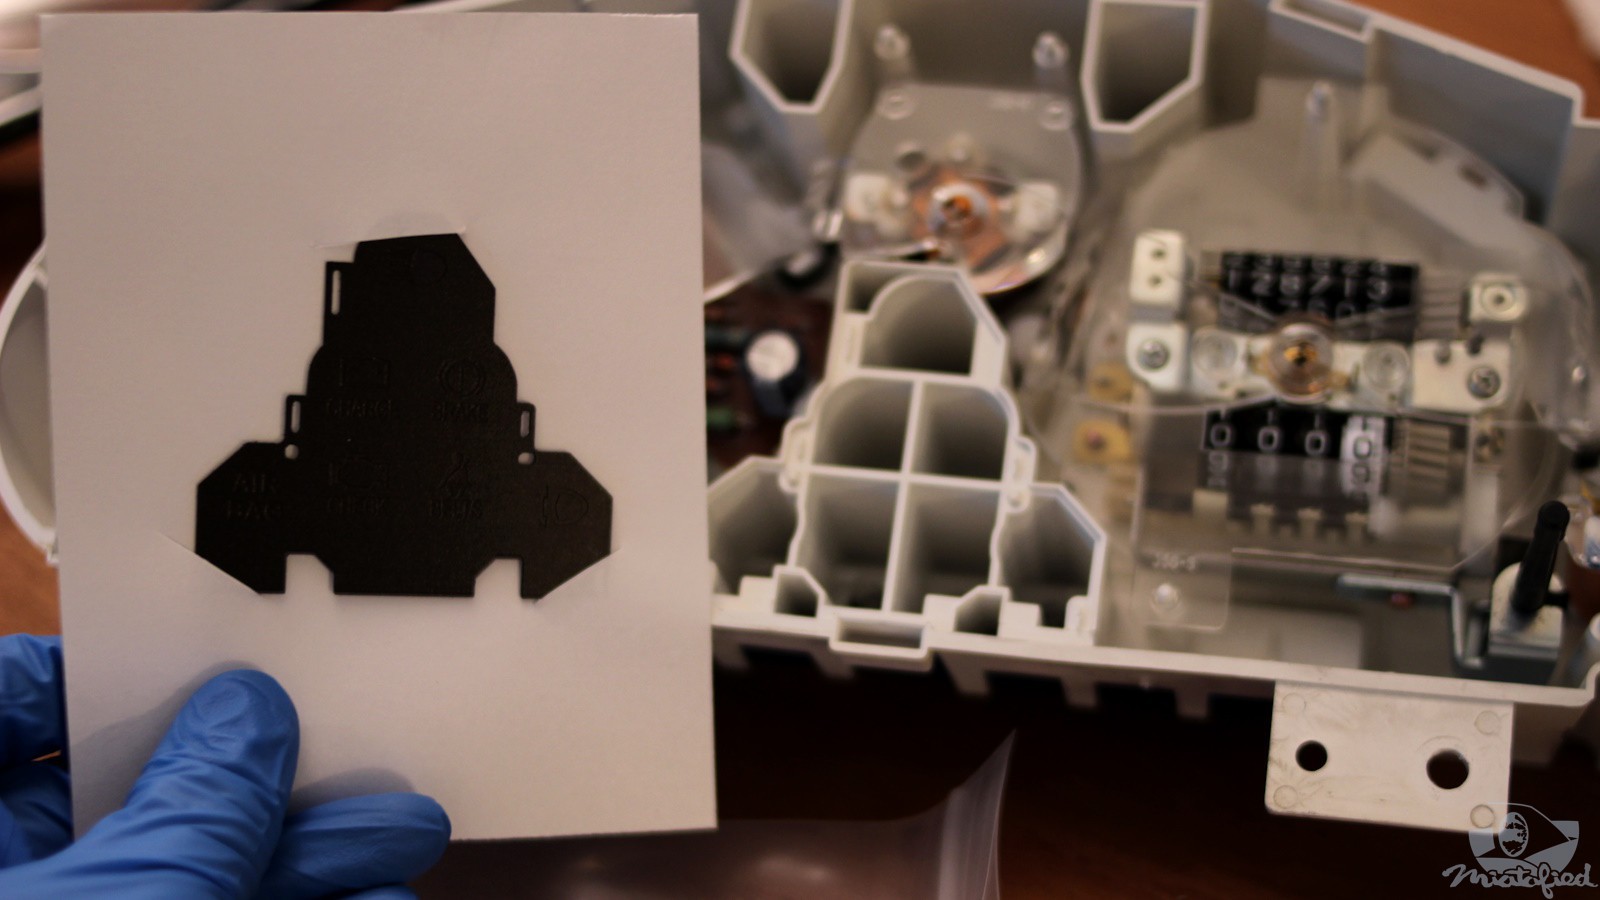
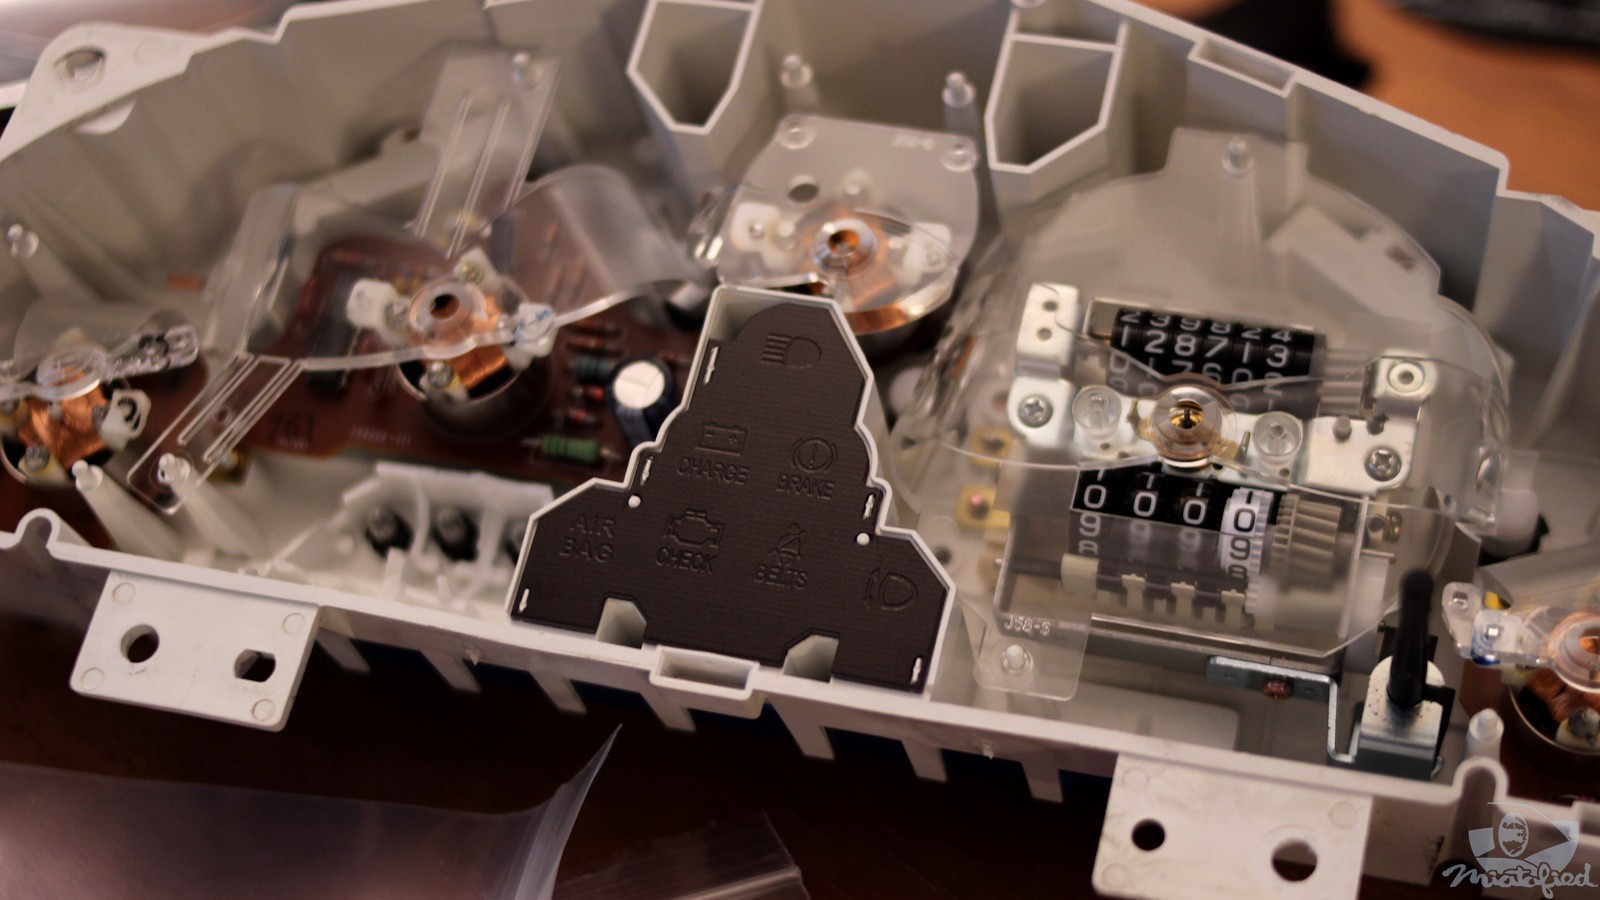
With all the wiring and bulb changes already done, swapping the indicator panel is the easy part.
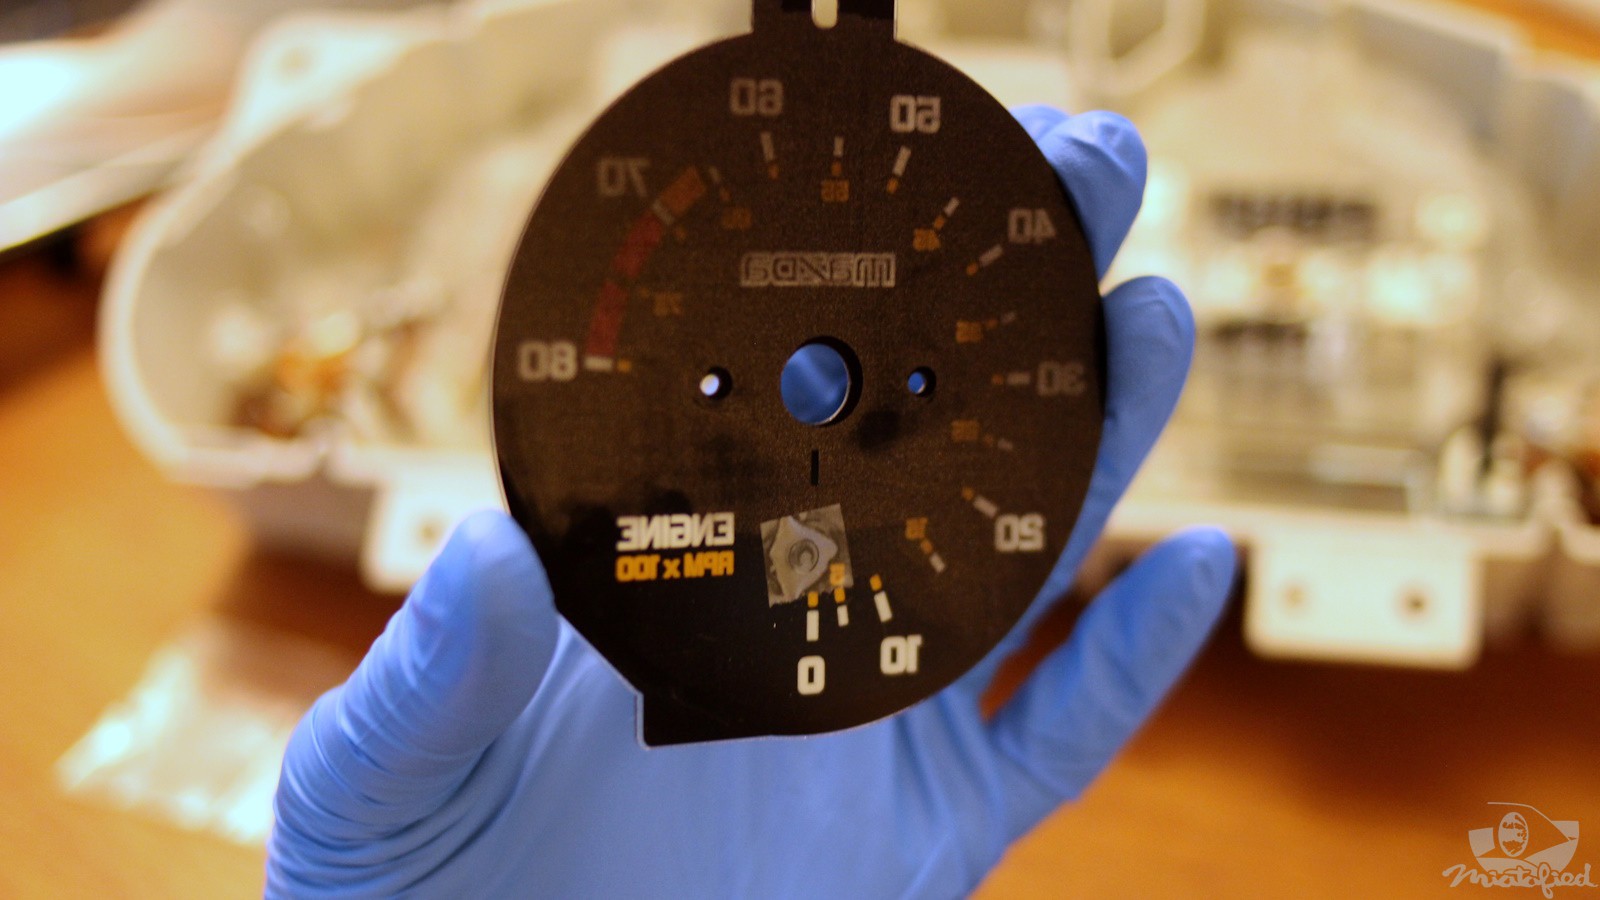
The stopper needles for my gauges faces were loose-fit, so revlimiter recommends a small piece of tape to secure them.
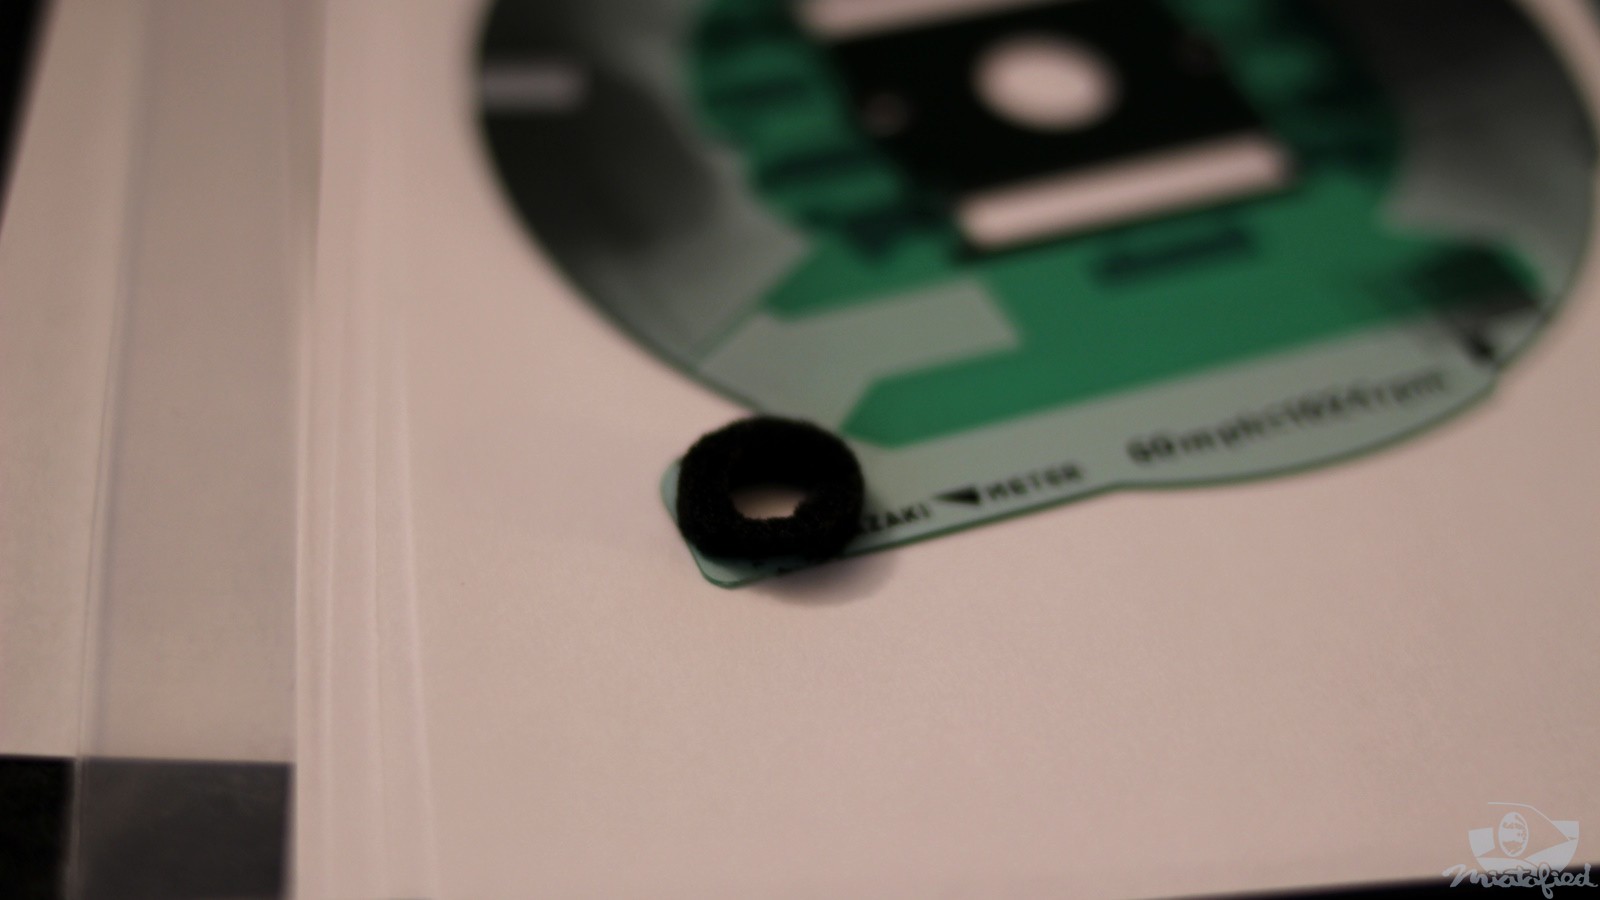
This tiny foam gasket isn’t mentioned in revlimiter’s instructions, but I gently peeled it off and moved it to the new speedometer face. It seals the hole where the trip reset button sticks through the cluster.
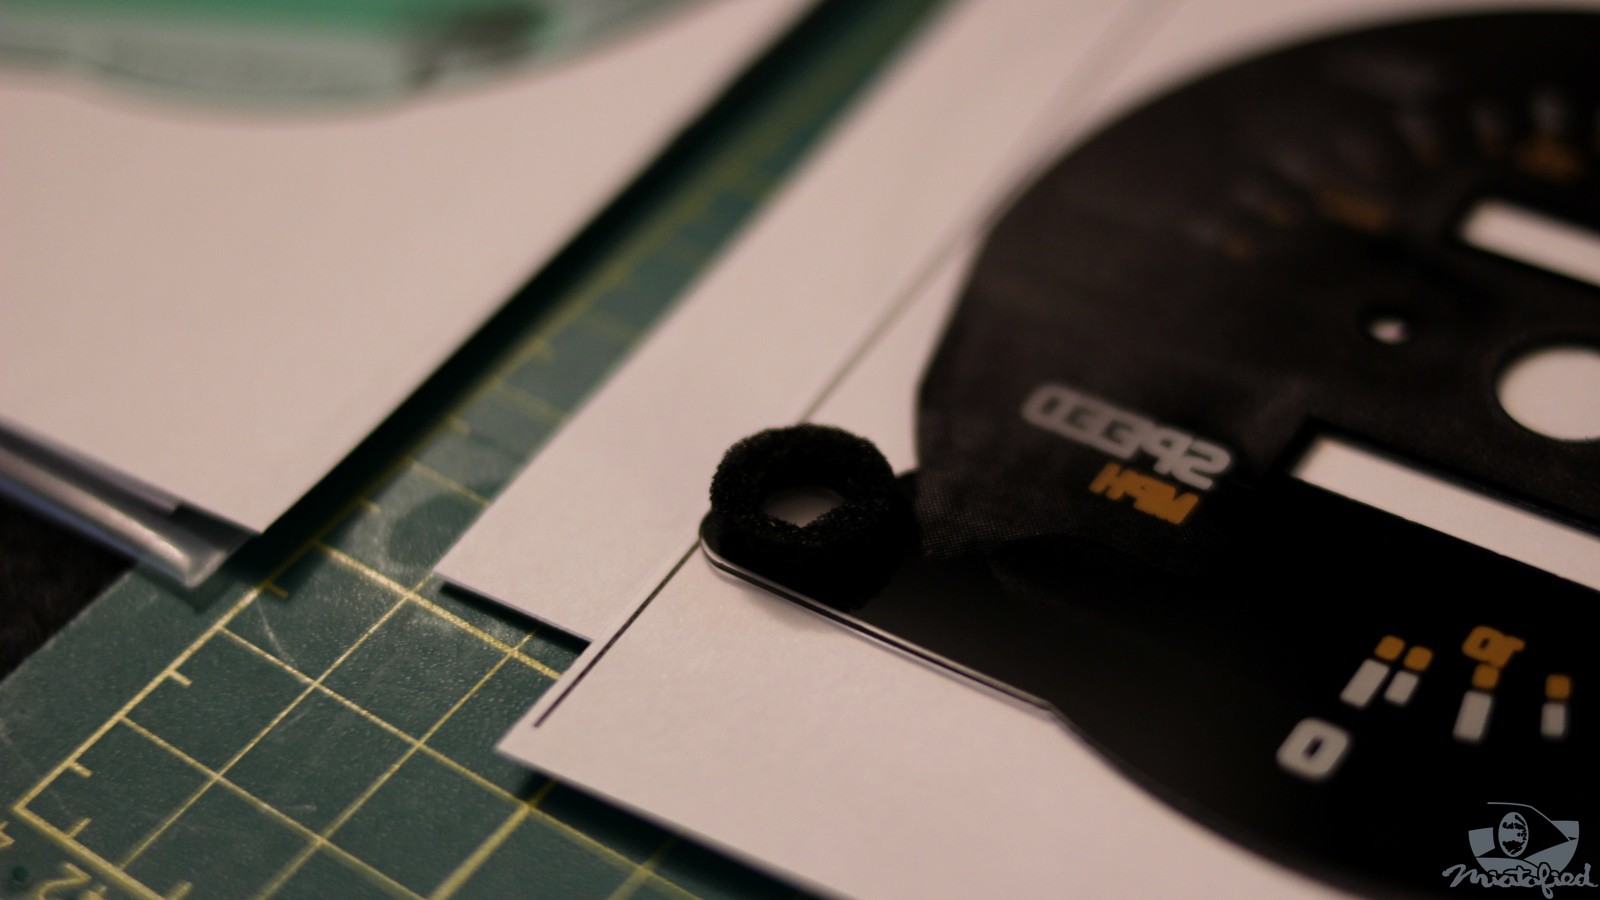
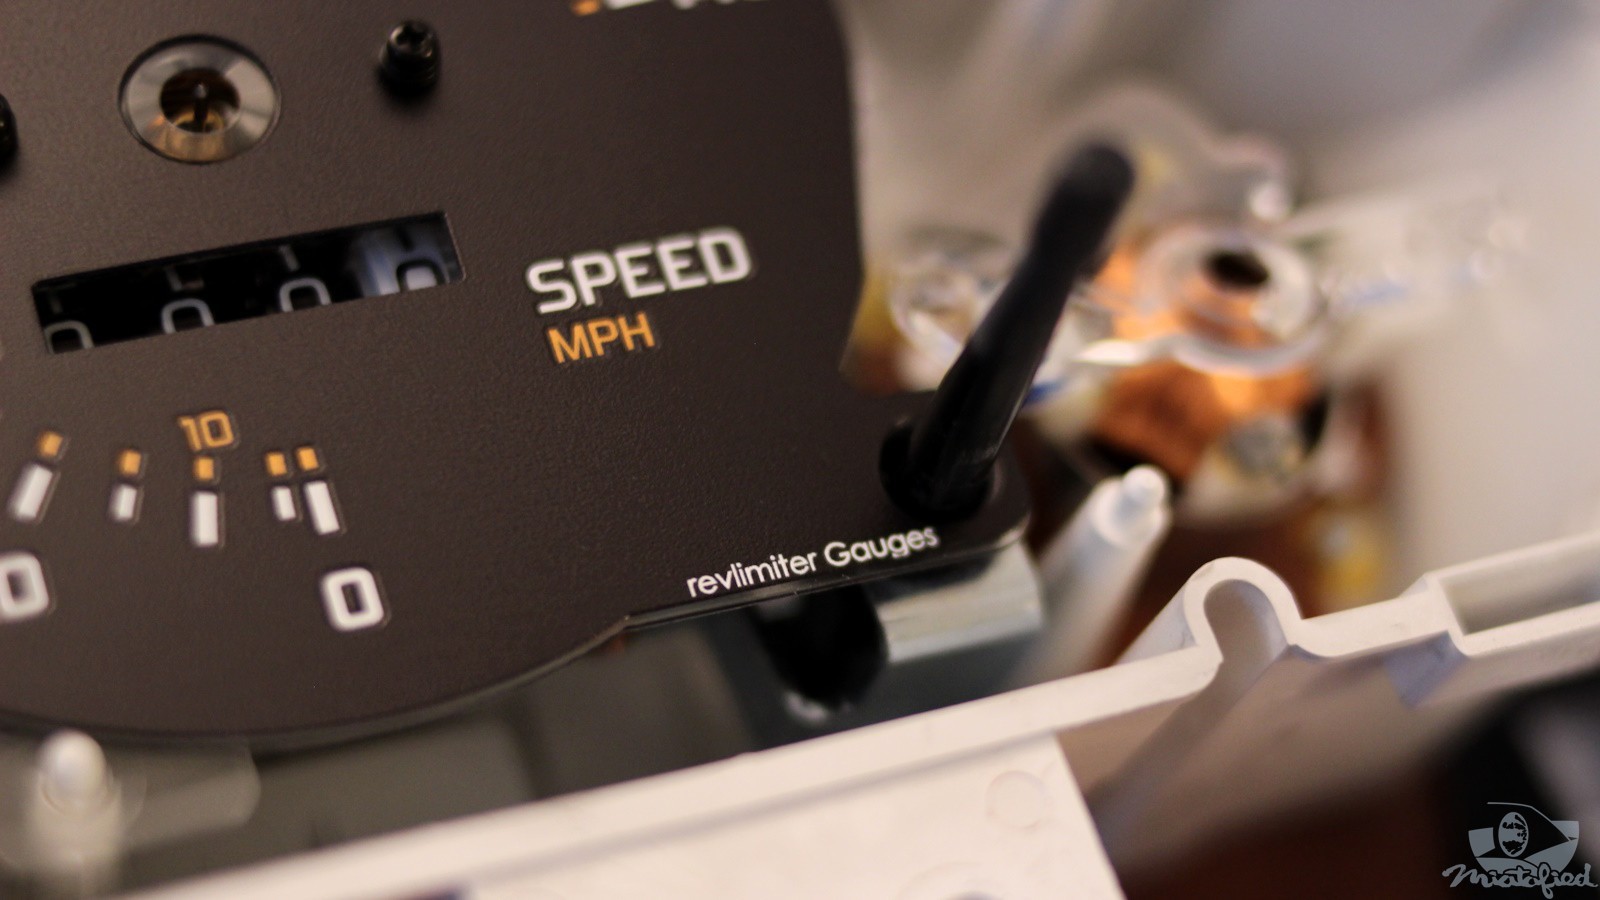
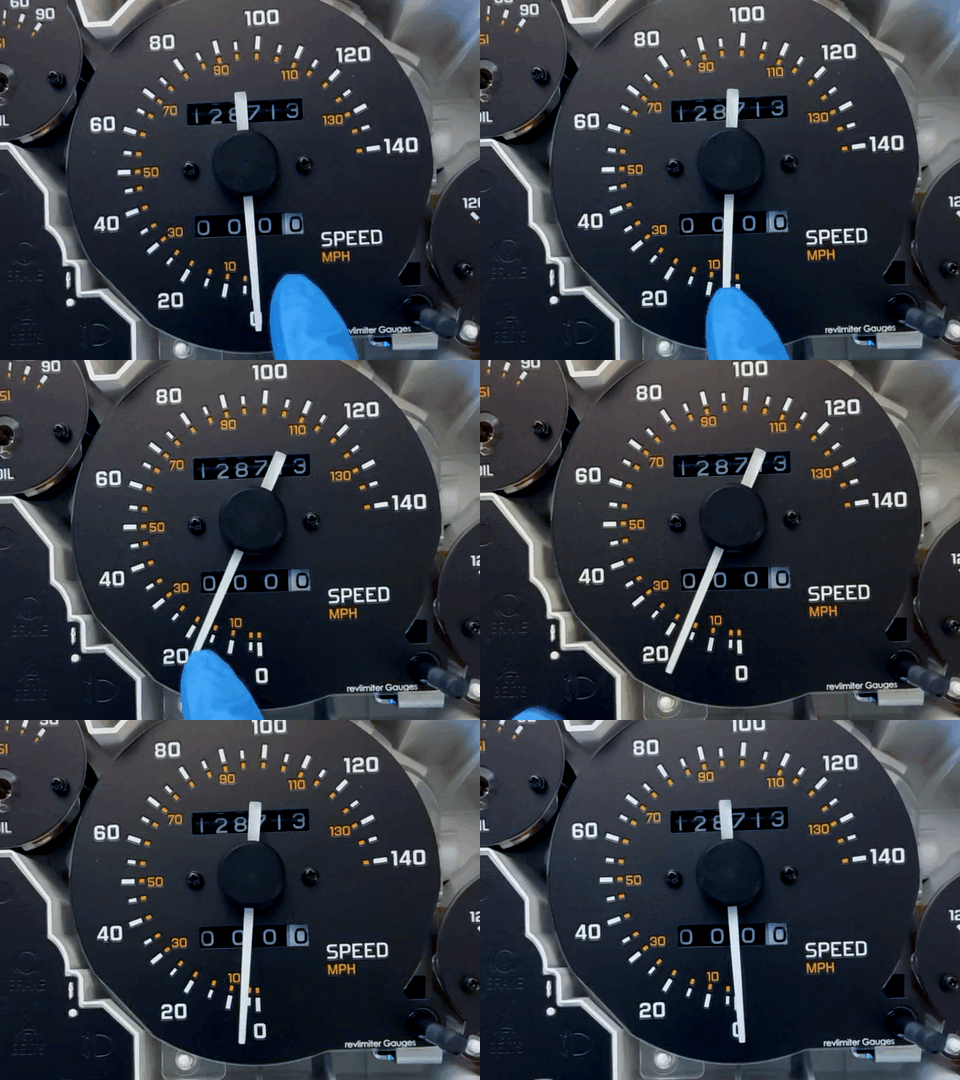
At this point the speedometer gauge is ready to be installed at zero. It is self-aligning and different from all the other gauges that need to be powered to set the needles.
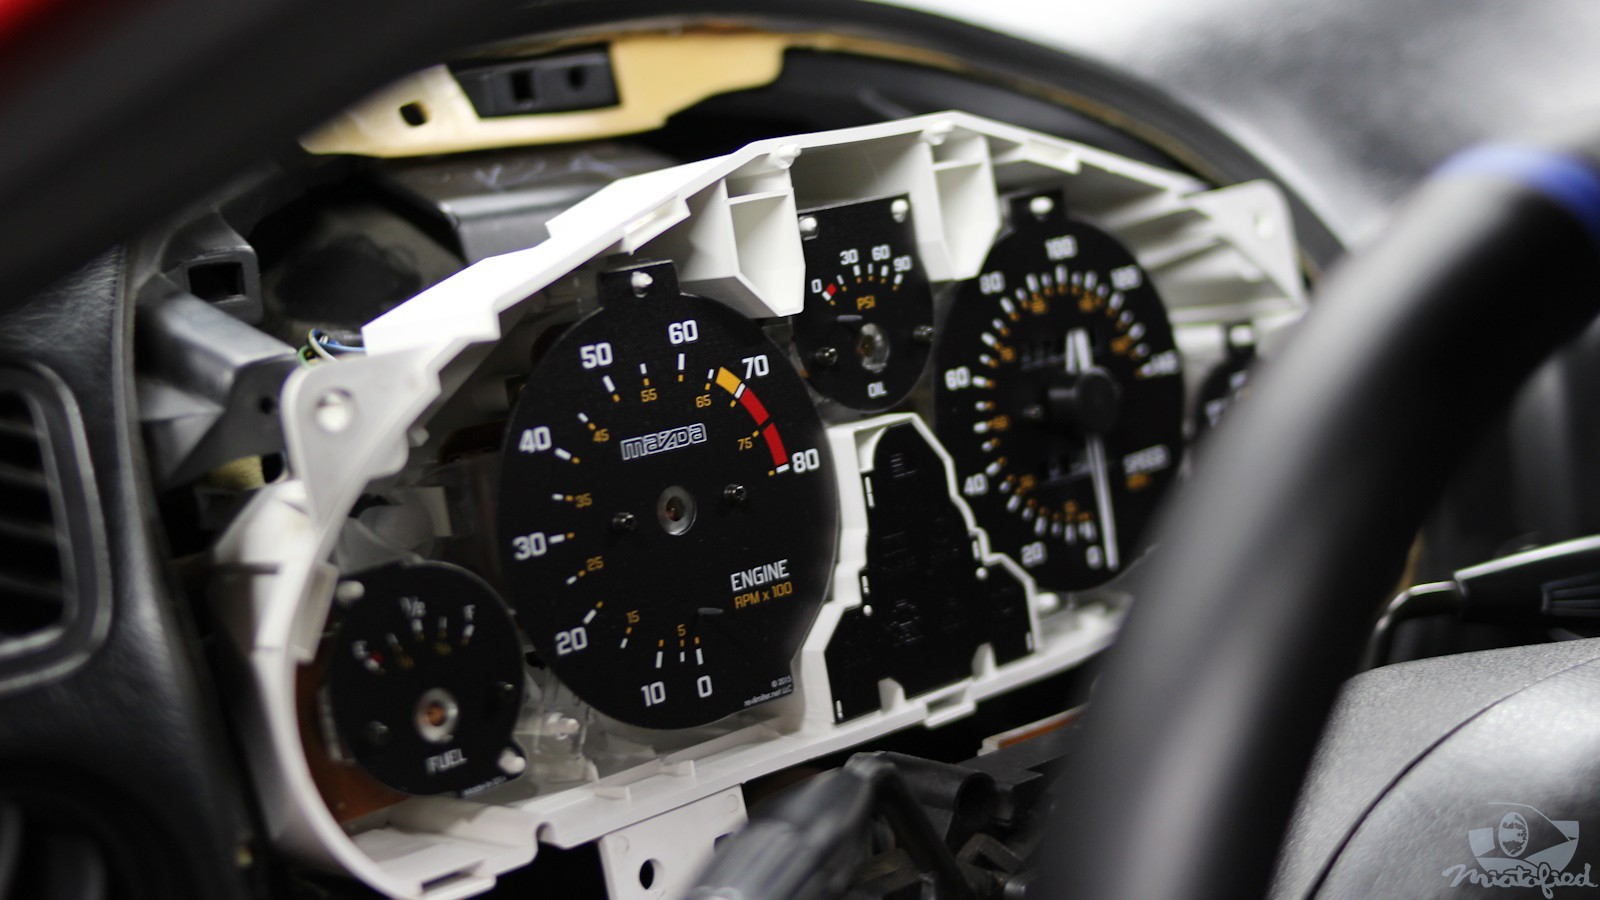
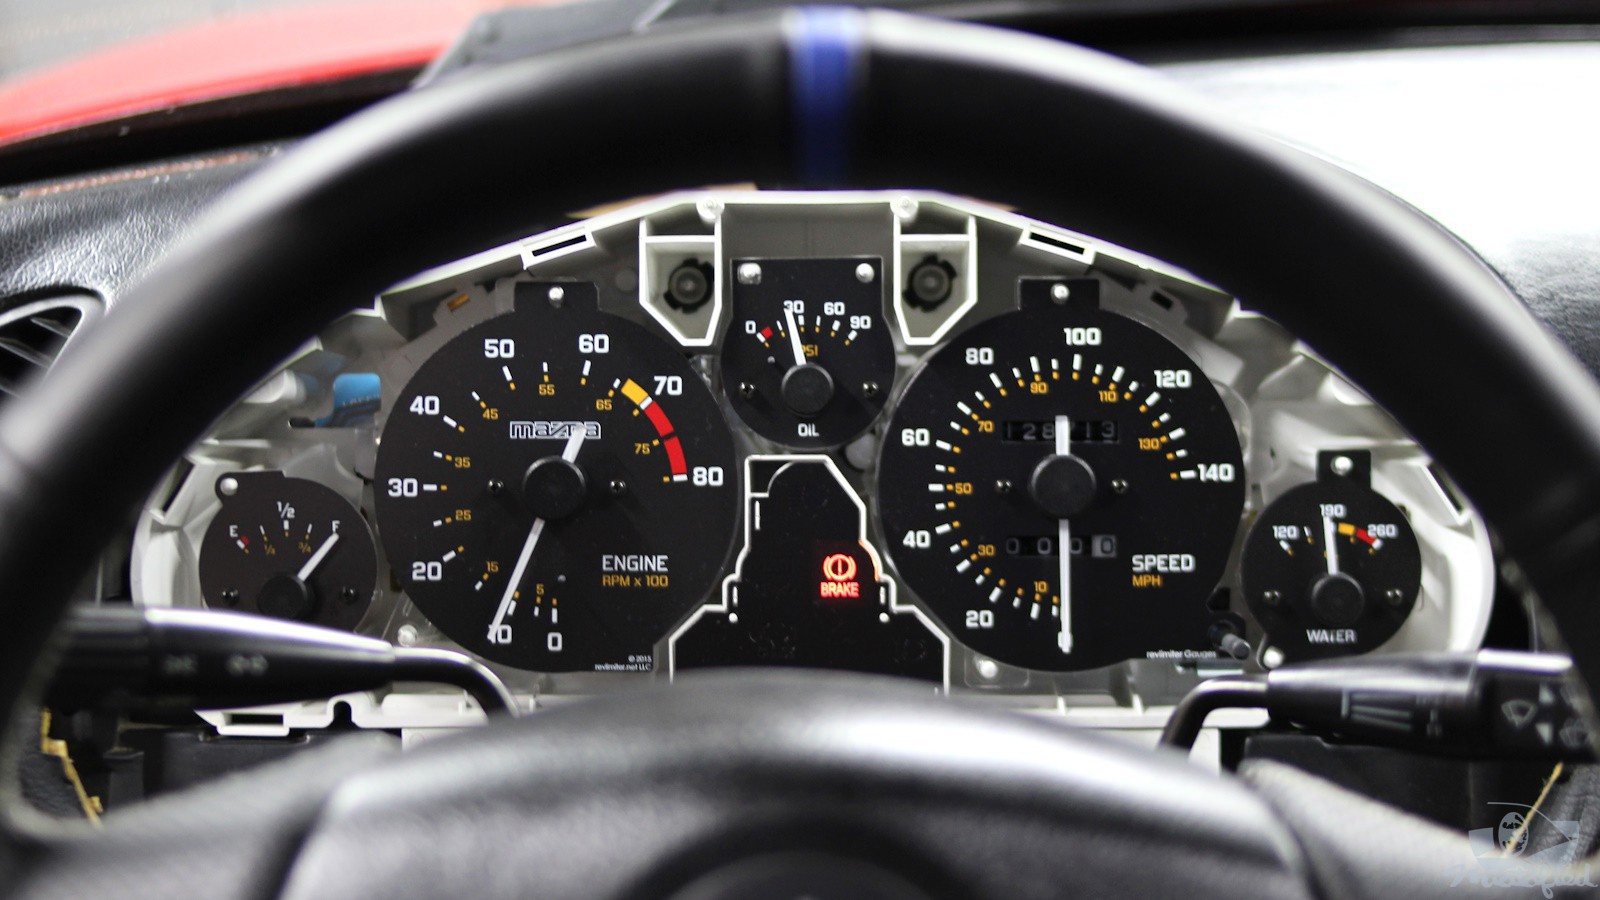
The cluster is plugged in to test the illumination and set the needles.
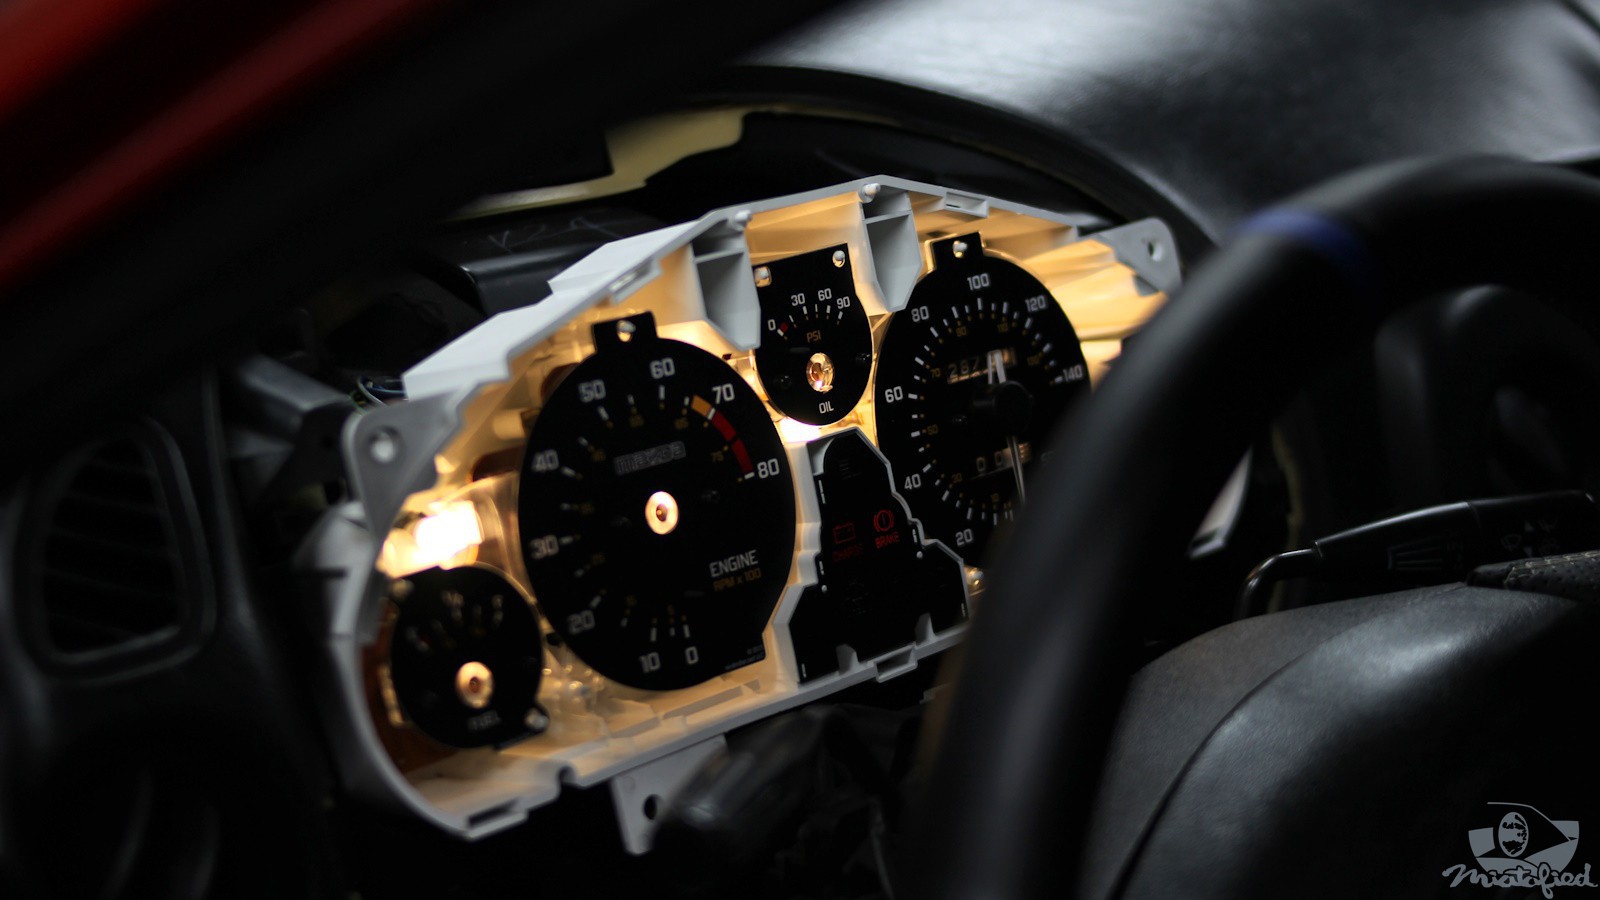
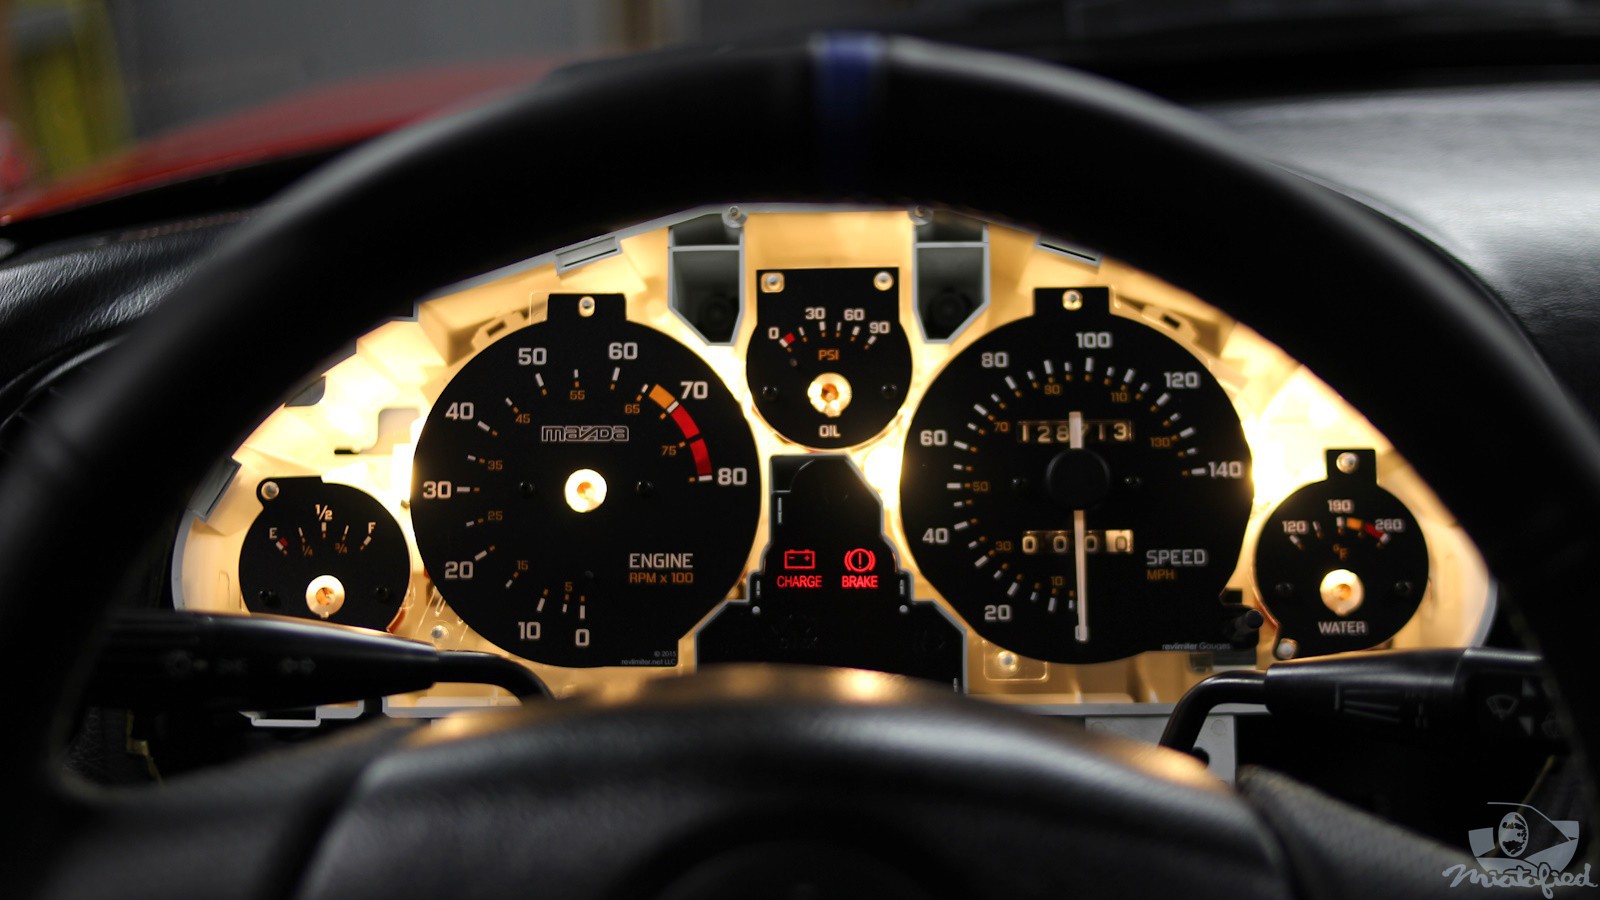
All the lights illuminated properly (LEDs oriented the right way) before continuing reassembly.
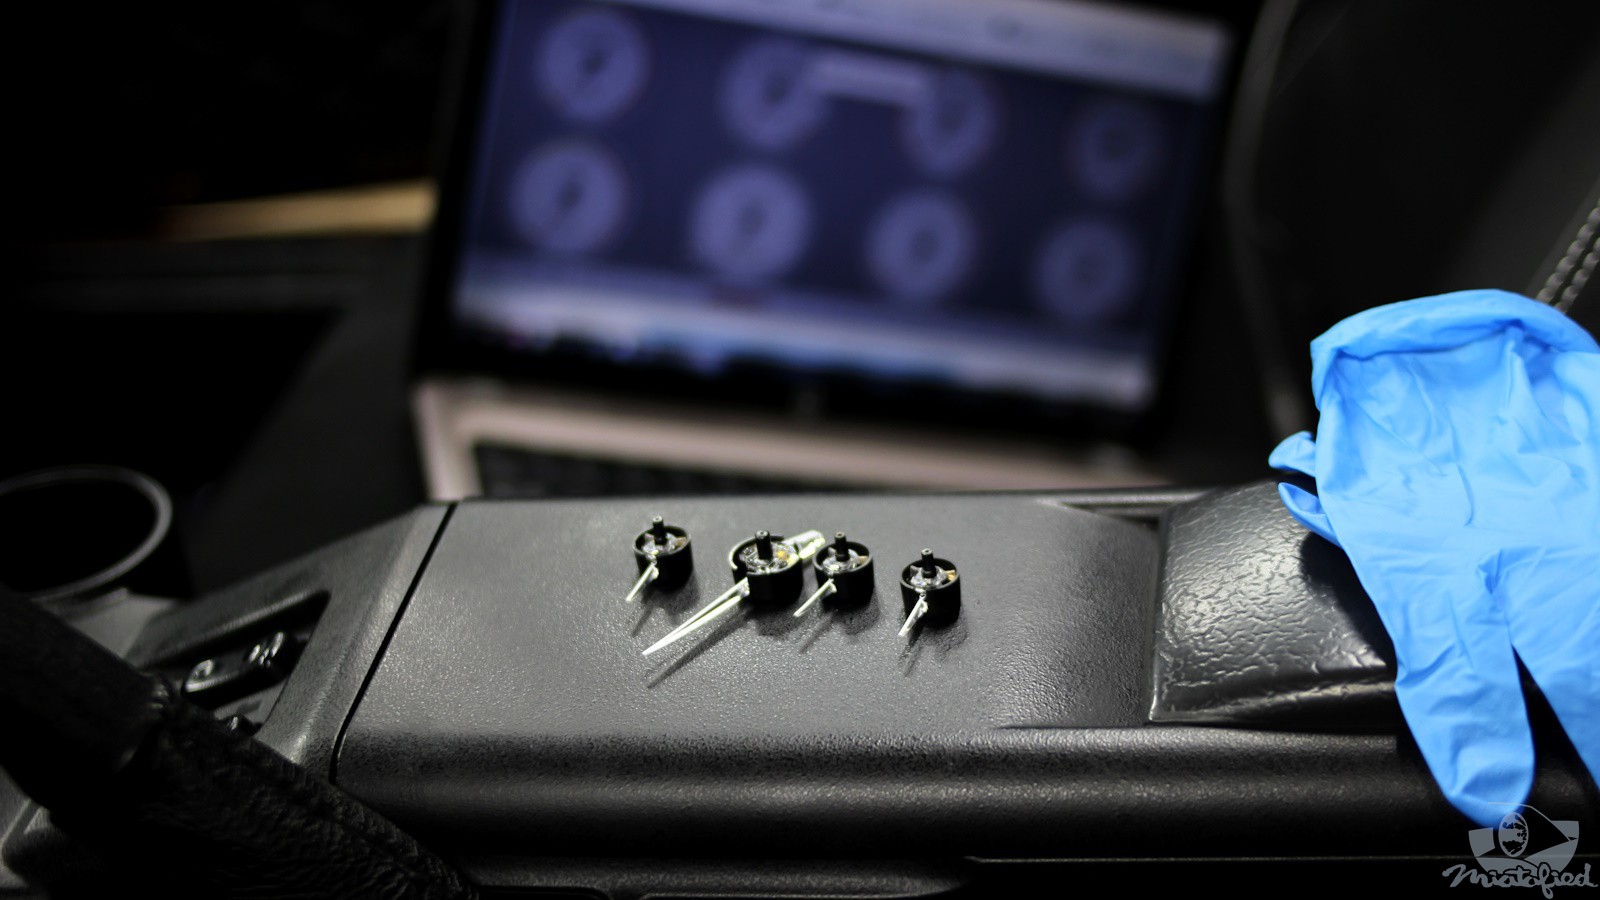
With my standalone ecu I could monitor the tachometer and temp readings to set these needles to match. Oil pressure position is eyeballed based on where I’ve seen it with the car warmed up and idling. Fuel level is set with a full tank. The needles are gently pressed onto their pins, verified, then pushed firmly into place (but not so firmly that they contact the gauge face).
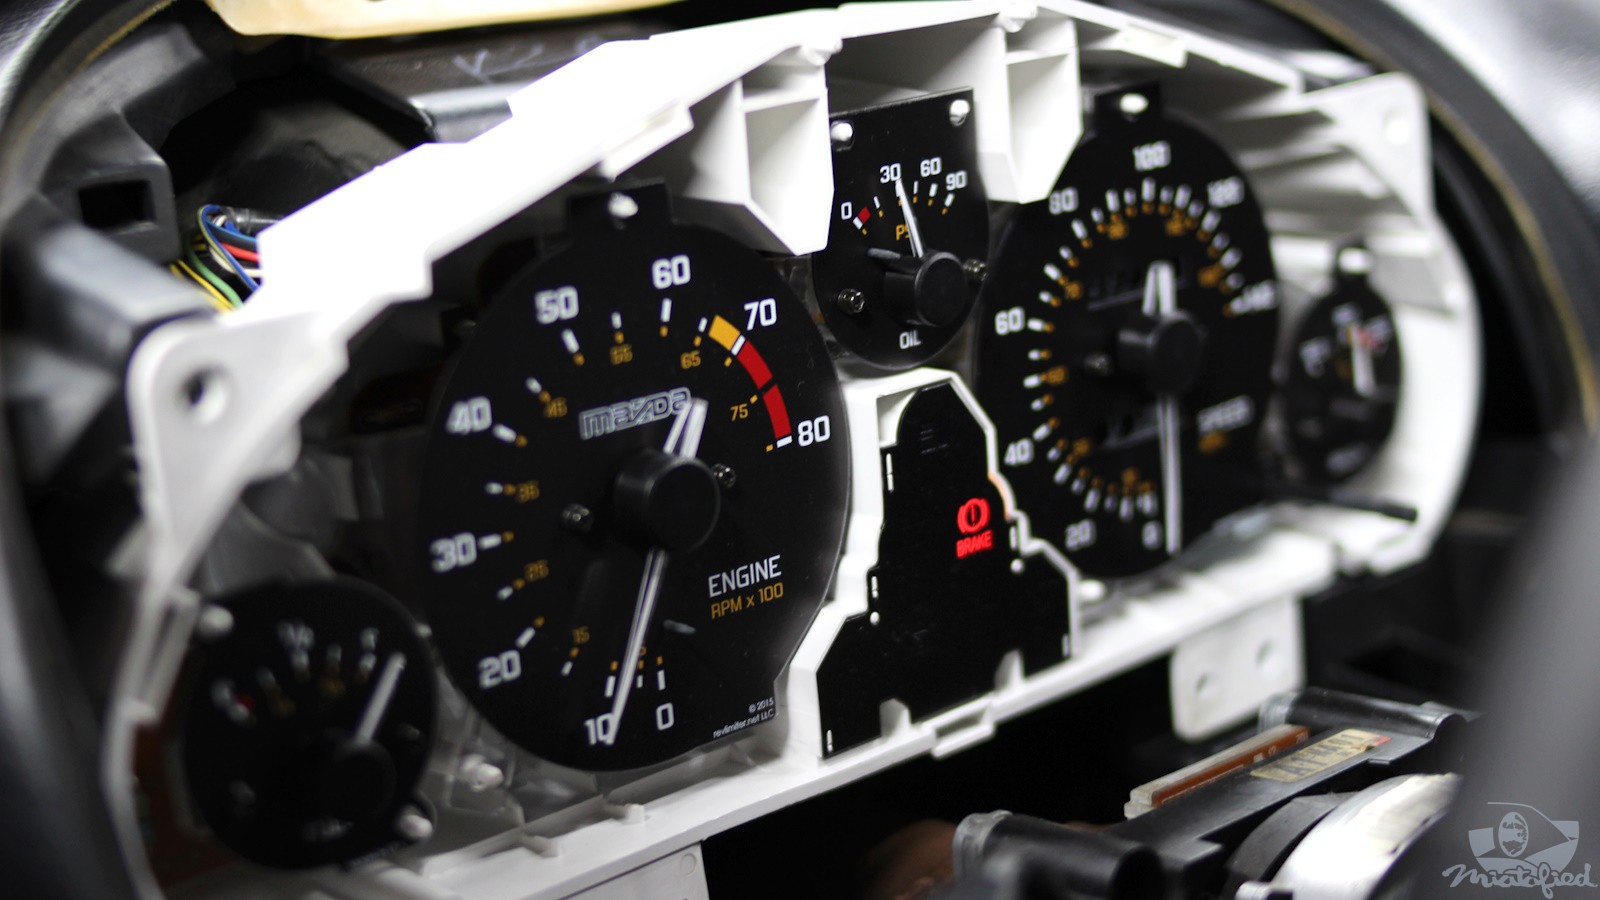
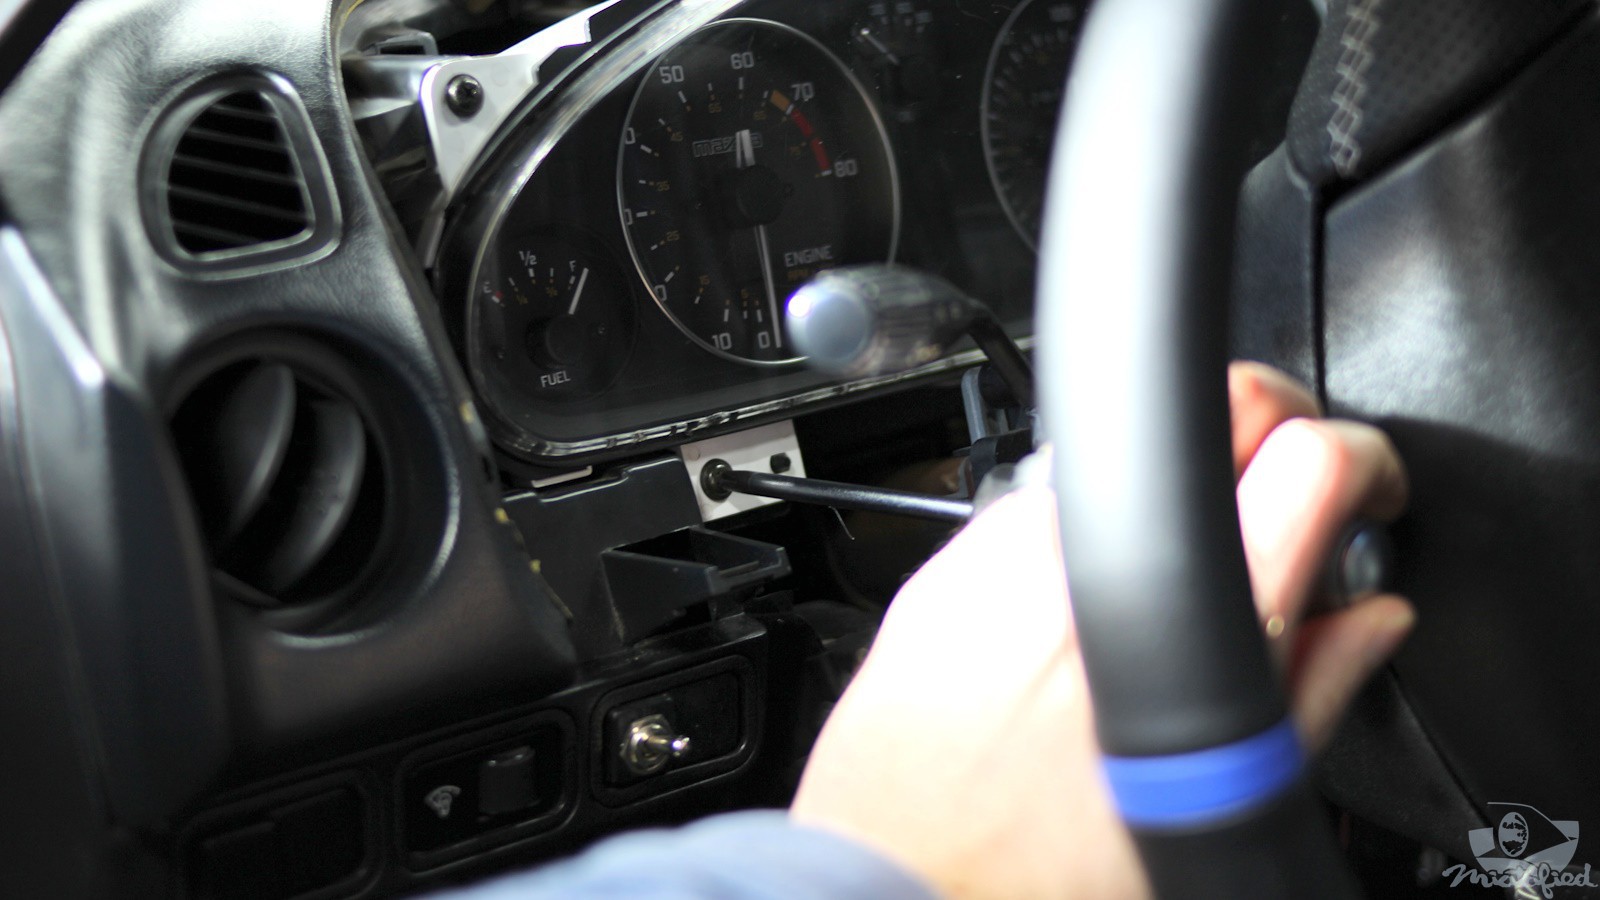
The final step is to reinstall the clear gauge cover and mount the cluster. If your screwdriver is too long, rotate the steering wheel to reach these bottom screws (or user a shorter screwdriver 😑).
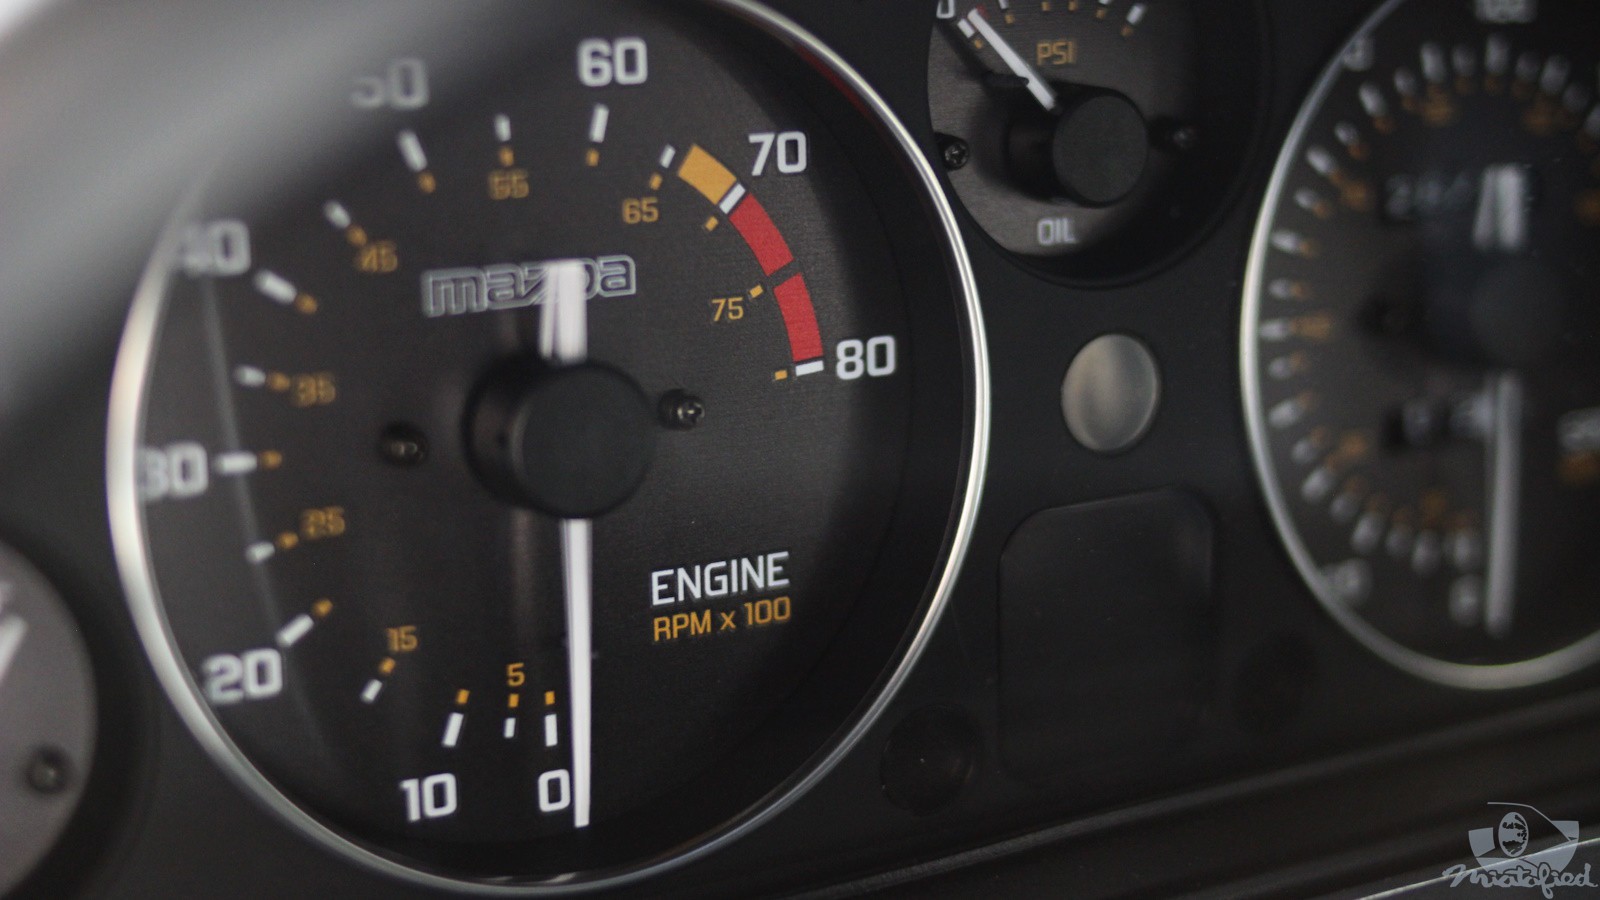
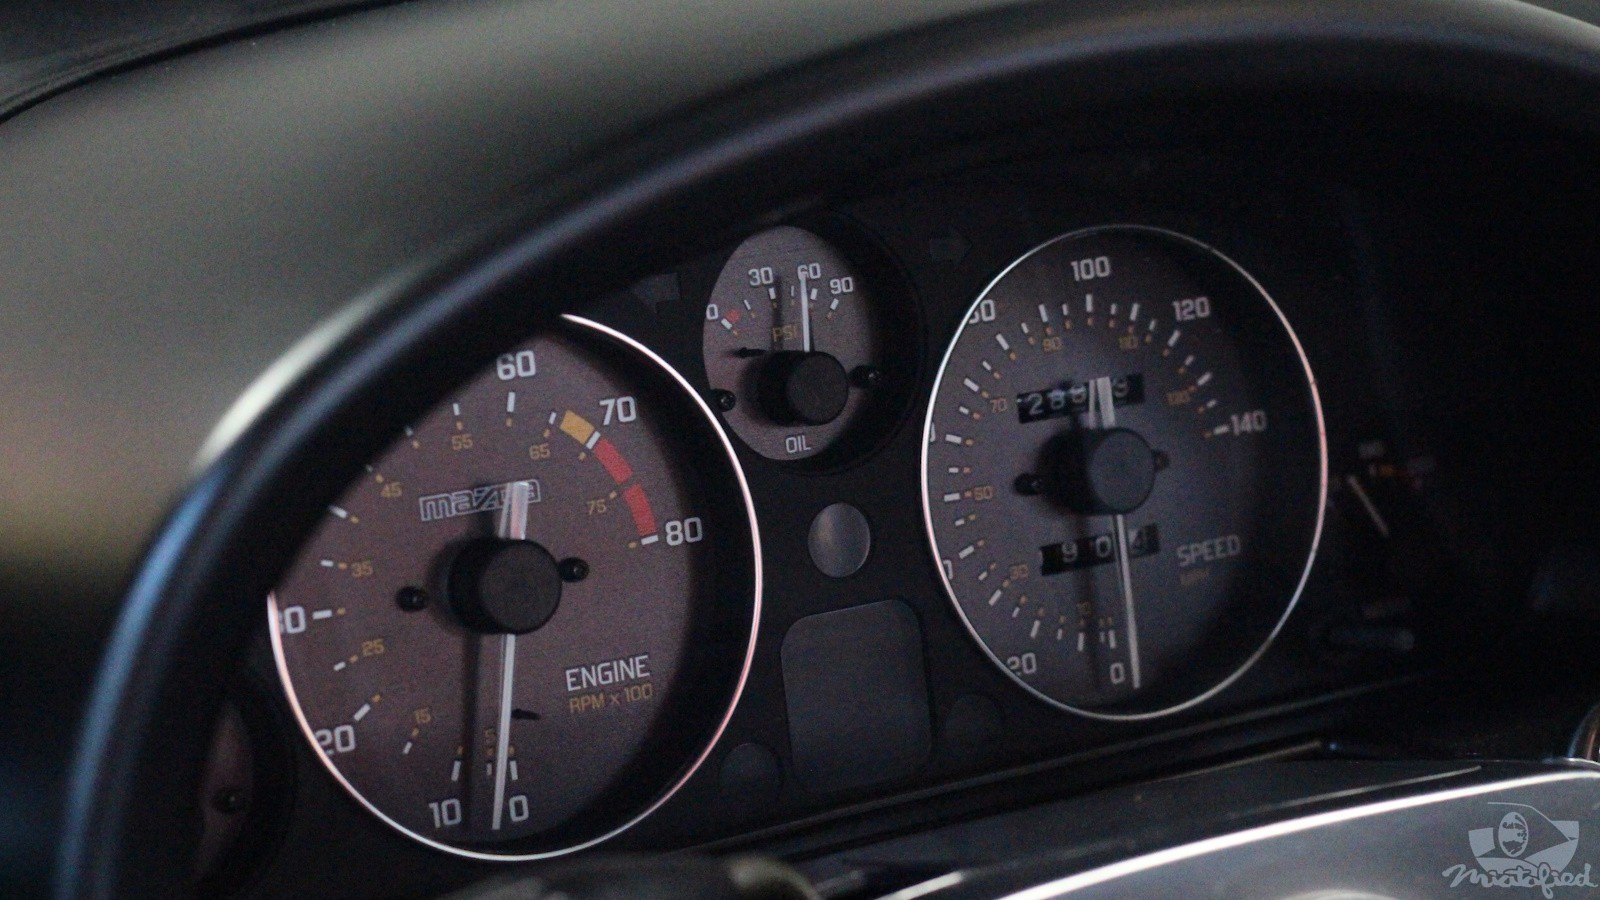
Aren’t they pretty? 😍
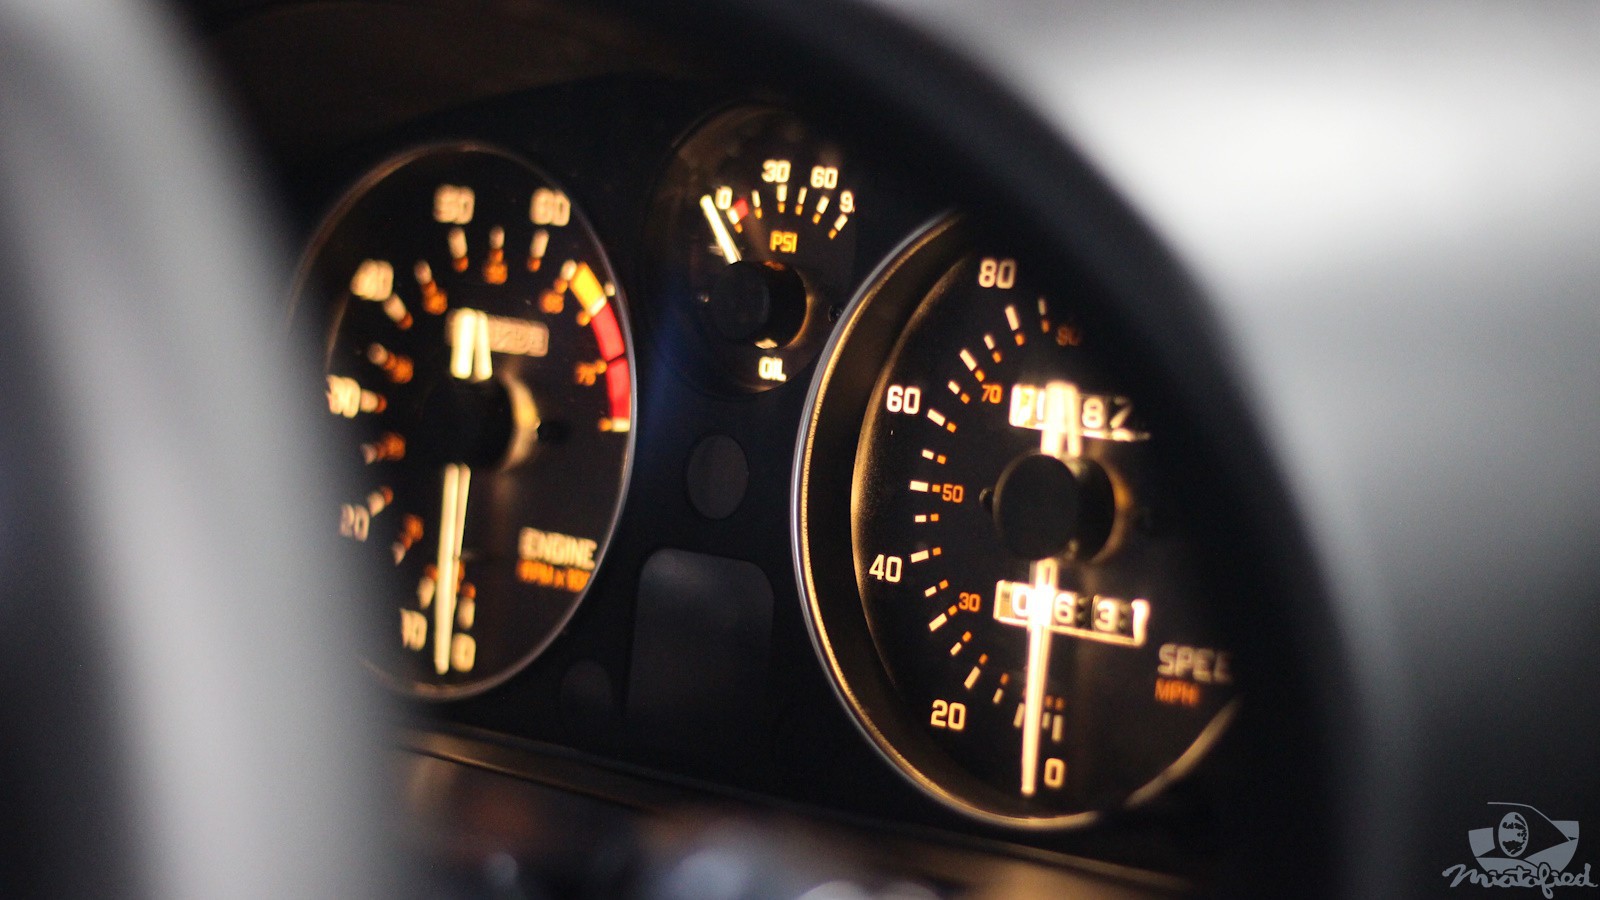
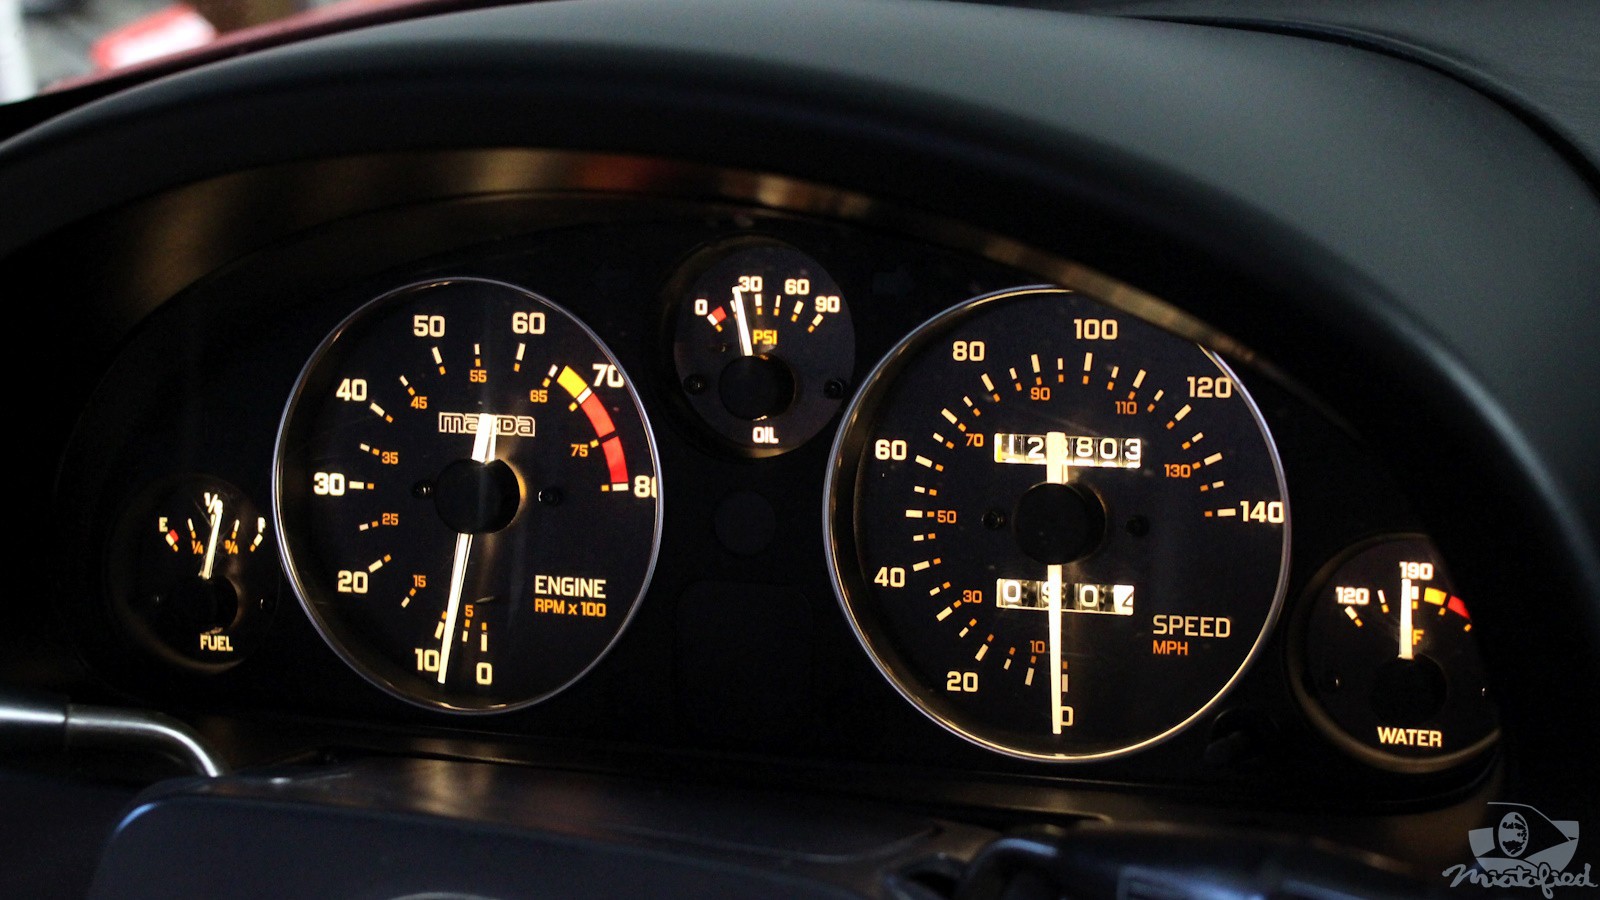
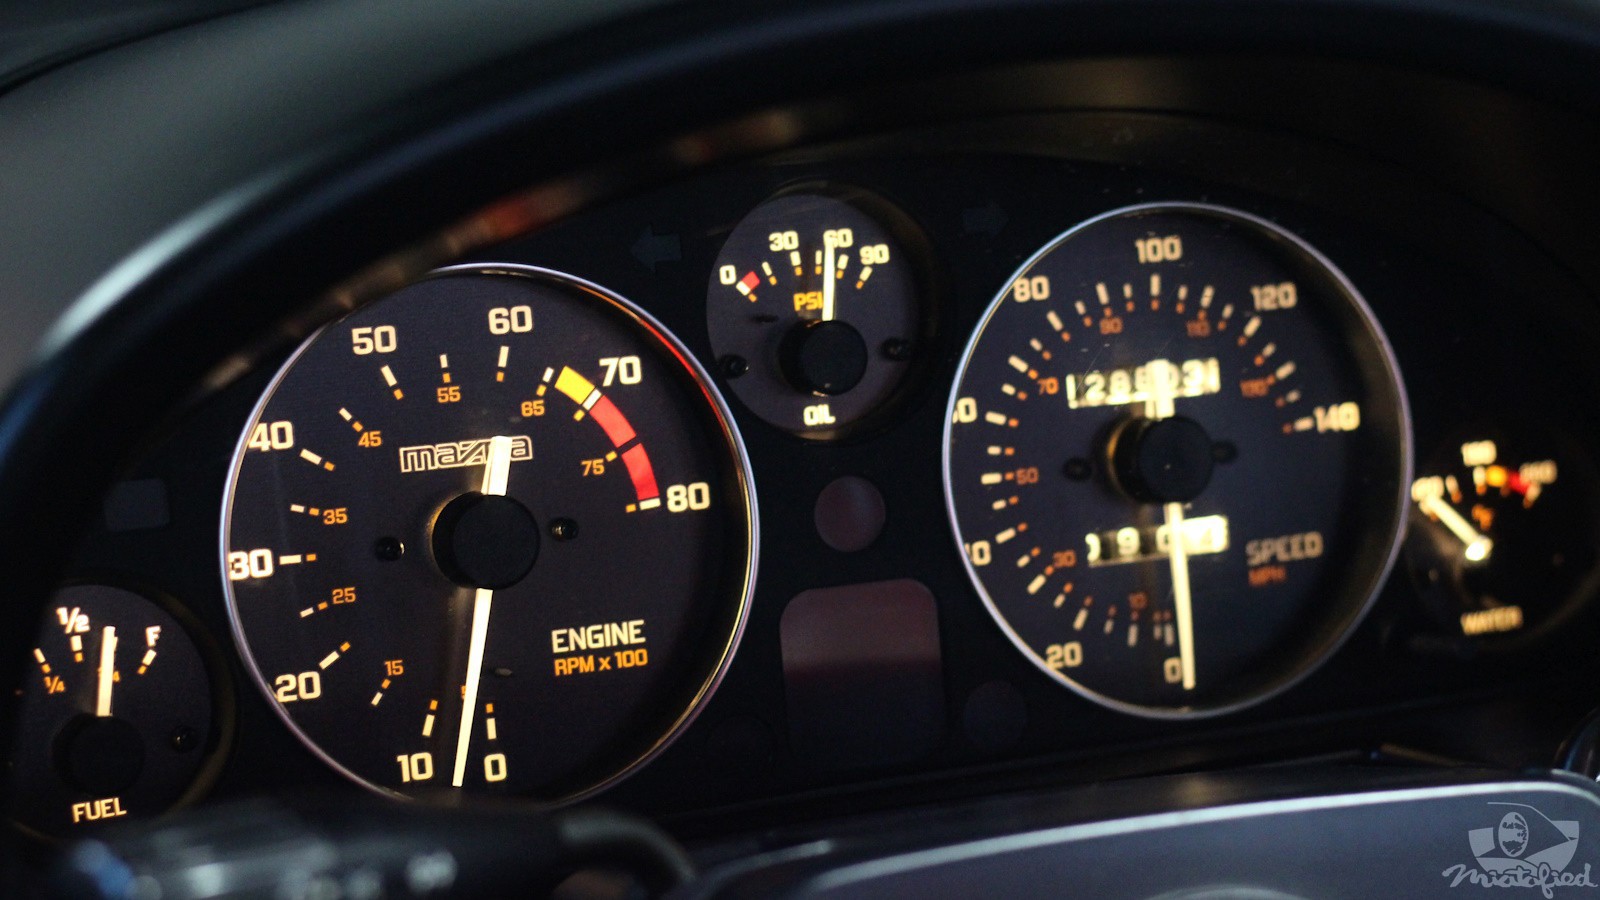

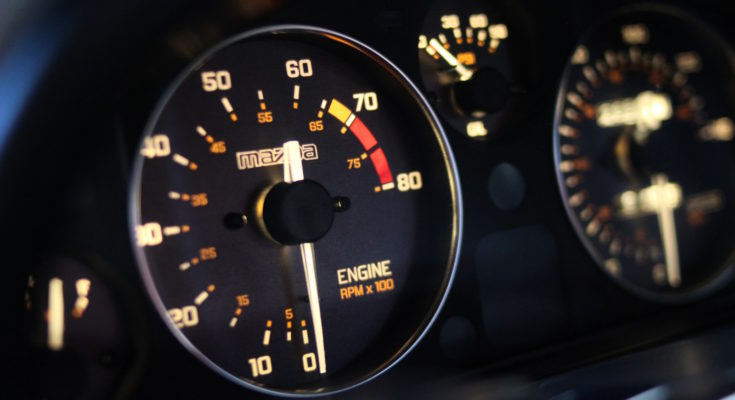



They look so nice!! Did the windshield fluid indicator move or is it gone now?
It’s gone, but it never worked on my car. I think only Miatas with ABS had a sensor for washer fluid level.