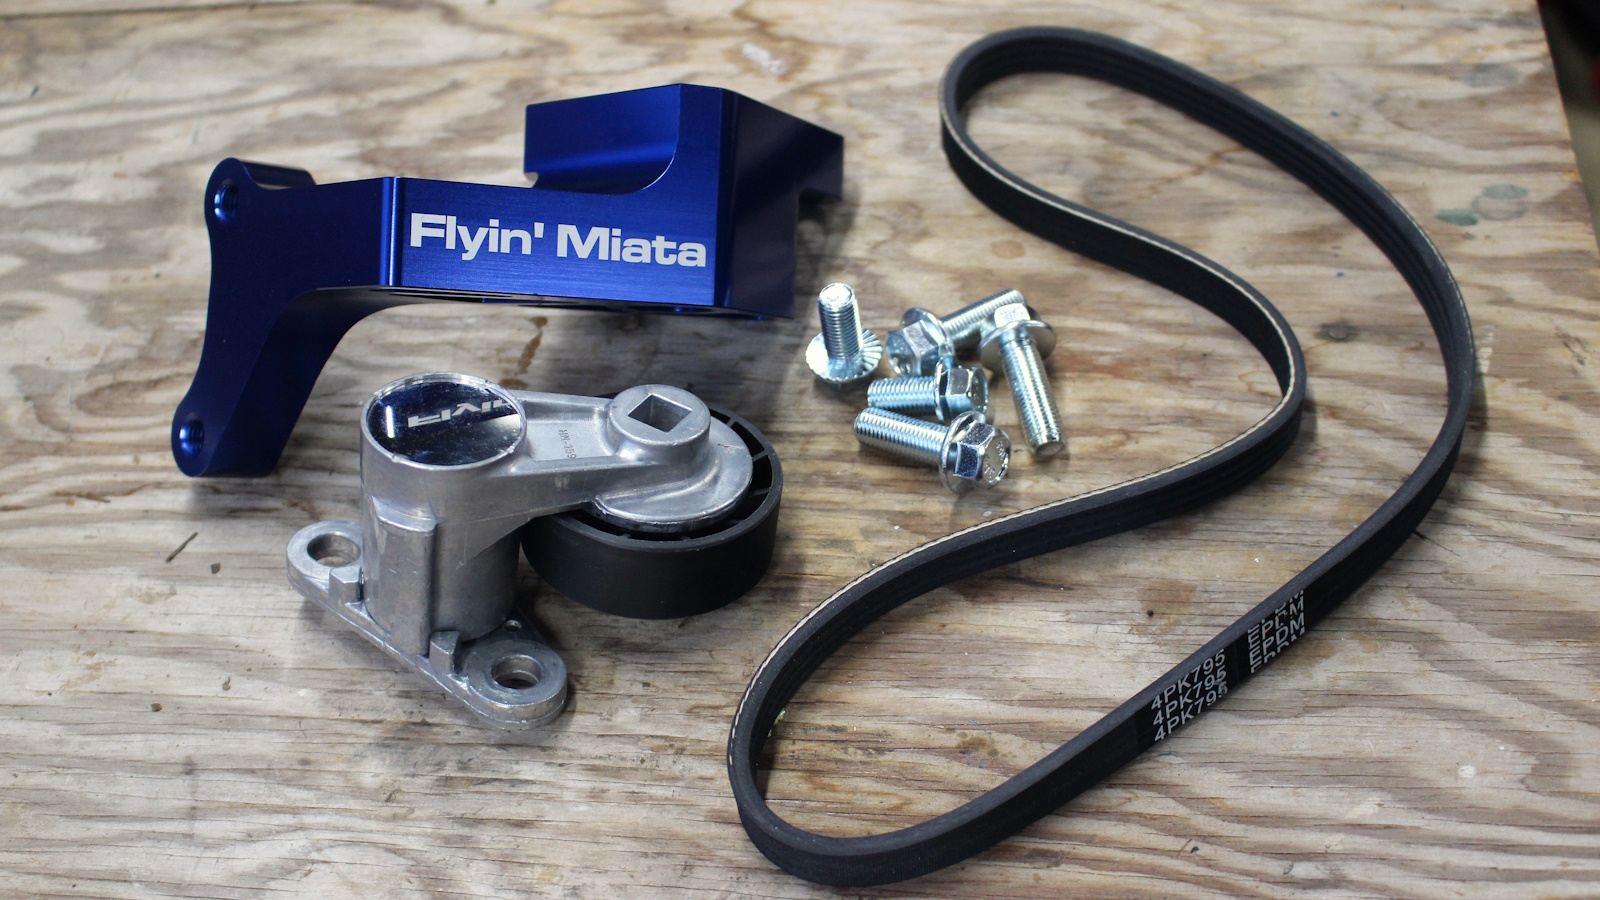
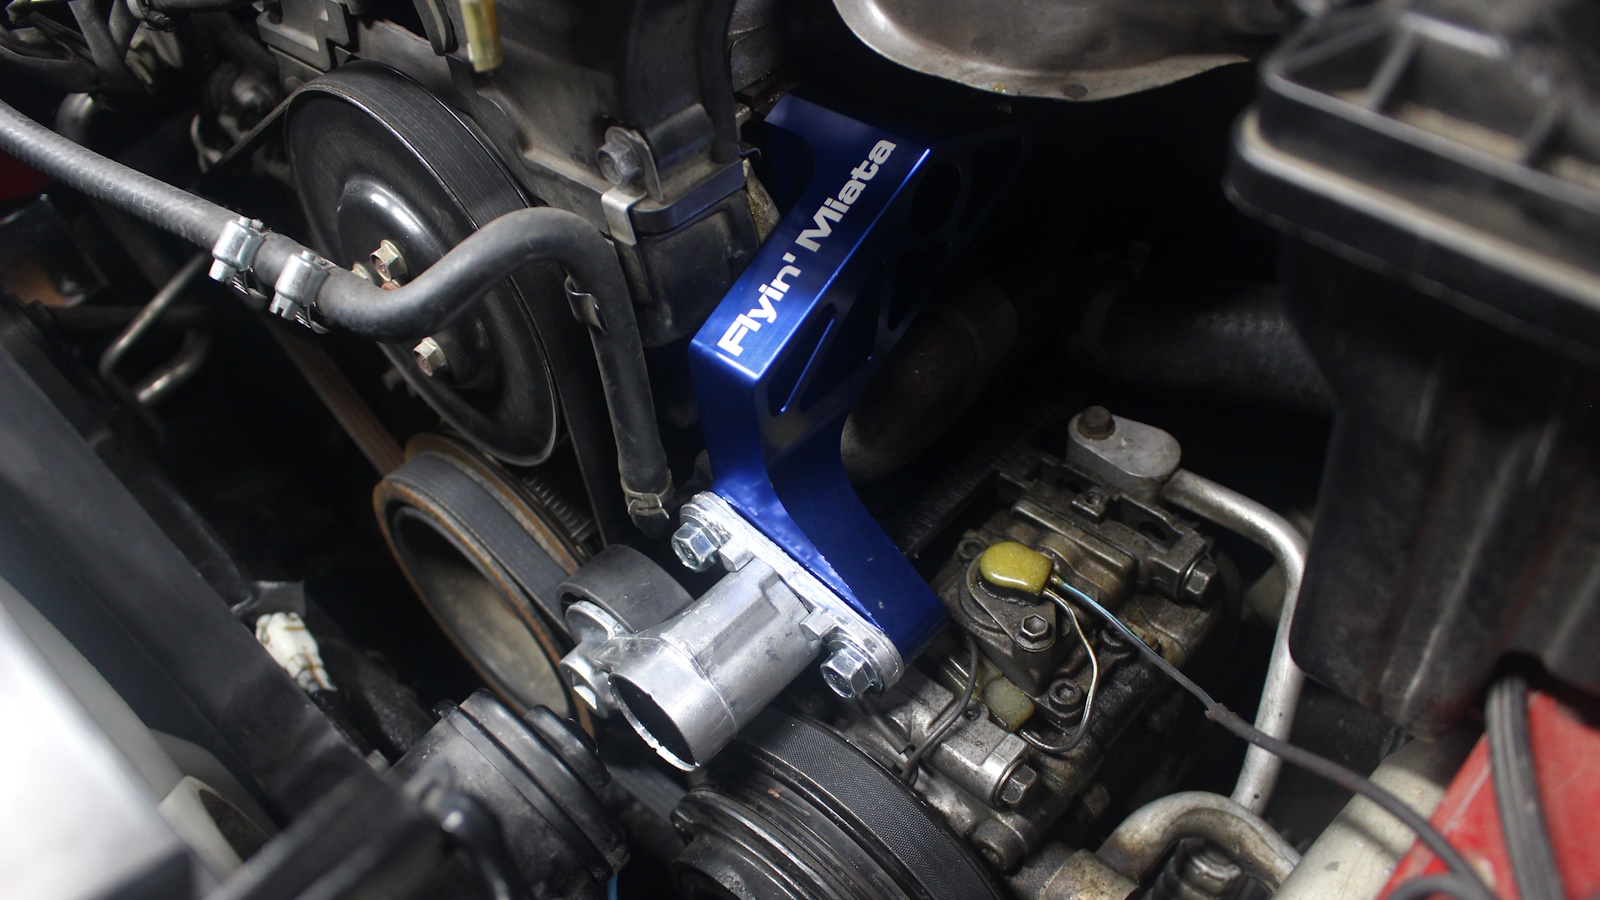
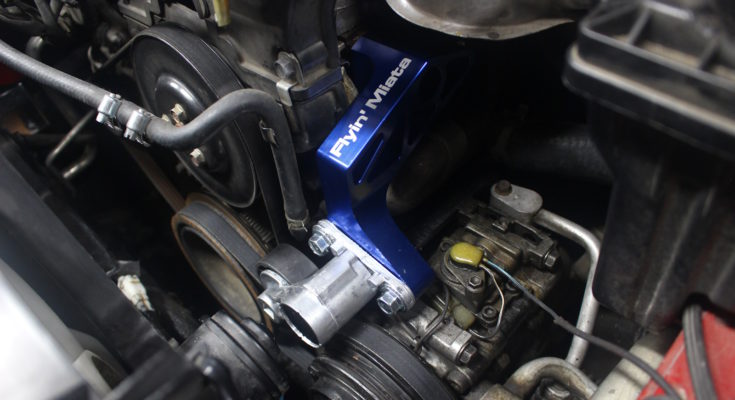
Flyin’ Miata released the perfect product to replace my macgyvered belt tensioner using a gutted power steering pump. It’s a compact auto-tensioner for Miatas with air conditioning but without power steering. It bolts to the same threaded holes as the power steering bracket, but is lighter, more compact, and more reliable than the power steering pump tensioner solution.
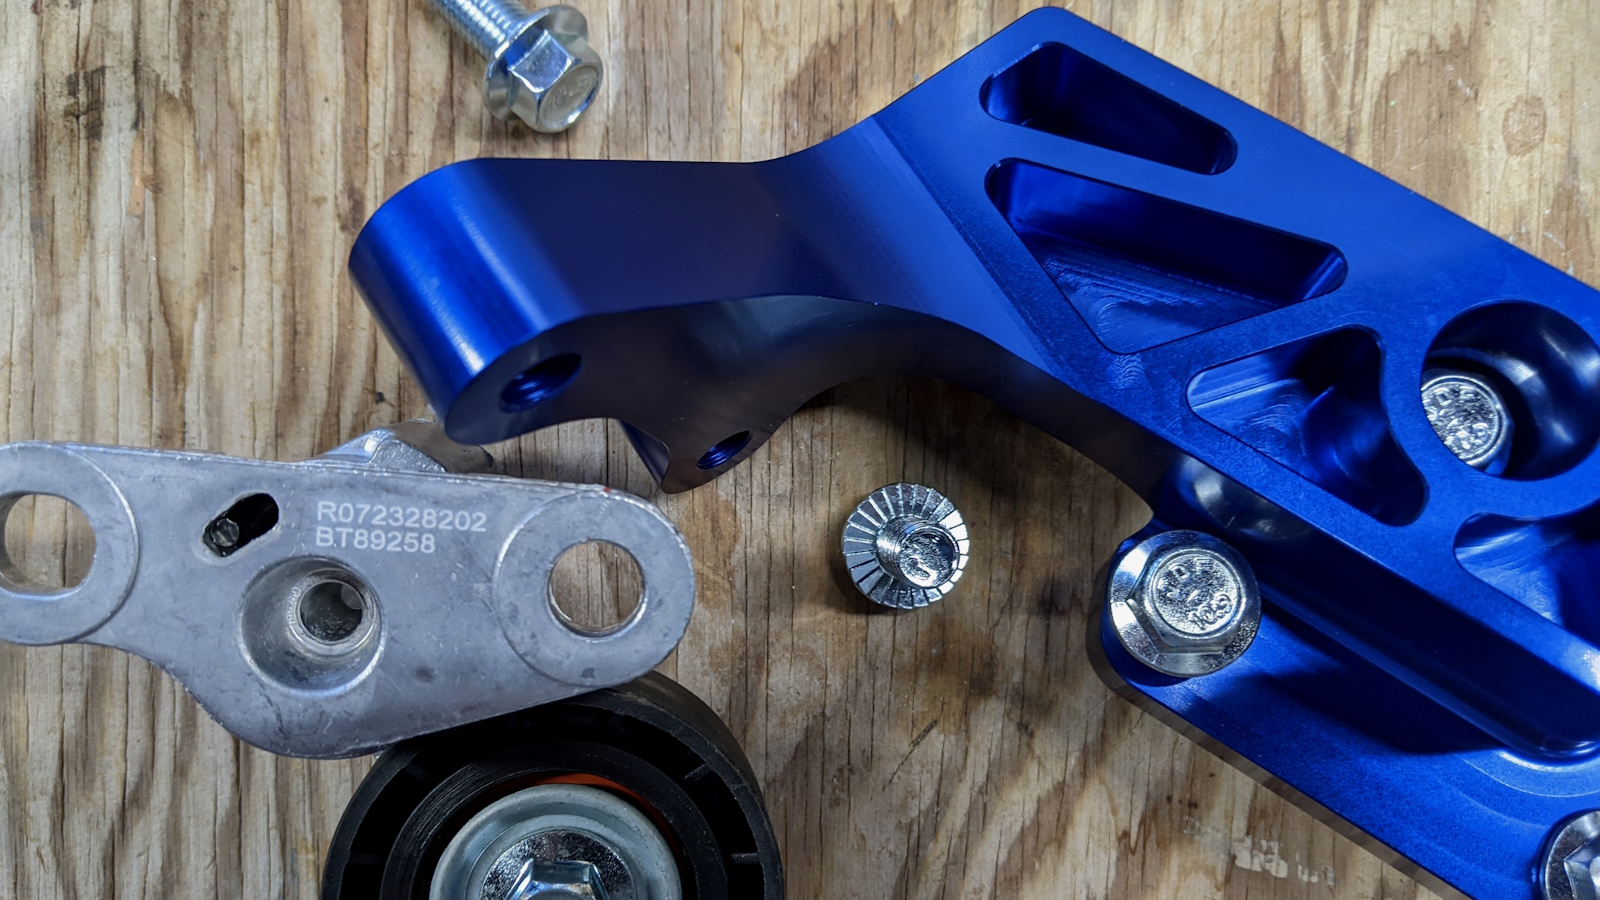
The kit comes with a blue aluminum CNC bracket, and spring-loaded tensioner, bolts, and a new belt. The belt is a 4PK795.
One caveat that I did not expect is that installation requires grinding off the corner off the AC compressor bracket to make clearance.
One alternative to this kit I have not tried is a Gates “stretch fit” belt as described in this miataturbo.net forum post.
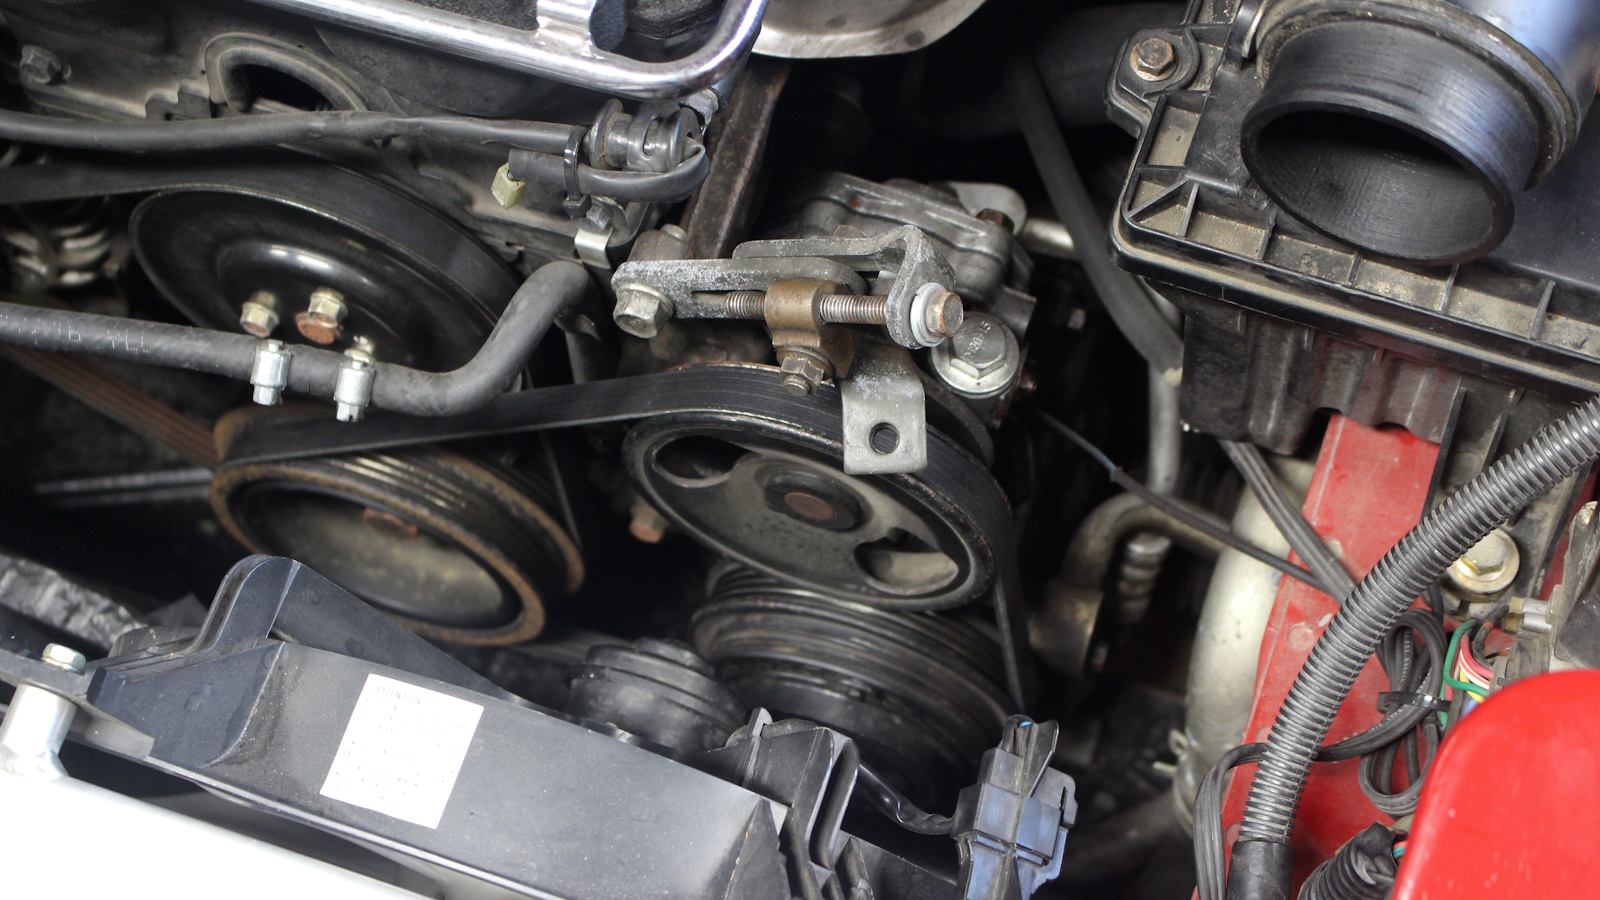
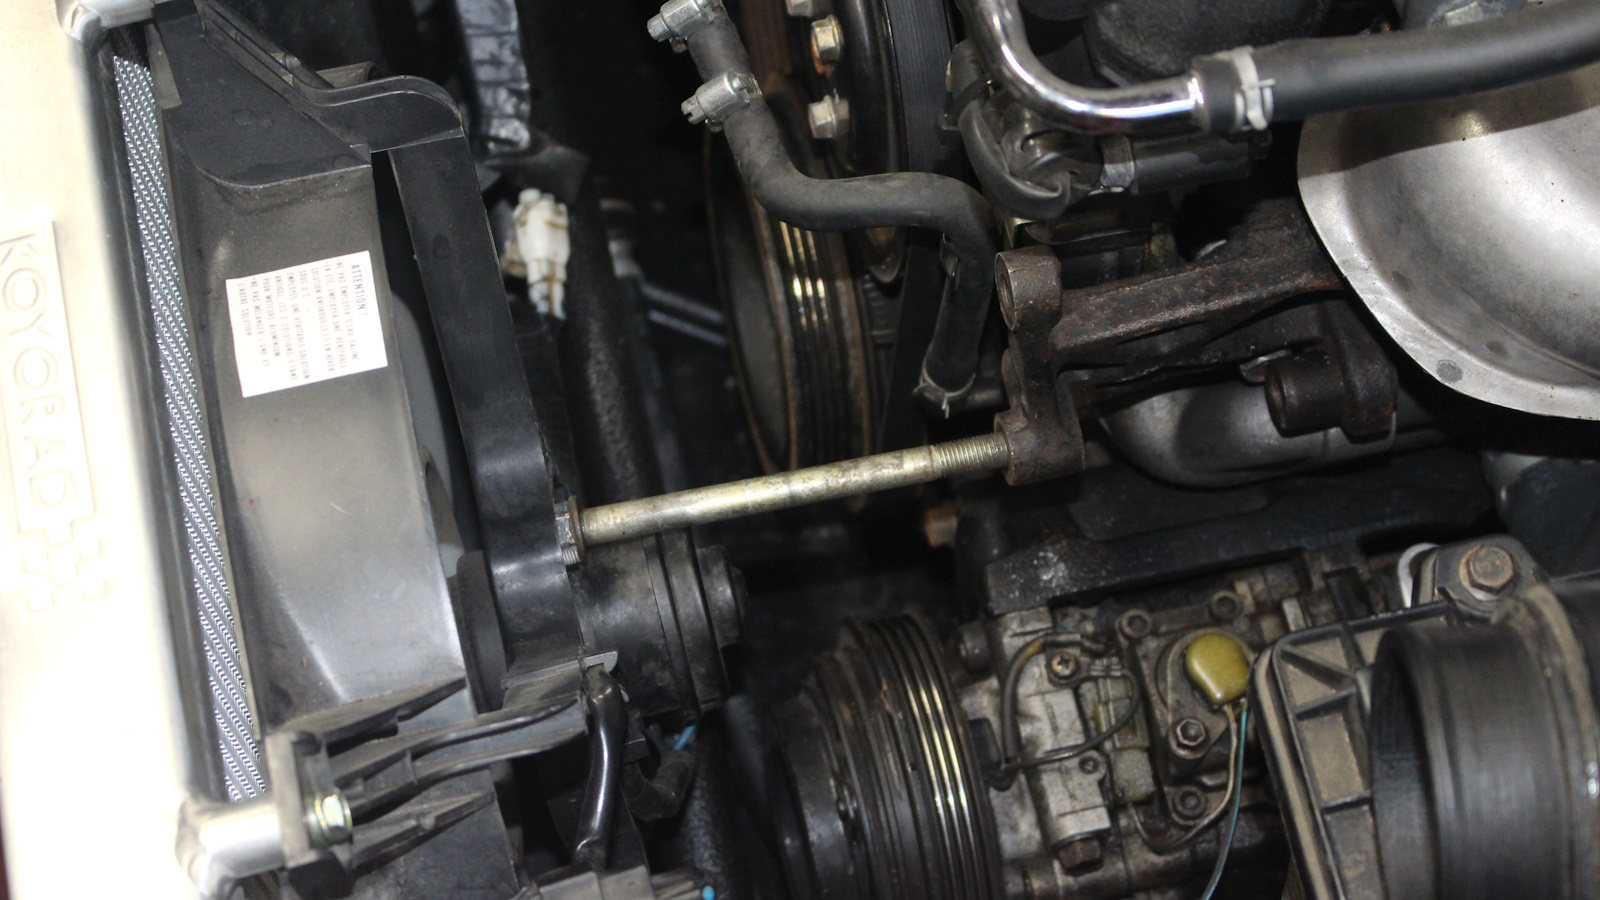
Annoyingly, the long bolt that the power steering pump pivots on is too long to remove from its bracket because it hits the radiator fan.
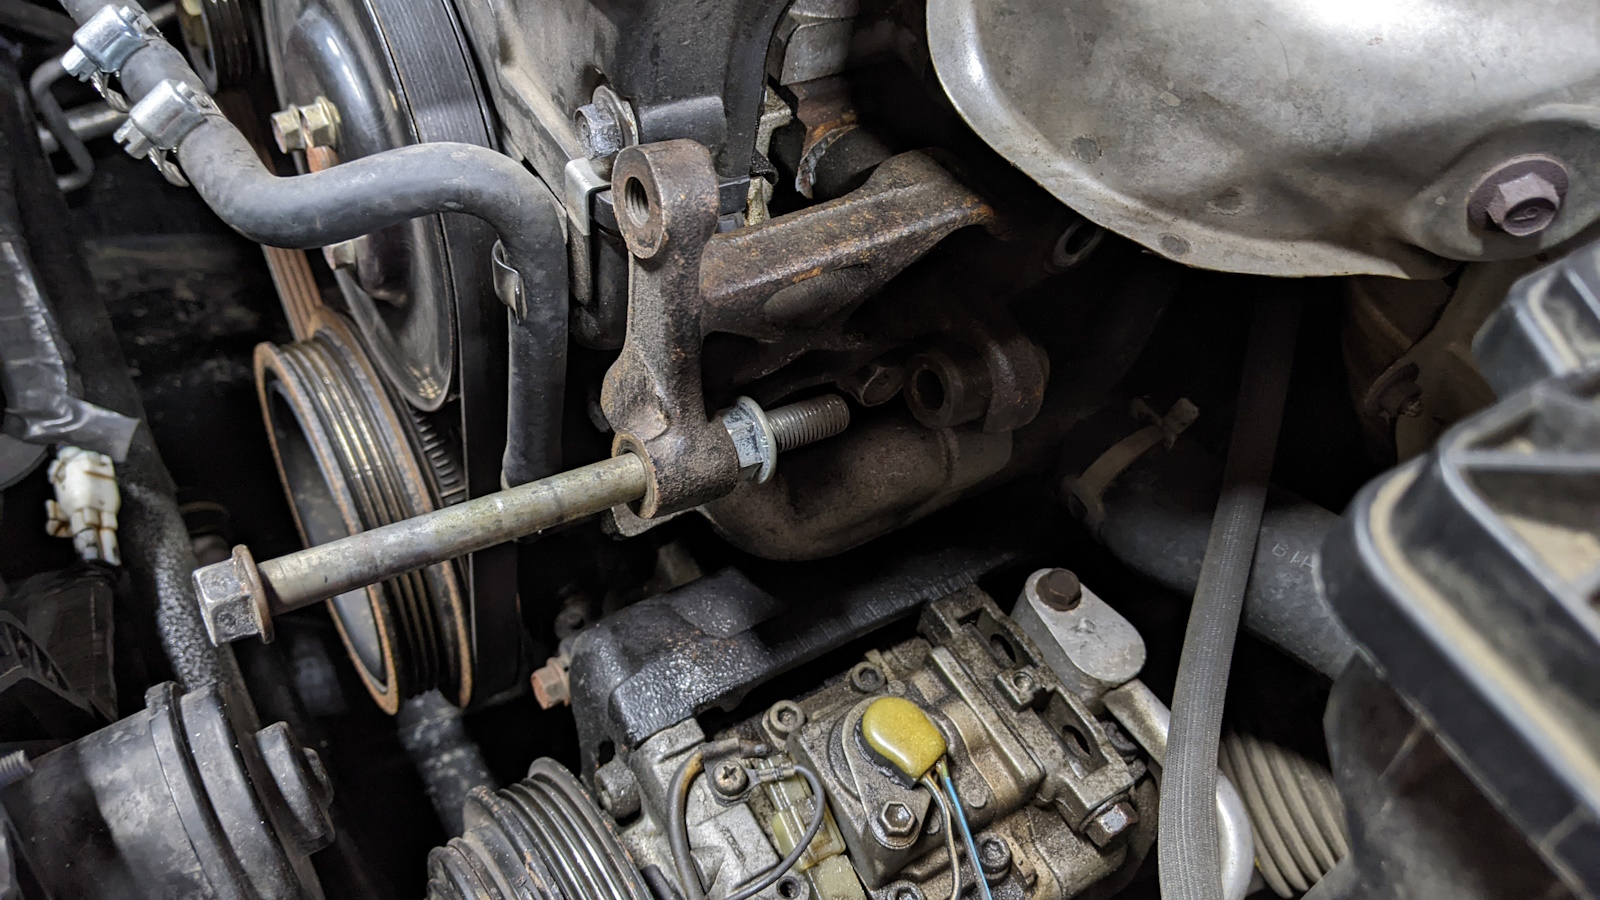
Removing the PS bracket requires sliding back the metal sleeve where the long bolt goes through, because otherwise there’s not enough room to put a socket on the bottom mounting bolt. I used a nut on the end of the long bolt and a mallet to gradually work the sleeve backwards until there was room.
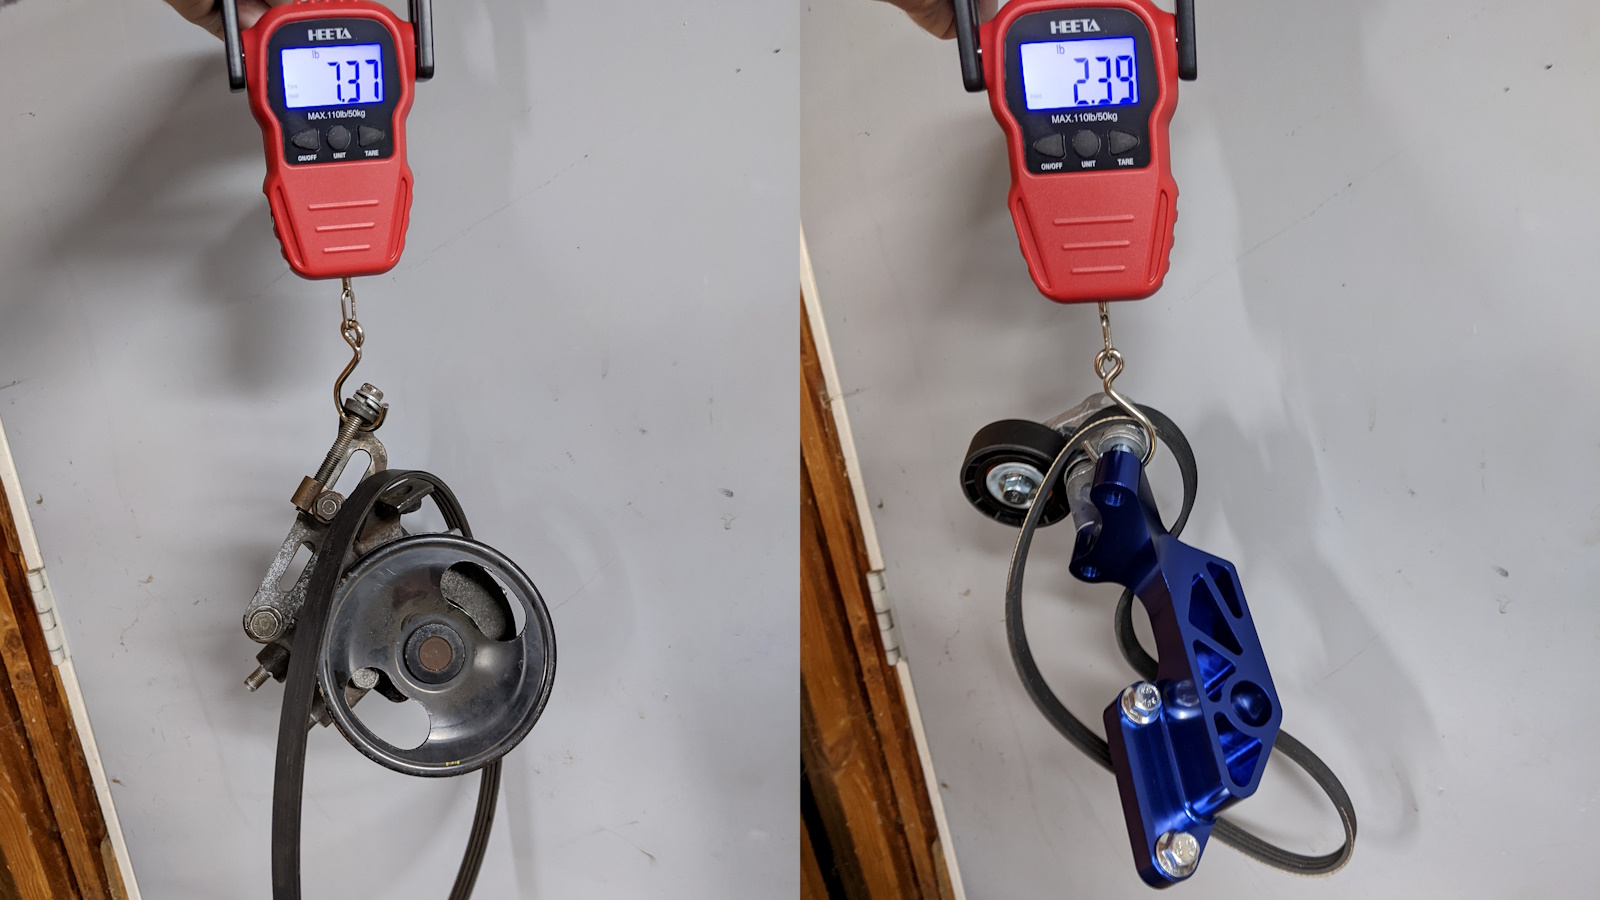
Unsurprisingly the FM aluminum bracket and tensioner are much lighter than the Mazda OEM pump and bracket.
Mazda power steering pump, bracket, bolts, and belt: 7.37 lbs (3.34 kg)
Flyin’ Miata belt tensioner kit: 2.39 lbs (1.08 kg)
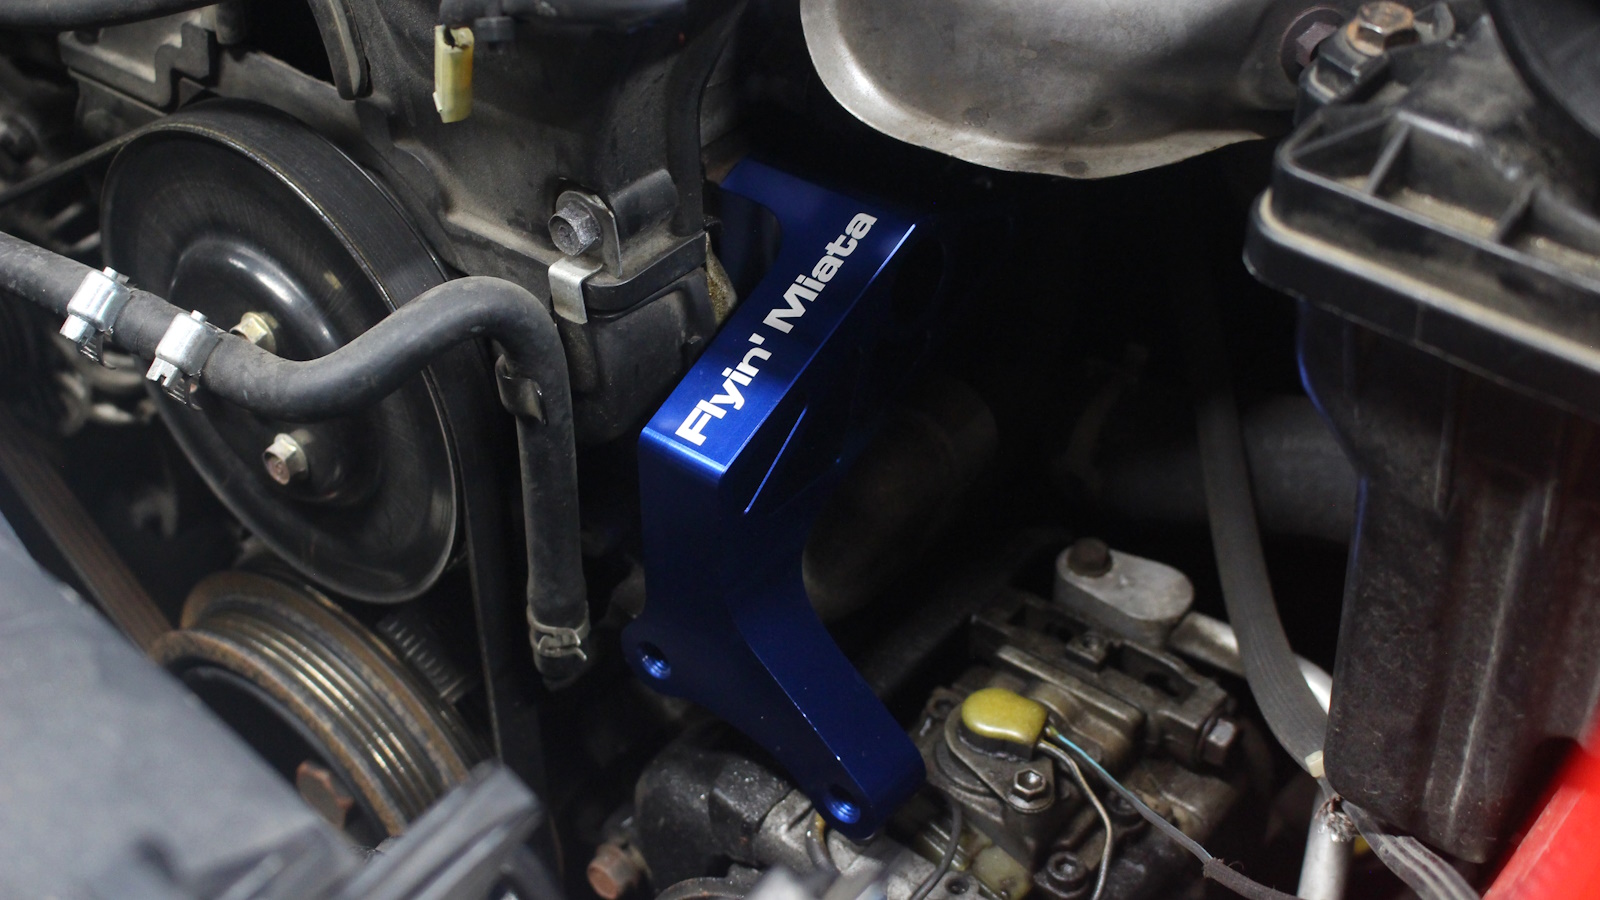
From the first test-fit its clear that the AC compressor bracket sticks out past the flat face of the blue aluminum bracket. I labeled the corner to remove with a white paint marker.
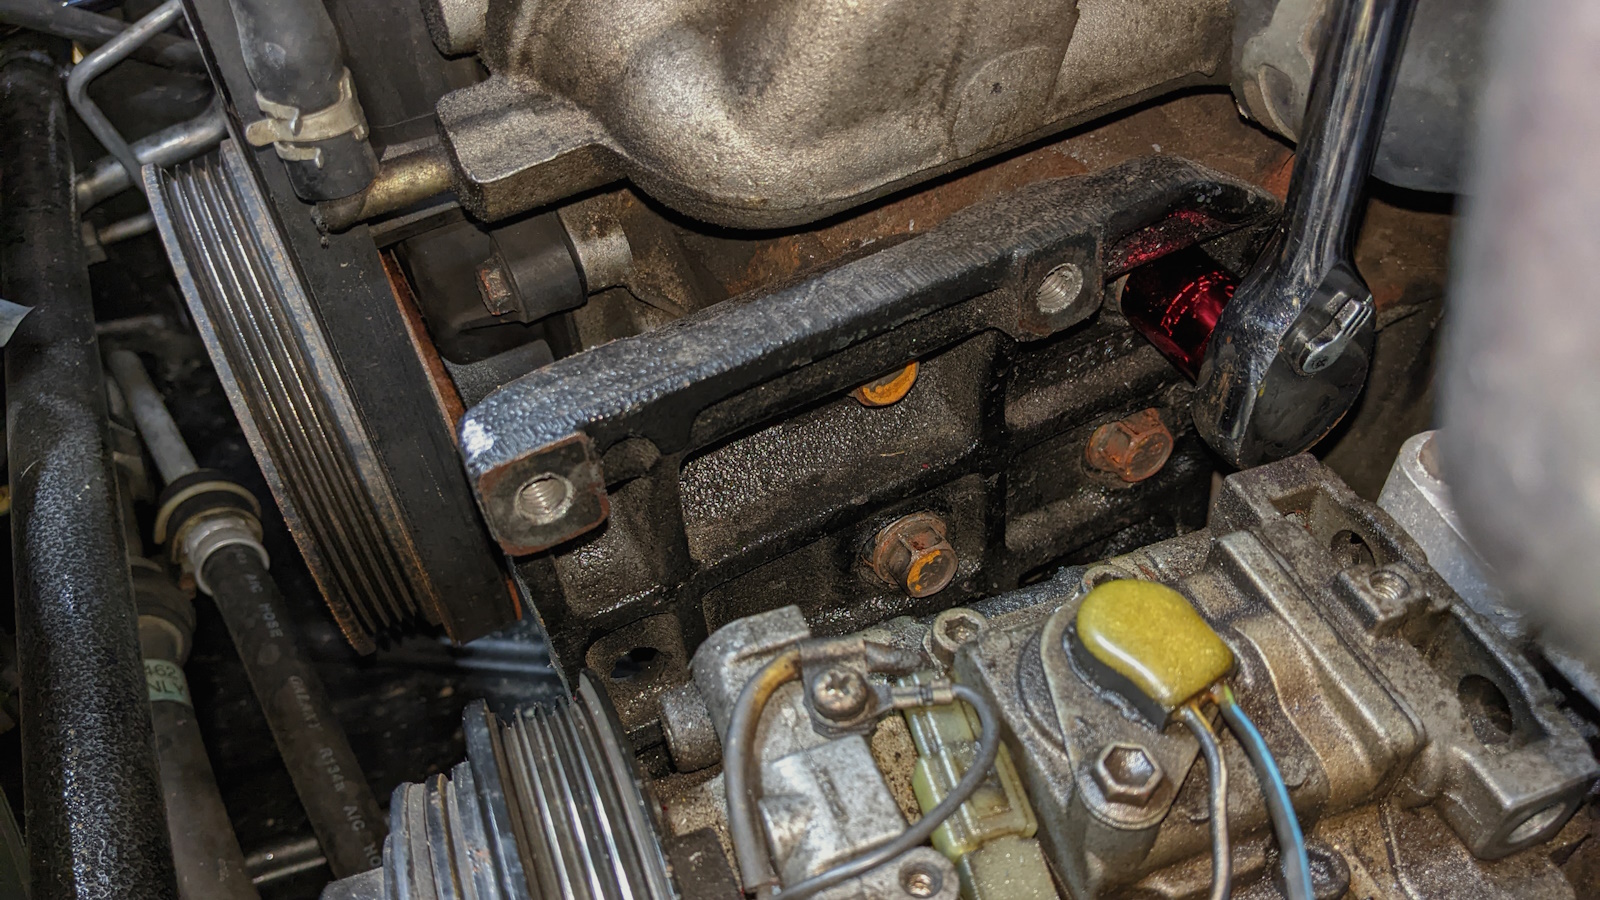
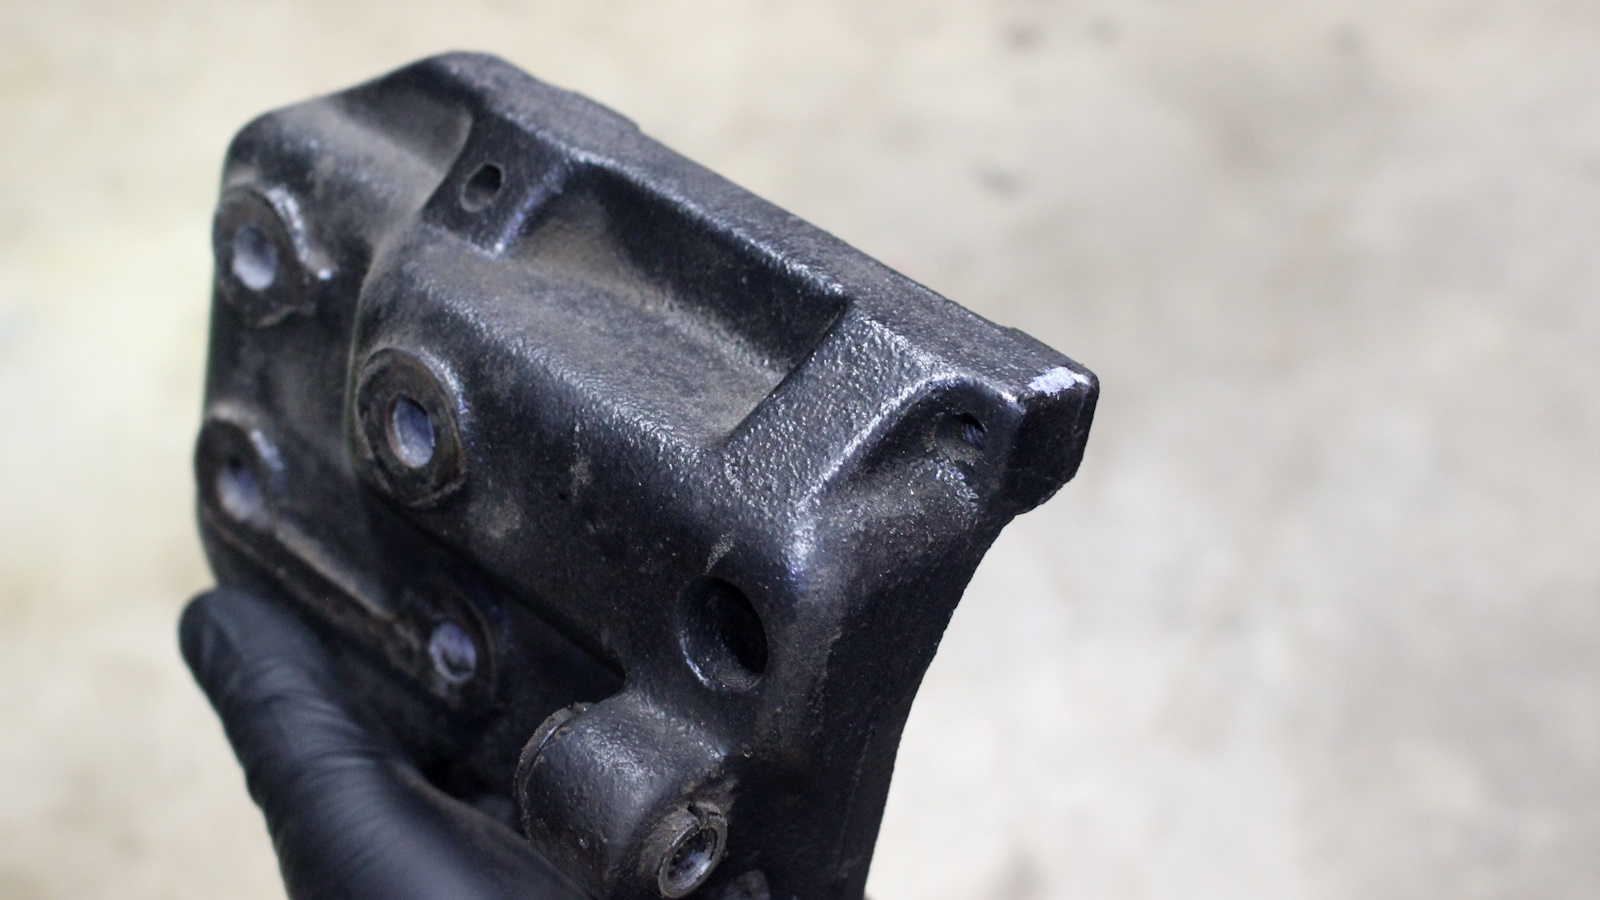
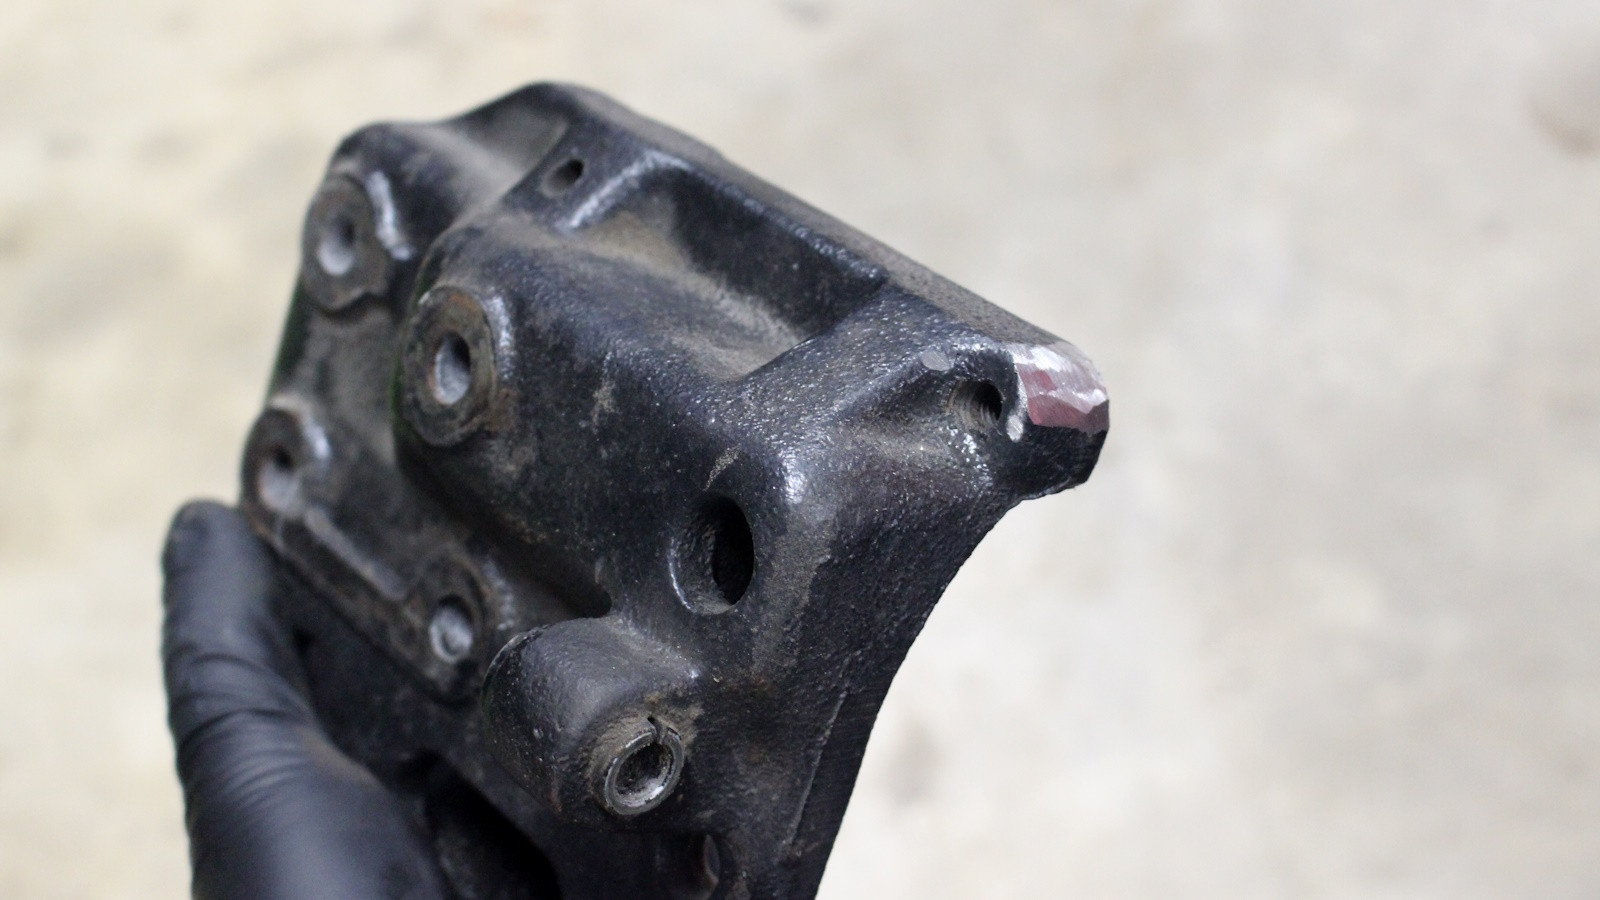
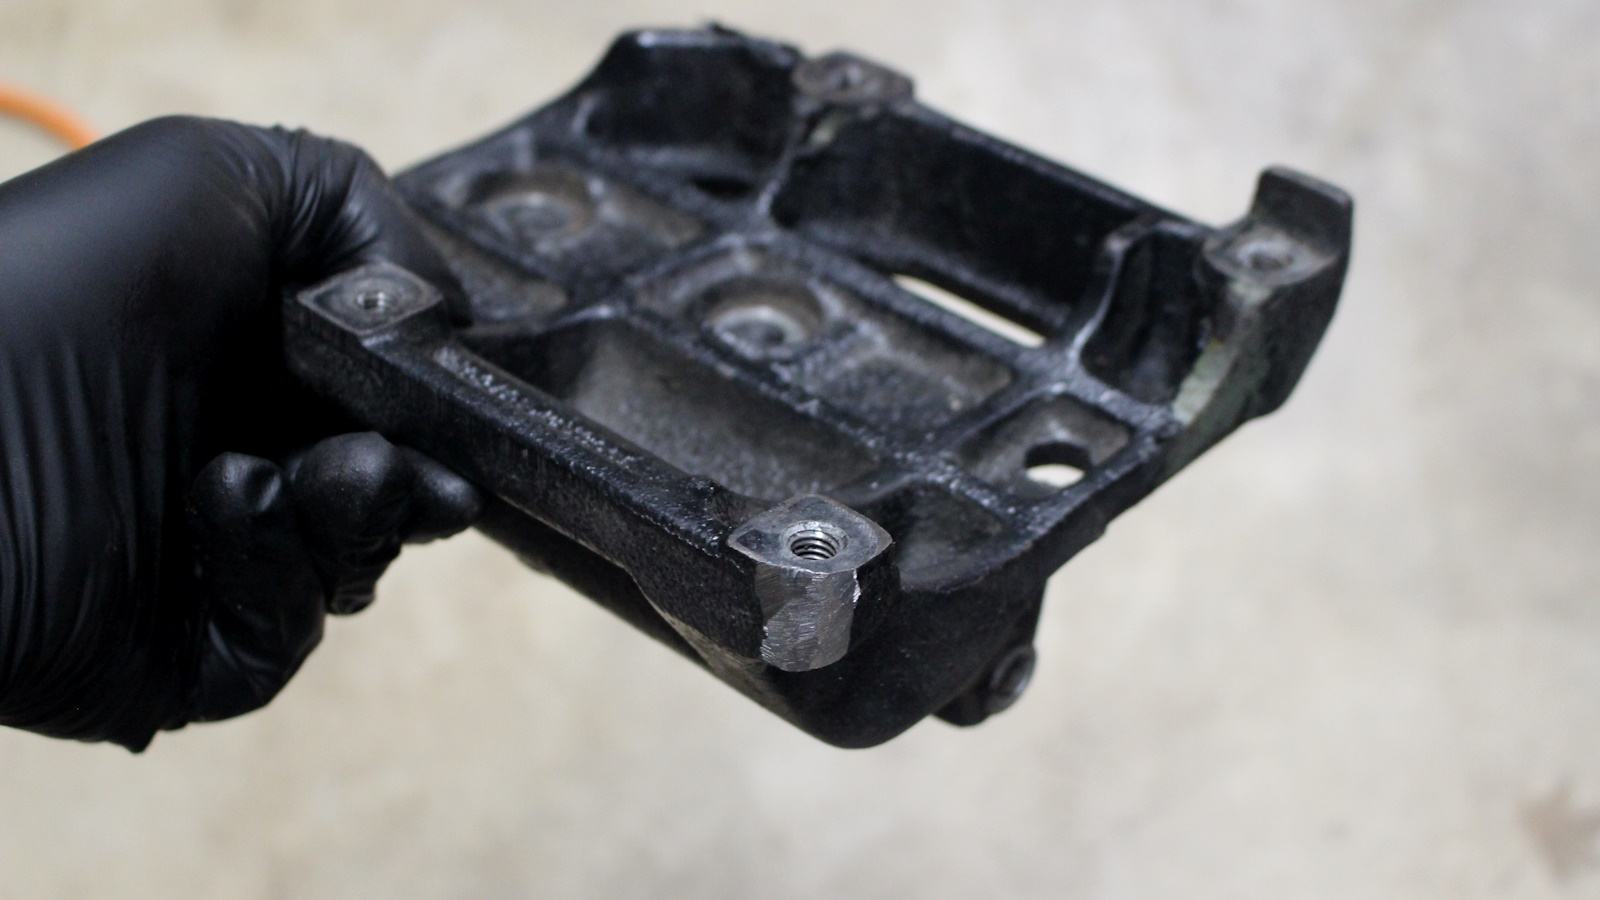
I used an angle grinder to round off the corner of the AC compressor bracket to make room for the FM tensioner.
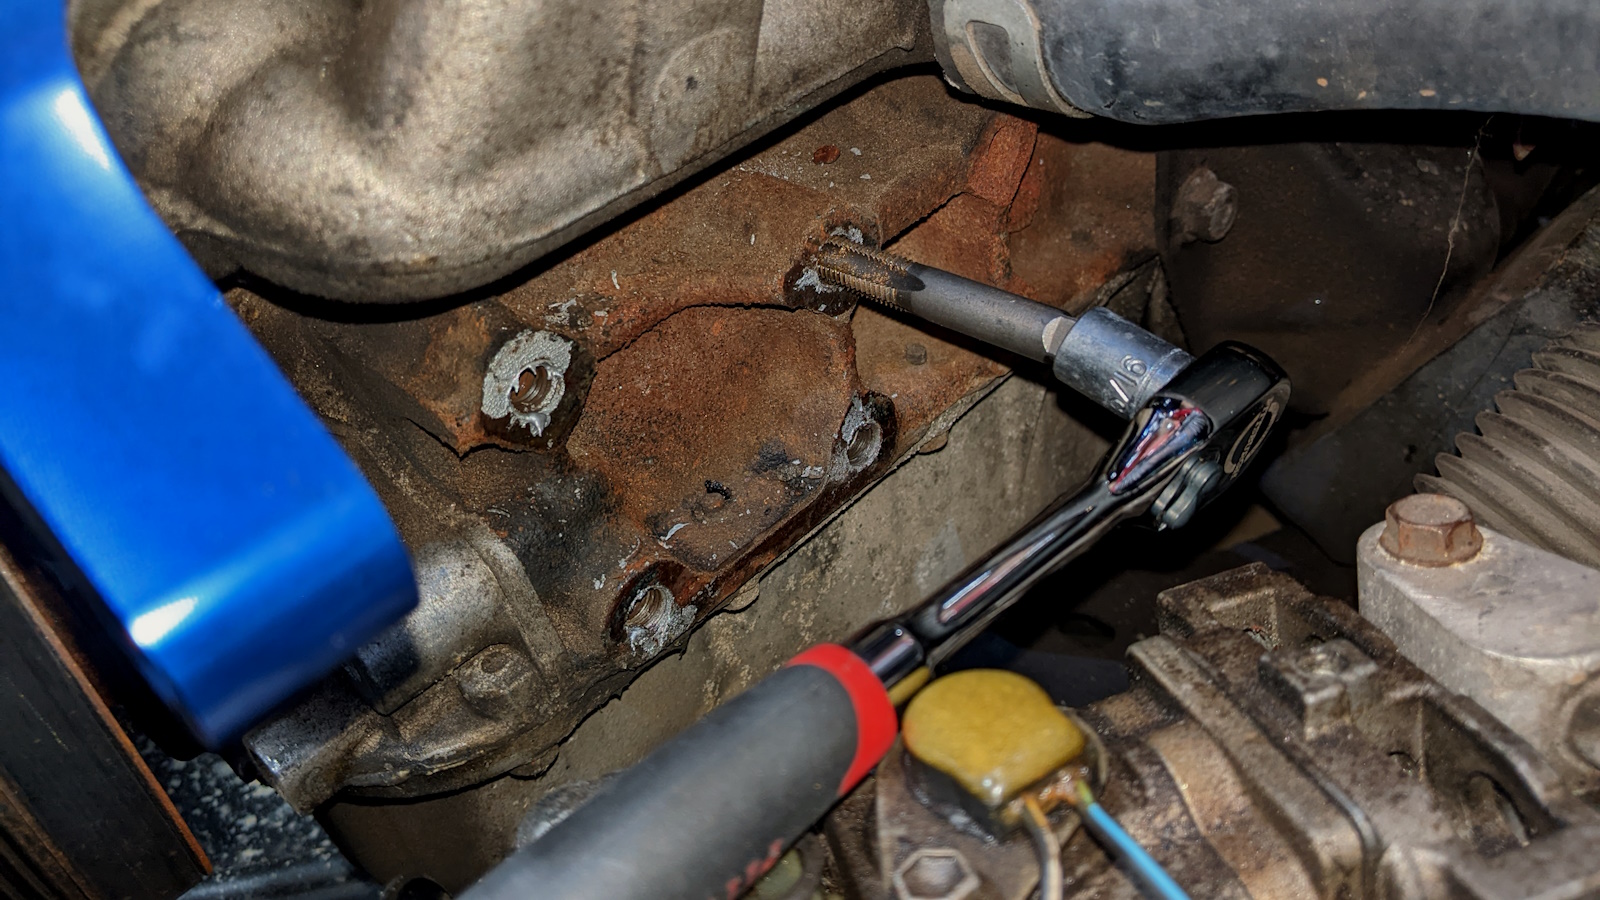
The threaded holes on the engine block are 10mm x 1.25, they needed some attention with a tap to help the mounting bolts go back home.
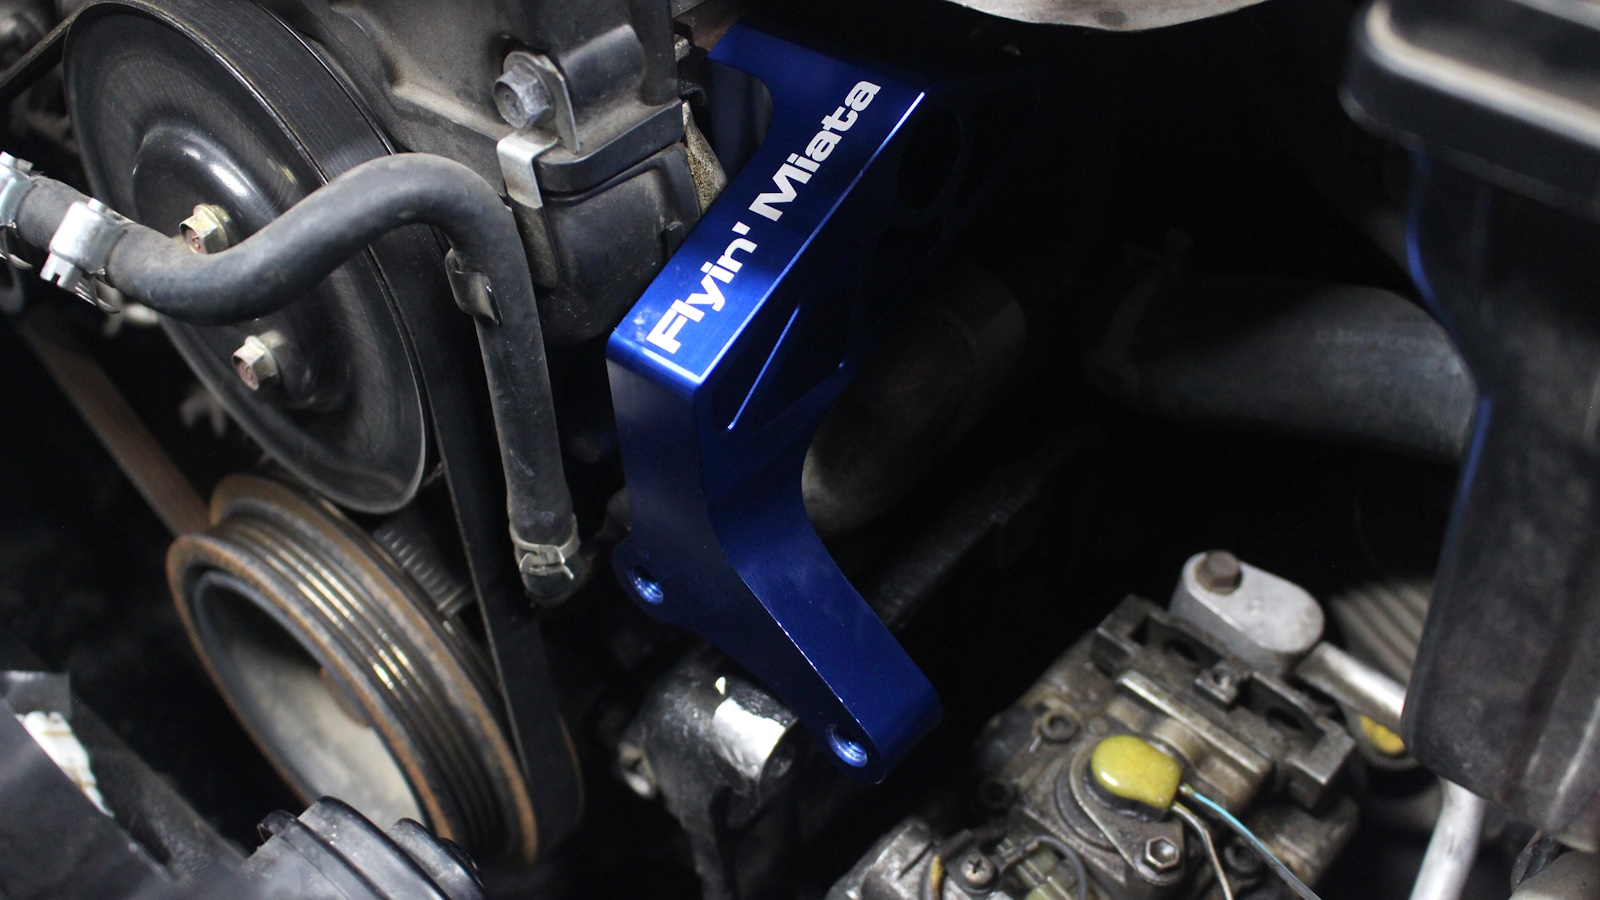
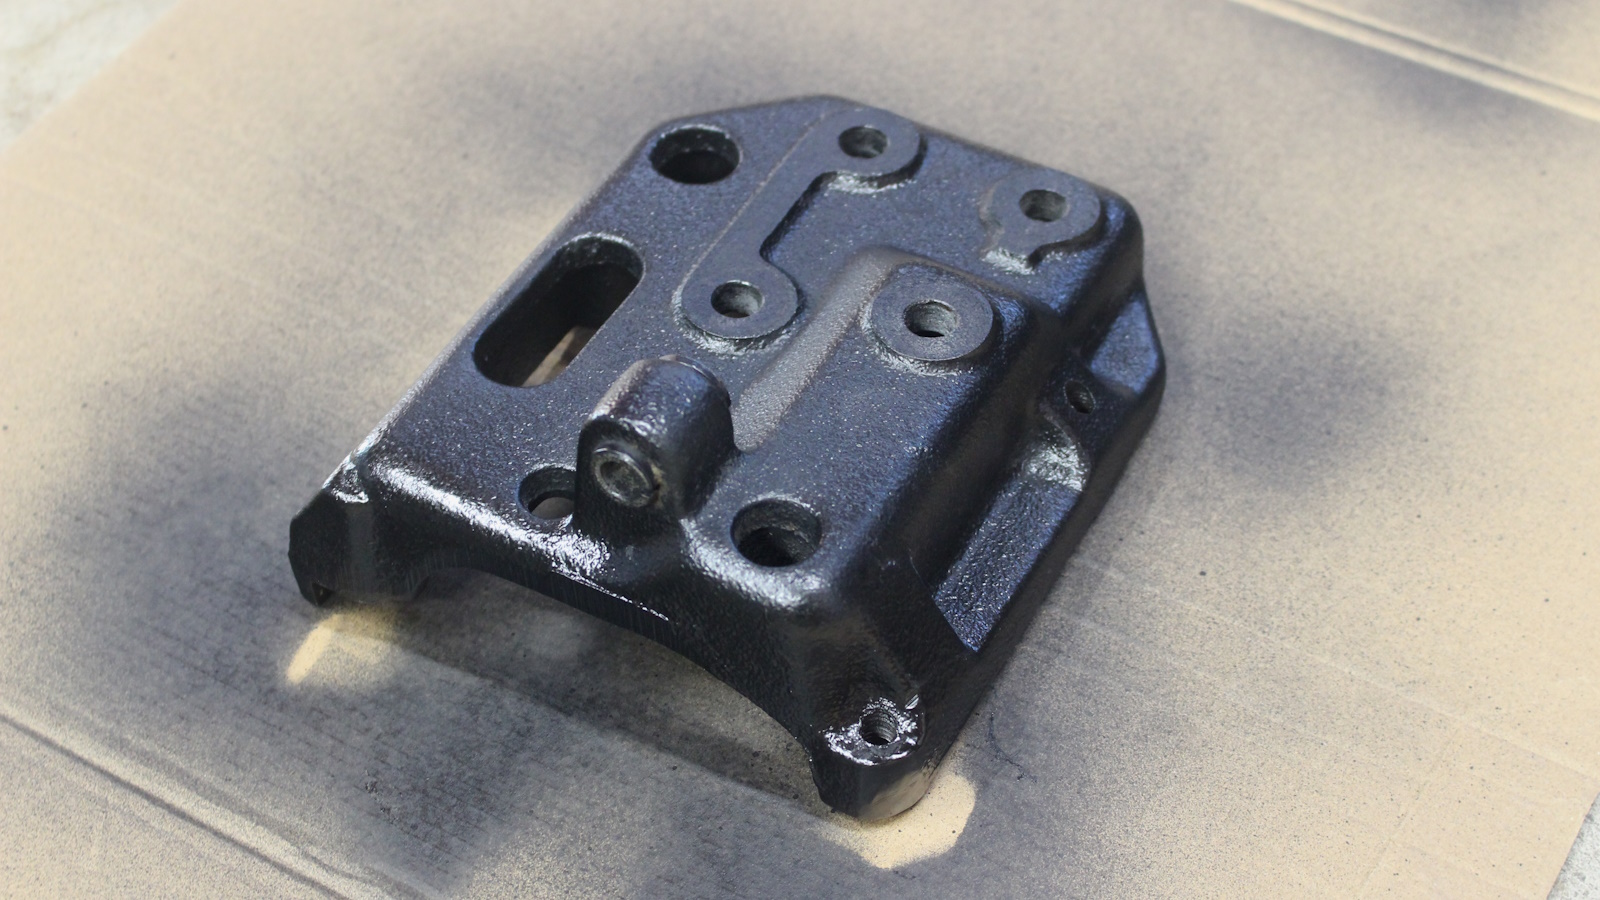
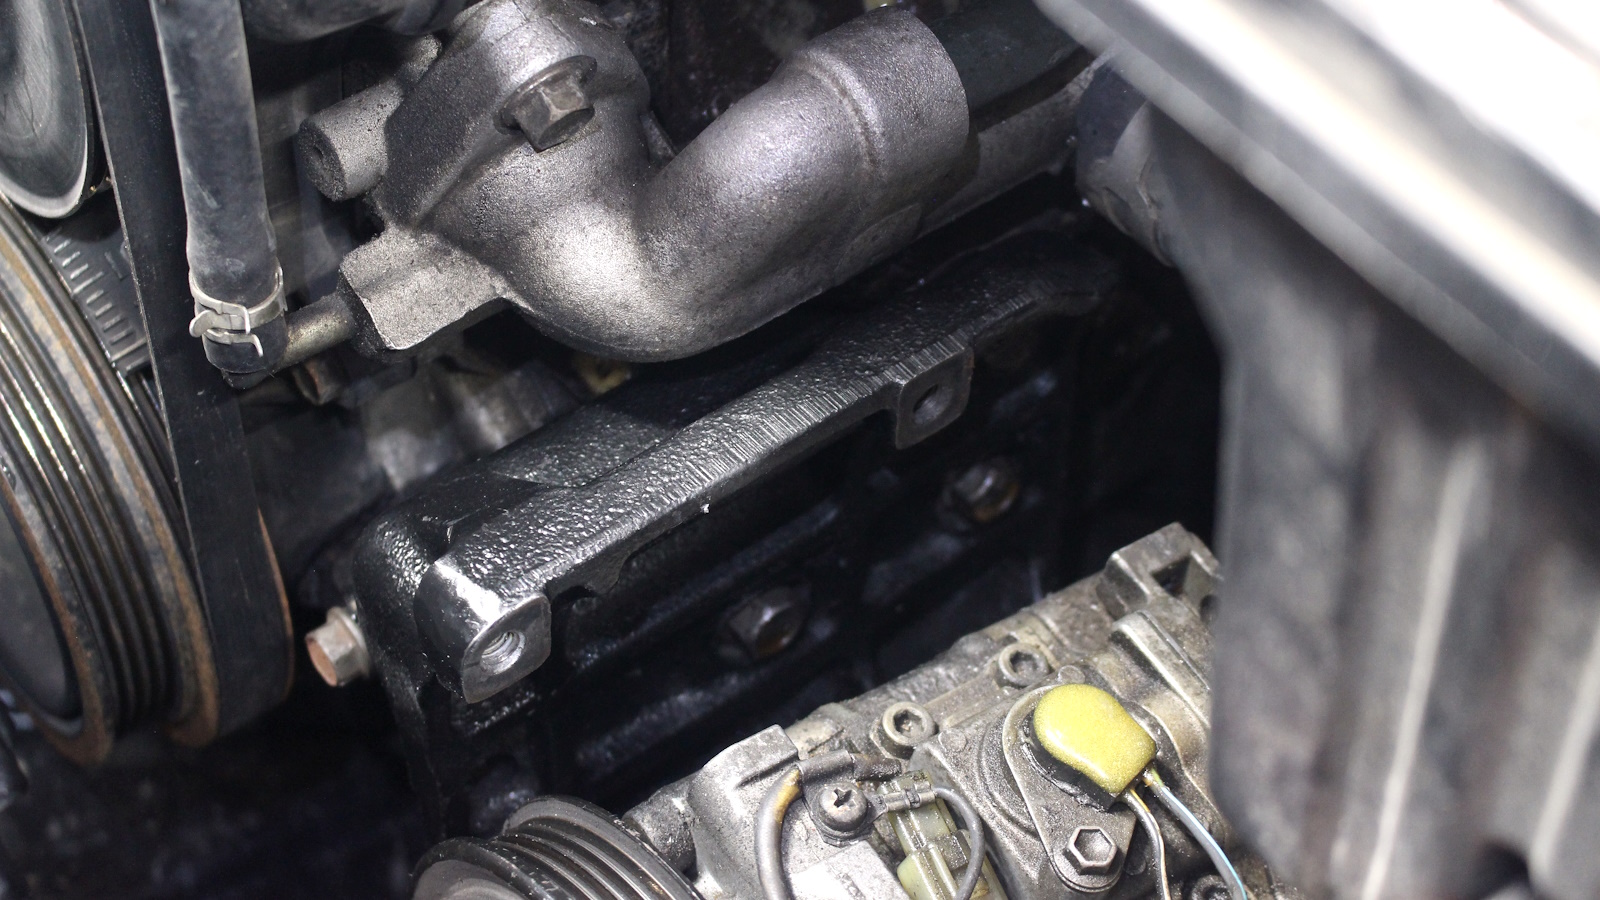
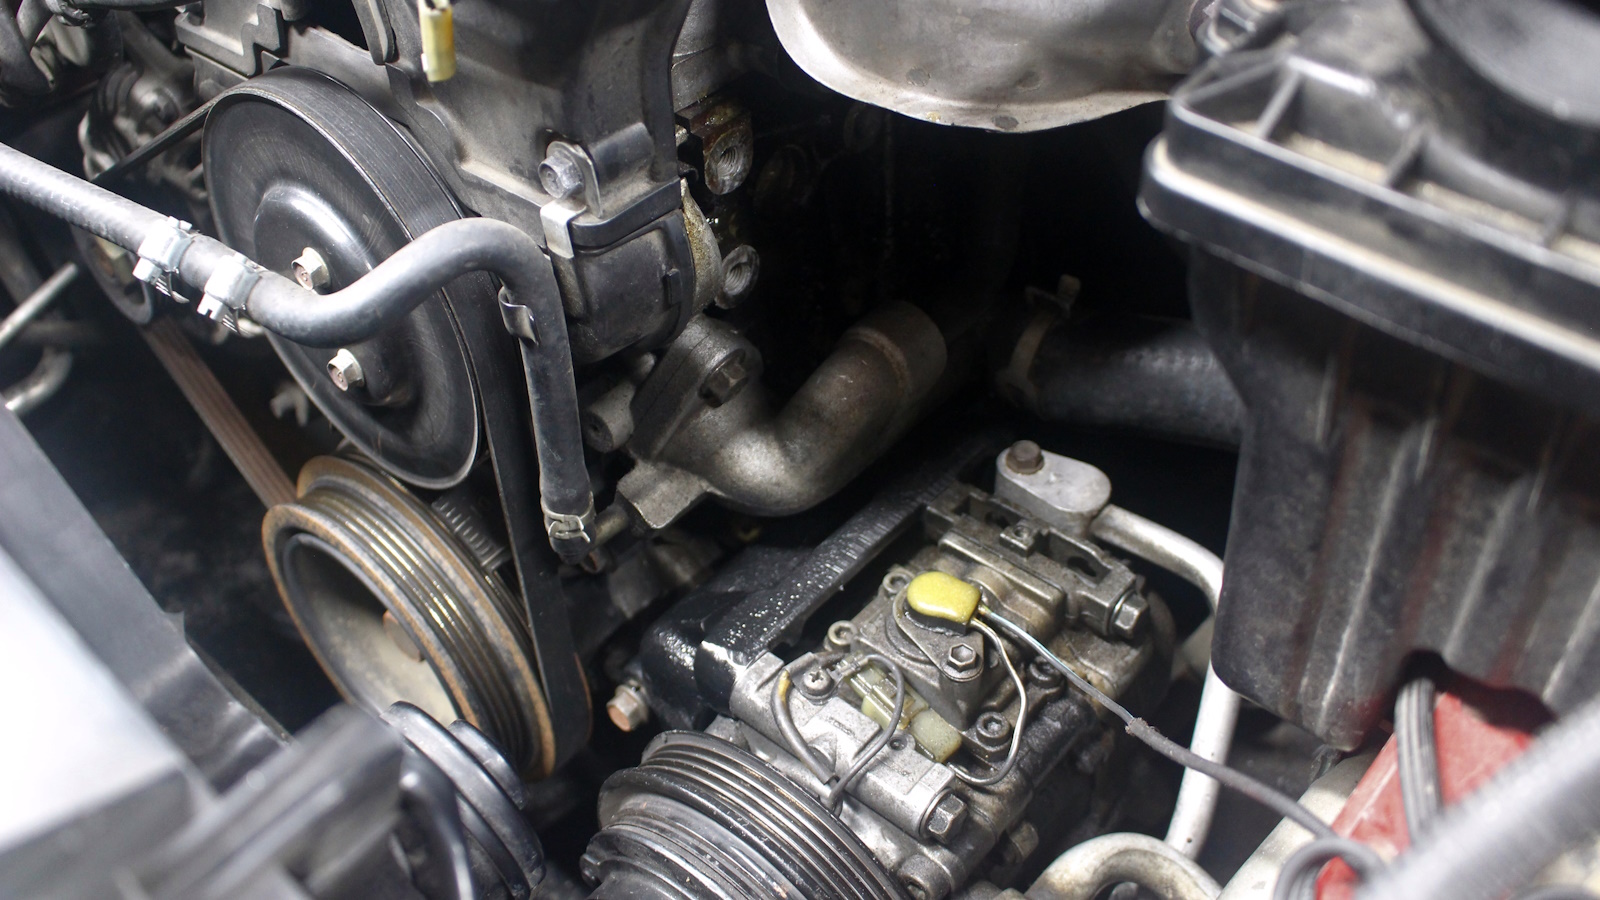
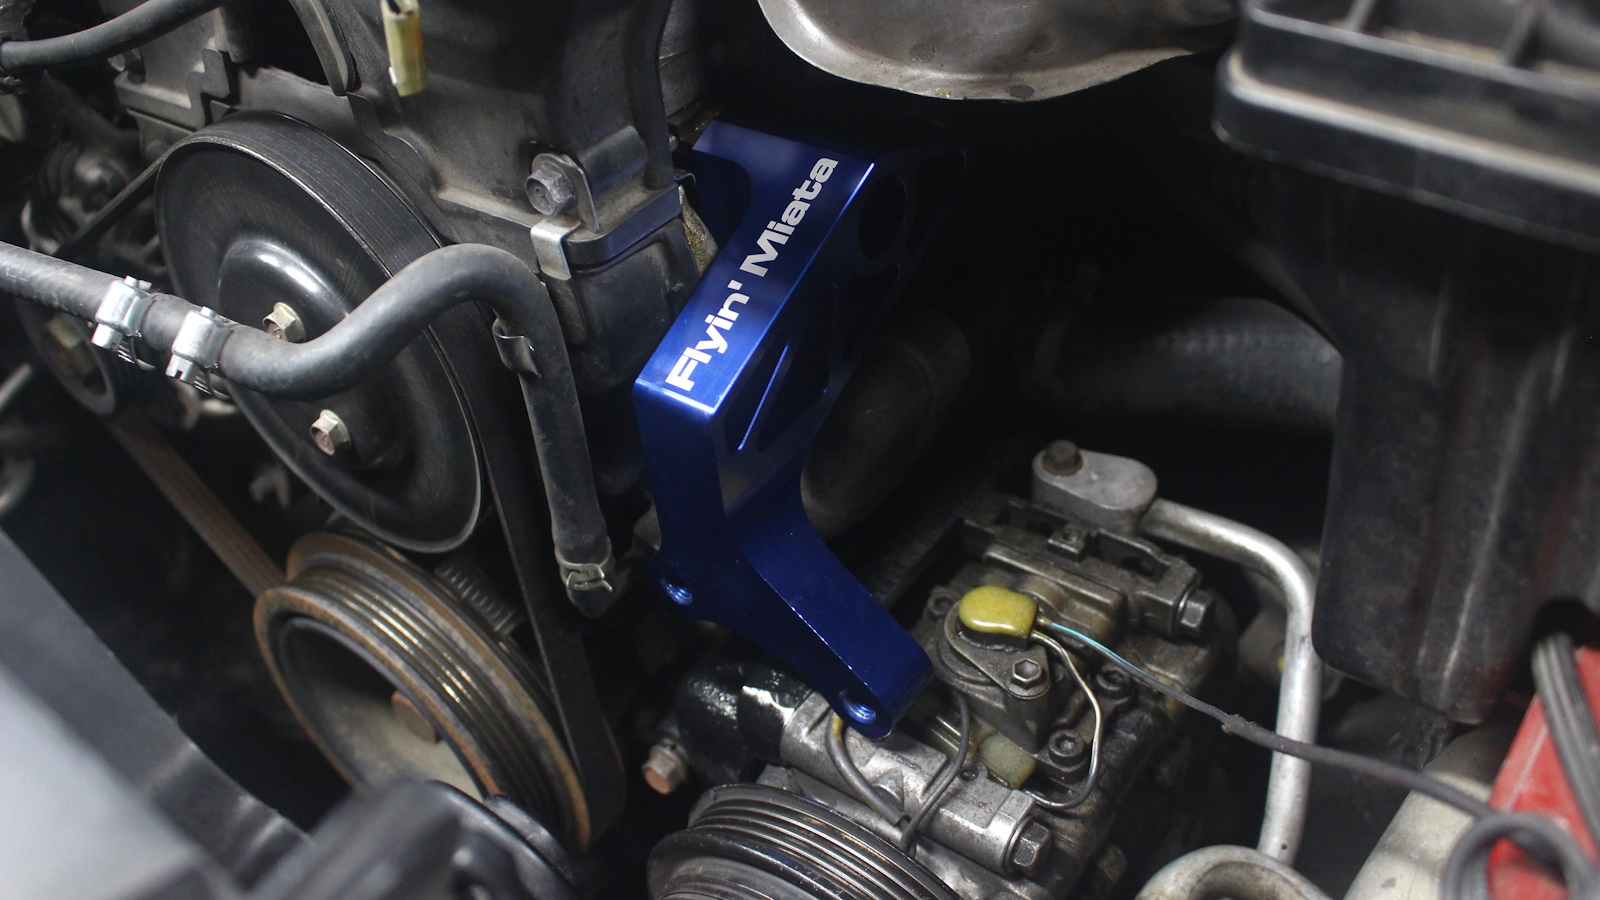
The holes in the blue bracket are large enough that there is some wiggle room to adjust the mounting angle. The best orientation I found to align the new tensioner with the other pulleys was to lift the front of the bracket to its maximum point before tightening the bolts.
From the Flyin’ Miata installation instructions and this miata.net forum post, here are the torque values I used for each bolt:
Torque Values
4 main AC compressor bracket bolts to engine block: 35 ft-lb
Long small front AC compressor bracket bolt: 15 ft-lb
4 long bolts that attach AC compressor to its bracket: 15 ft-lb (with blue Loctite)
3 bolts for FM blue aluminum bracket into engine: 35 ft-lb
2 bolts to attach tensioner onto blue FM bracket: 25ft-lb (with blue Loctite)
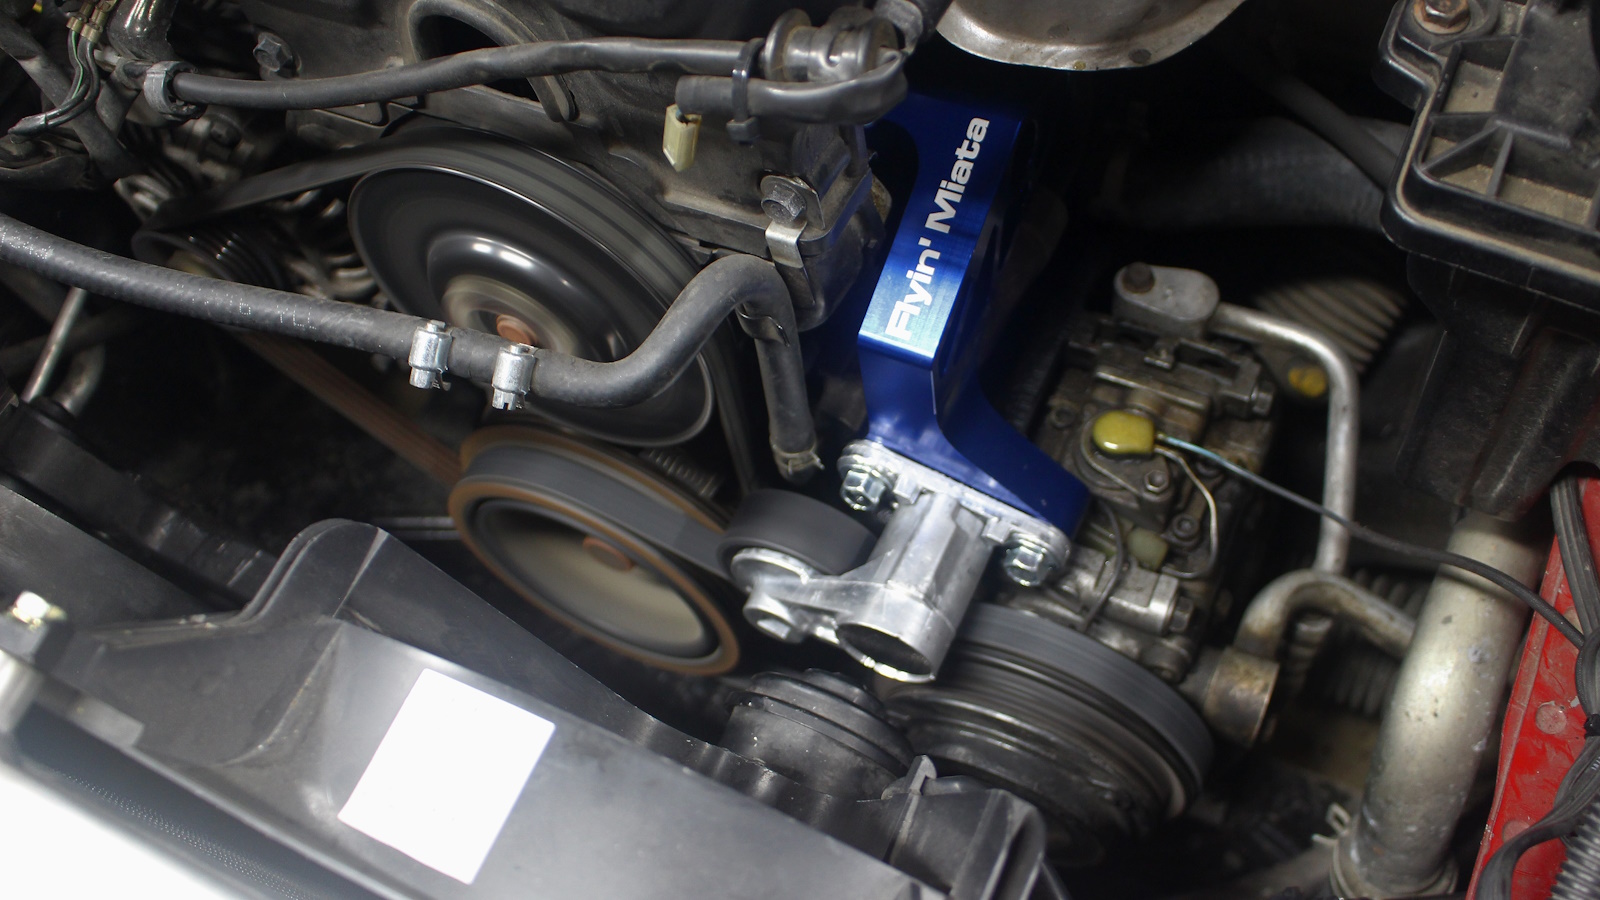
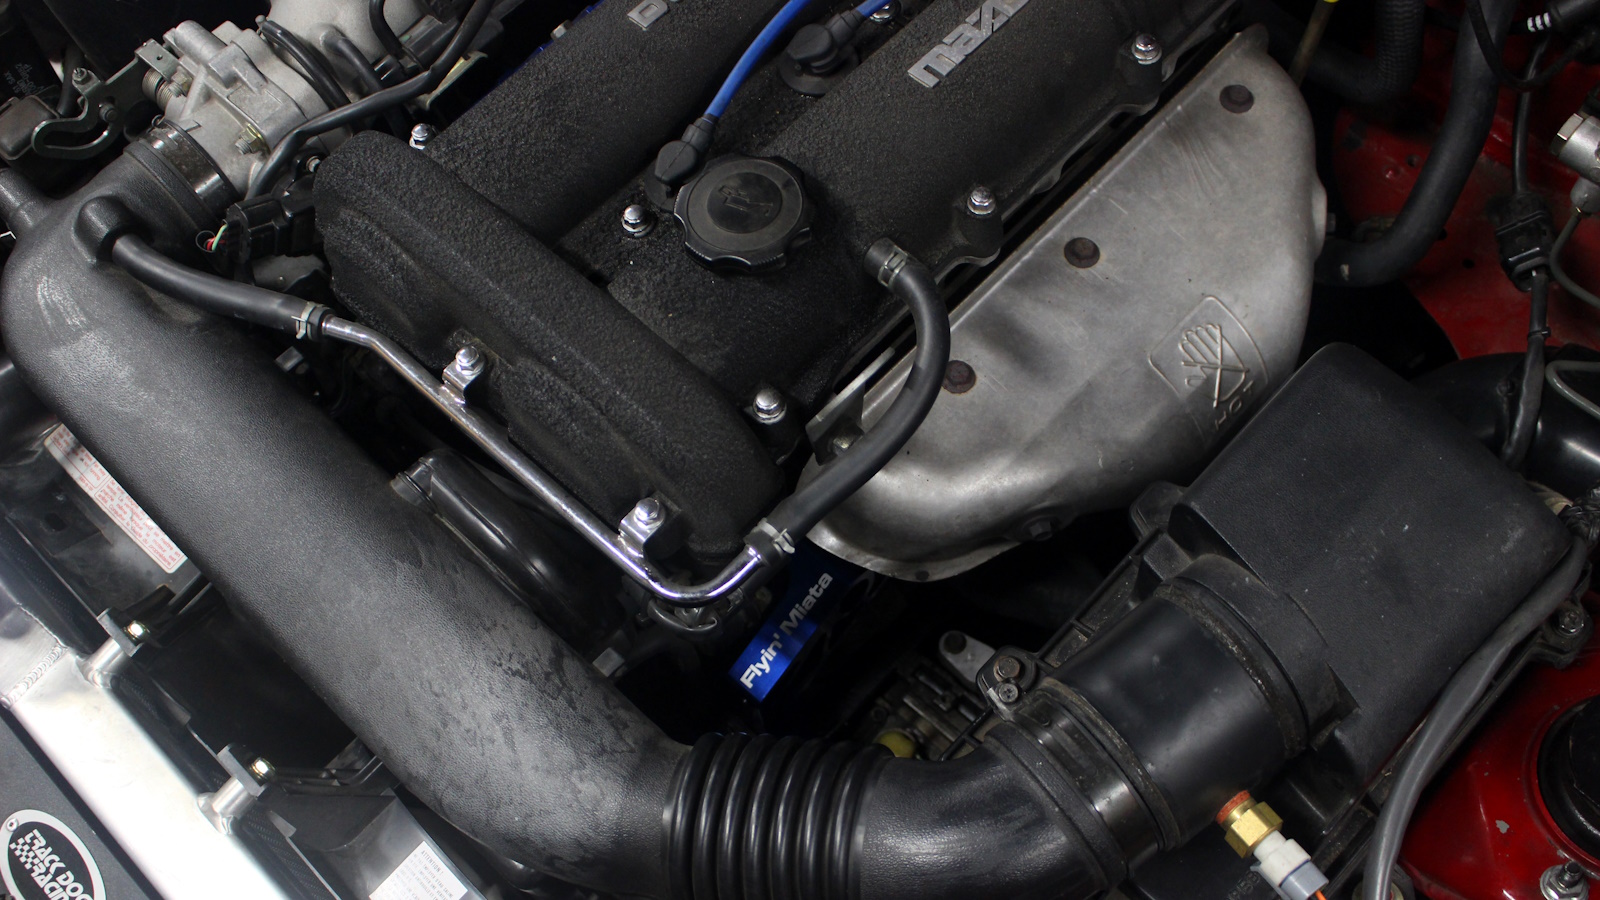
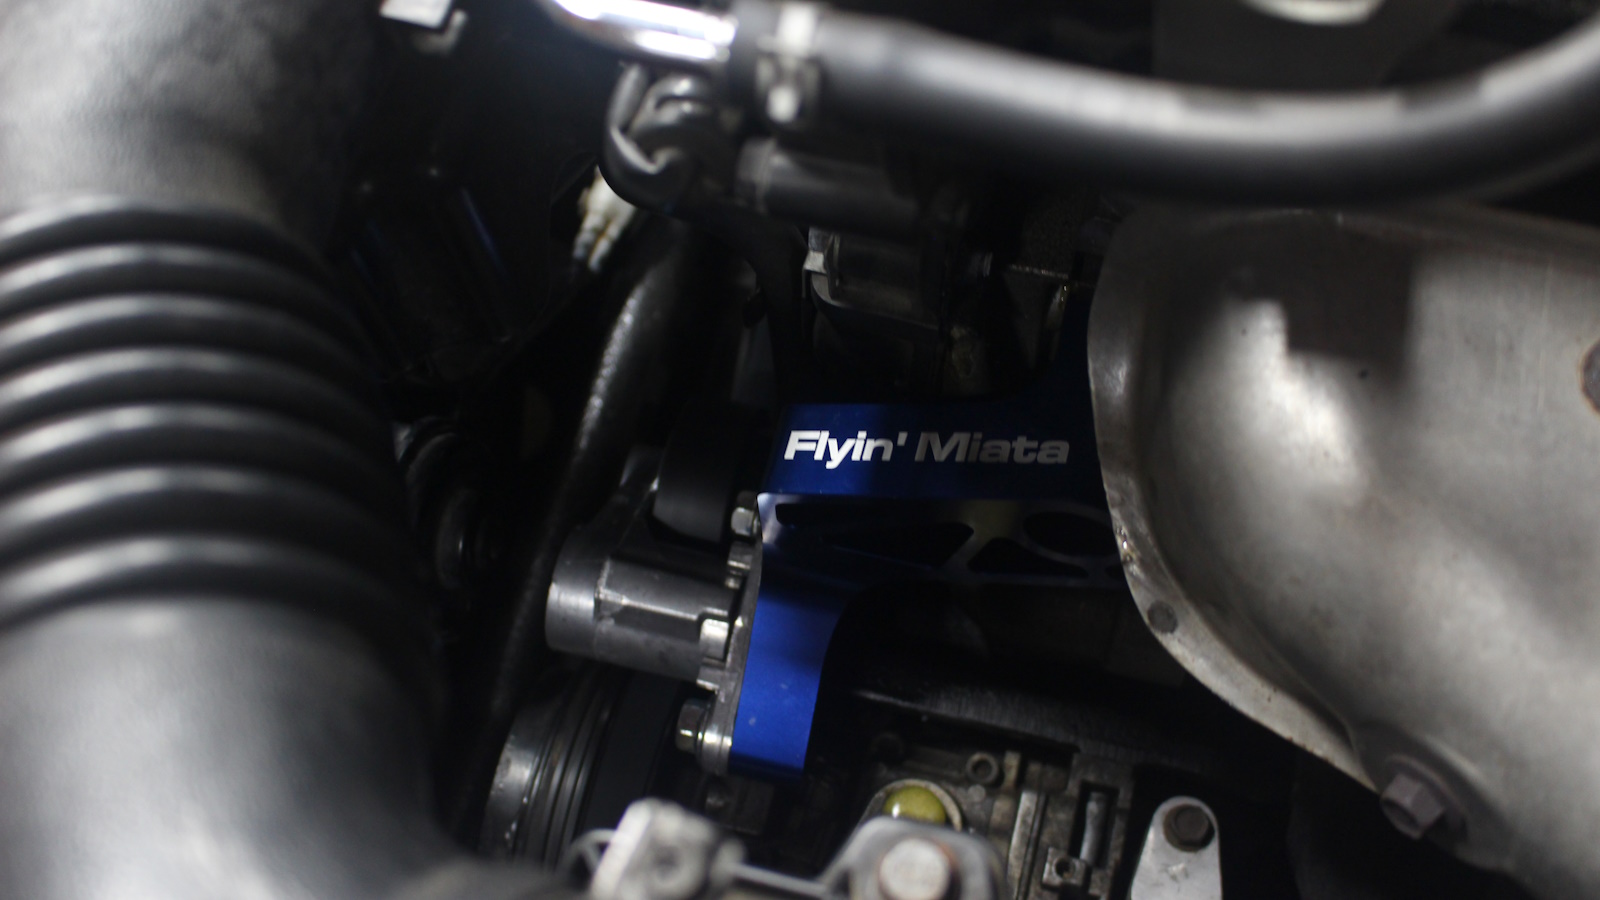
This kit is freshly installed at the time of writing, but so far it is the perfect solution. Flyin’ Miata put great attention to detail into this product and I highly recommend it.
| Parts | Price |
| Power steering pump delete kit NA/NB | $189 |



I wish I had known you were looking to do this, I could have saved you a bunch of money and 2.39lbs.
I did a PS delete on an NB2 in the spring of 23 and didn’t like any of the options on the market at the time, so I did a little digging. Knowing my LS swapped Jeep uses a stretch belt on the AC, I did some measuring and found a Goodyear PK Stretch belt (S4PK0765) and it works perfectly for about $20.
I’m sure whatever your favorite belt manuf is, they will have an option. Key is 4 rib, 765mm long.
How difficult was the stretch belt to install? I found this old miataturbo.net forum post, but the Gates version of the belt they listed was unavailable everywhere I looked. https://www.miataturbo.net/diy-turbo-discussion-14/fyi-found-good-stretch-fit-belt-ac-w-out-ps-102685/
4-rib 765mm is good info! I should have checked for similar belts from other brands.
Piece of cake, I already had the tool, but have removed and installed it without it.
I’ll send you a few images if you tell me how.
K040301SF it’s the same belt, Gates just uses imperial measurements. 765mm is 30.1″.
K040 is 4 rib
Bob
You can view them here: https://forum.miata.net/vb/showthread.php?p=11036768#post11036768
That’s a good looking engine bay! And smart comment about the harmonic balancer, I have a Fluidamper on my workbench ready to install.
Thanks! Work in progress.