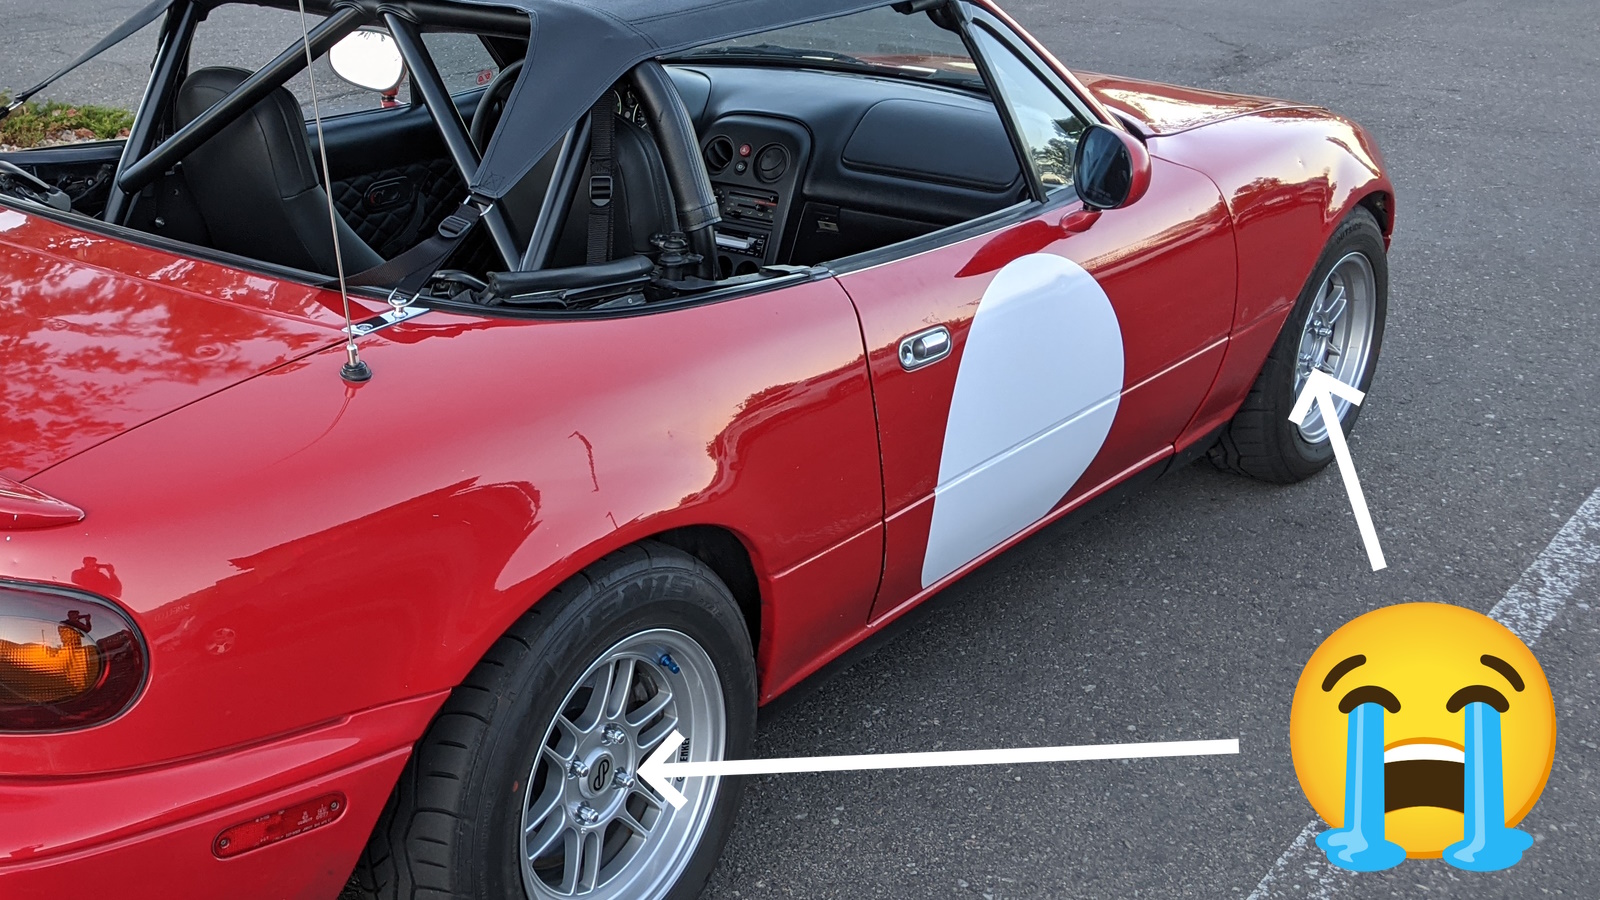
Enkei doesn’t make center caps for 14″ or 15″ RPF1 wheels. There are some options available for 15″ wheels (apparently Konig Helium center caps do the trick), and nice aftermarket options like the ones from Flat Out Graphics. If you’re like me, you open that link and drool at the center caps you wish you could have for your 14’s. But anything is possible with a 3D-printer, right??
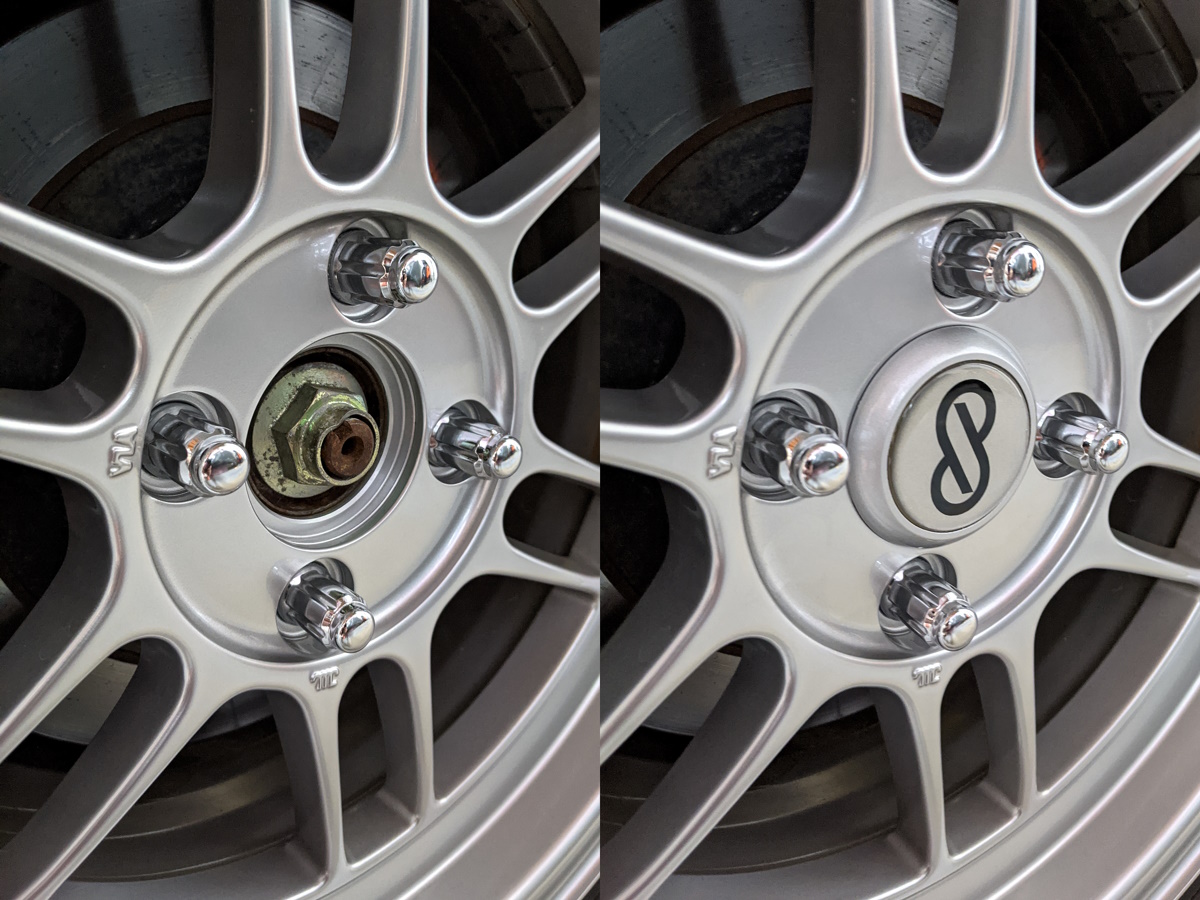
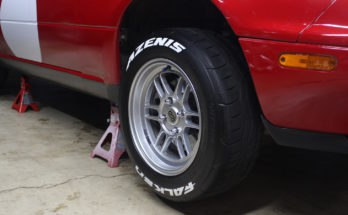
Why is this a problem in the first place? For reference, here is a close-up of the center bore for a 15×7 RPF1 on my Miata back in 2017 compared to a 14×7.
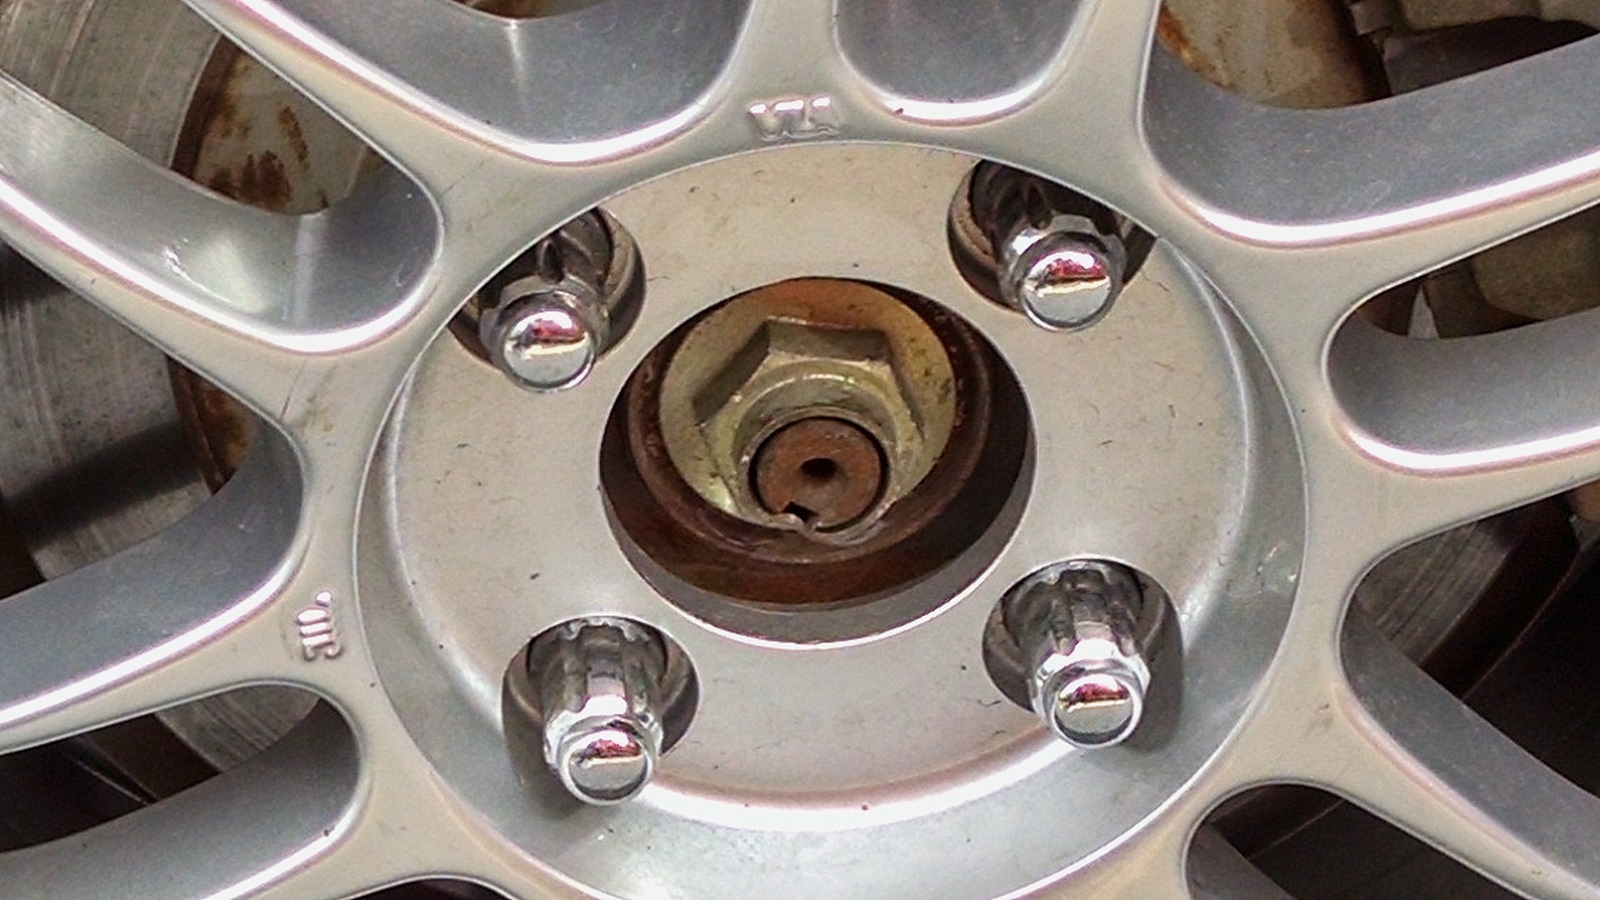
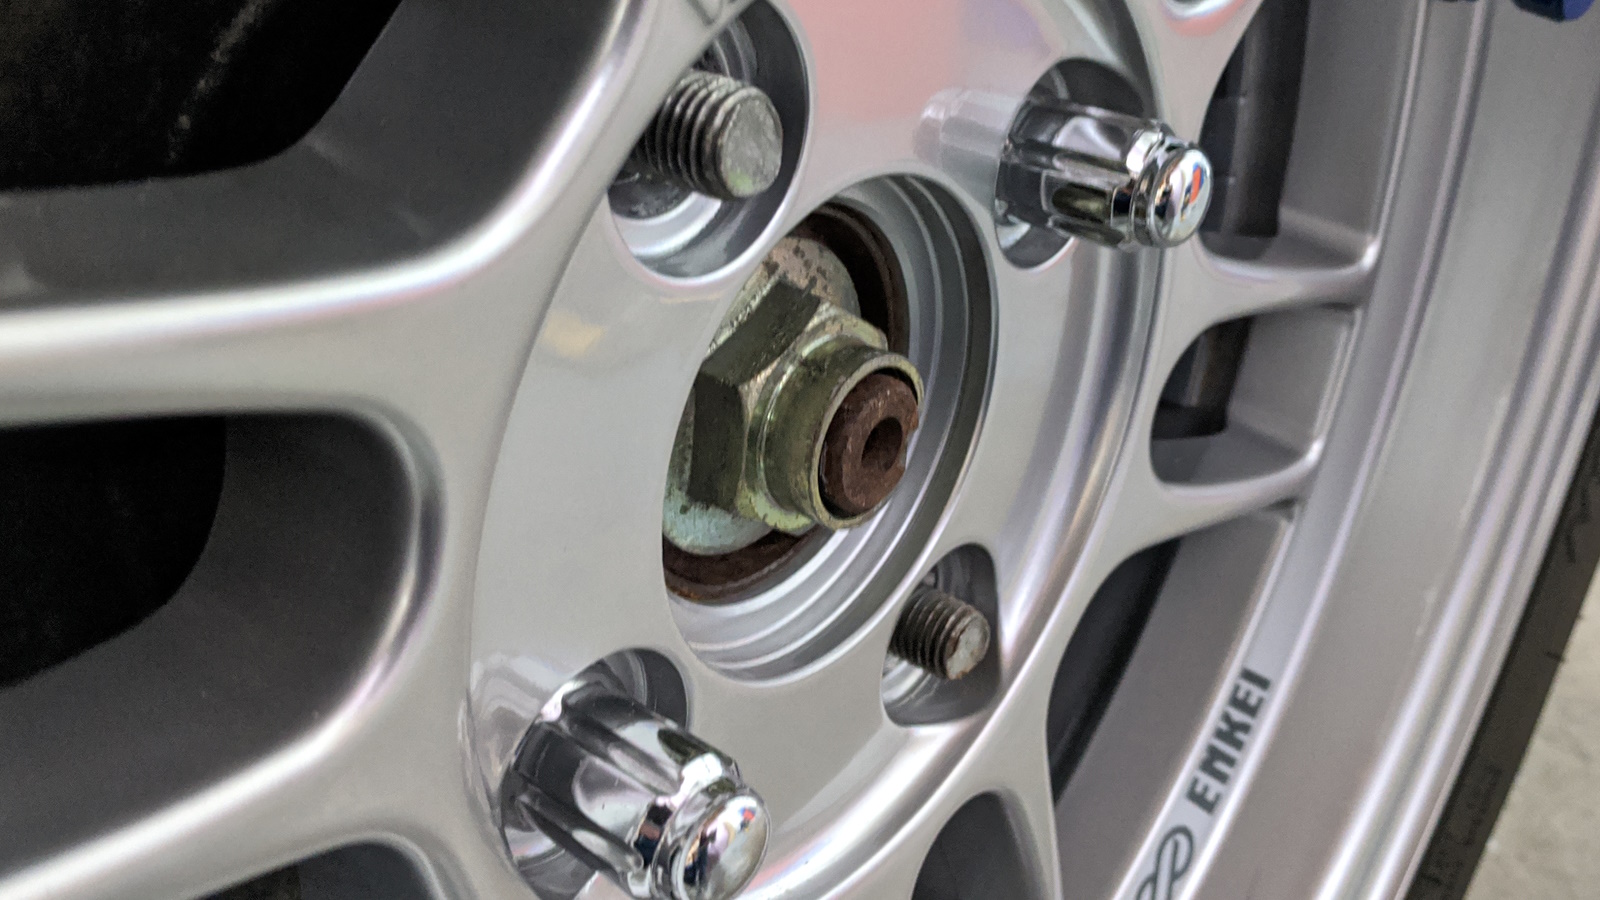
See that stepped lip around the center bore? A regular wheel center cap isn’t going to click in all the way. The diameter is different too! And to make things even worse, look how far that axle nut sticks out!
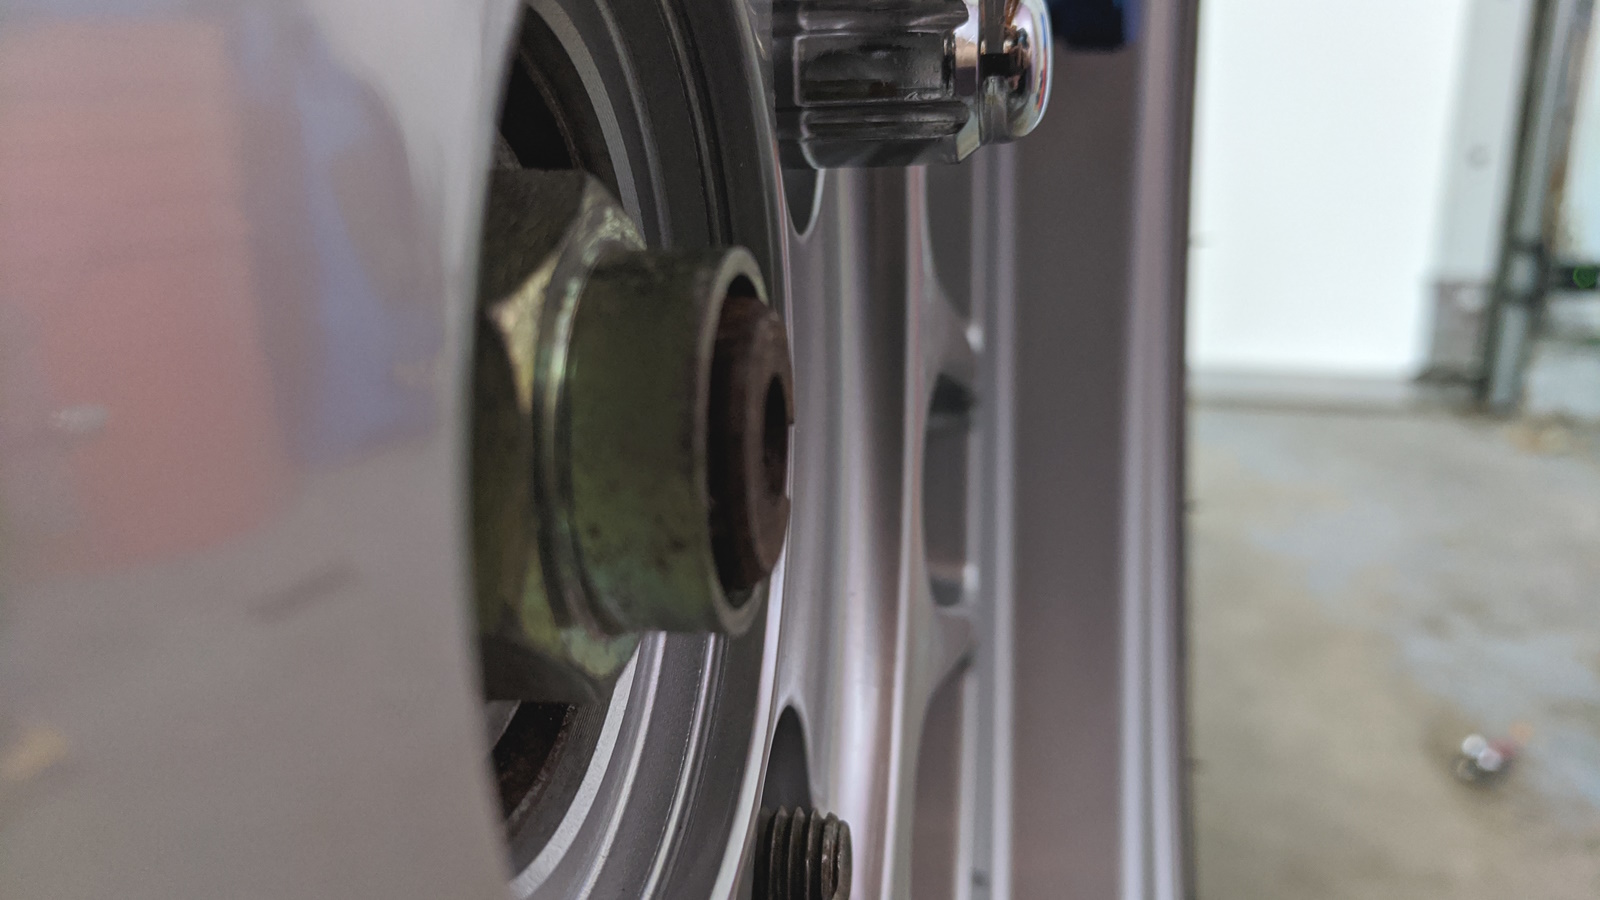
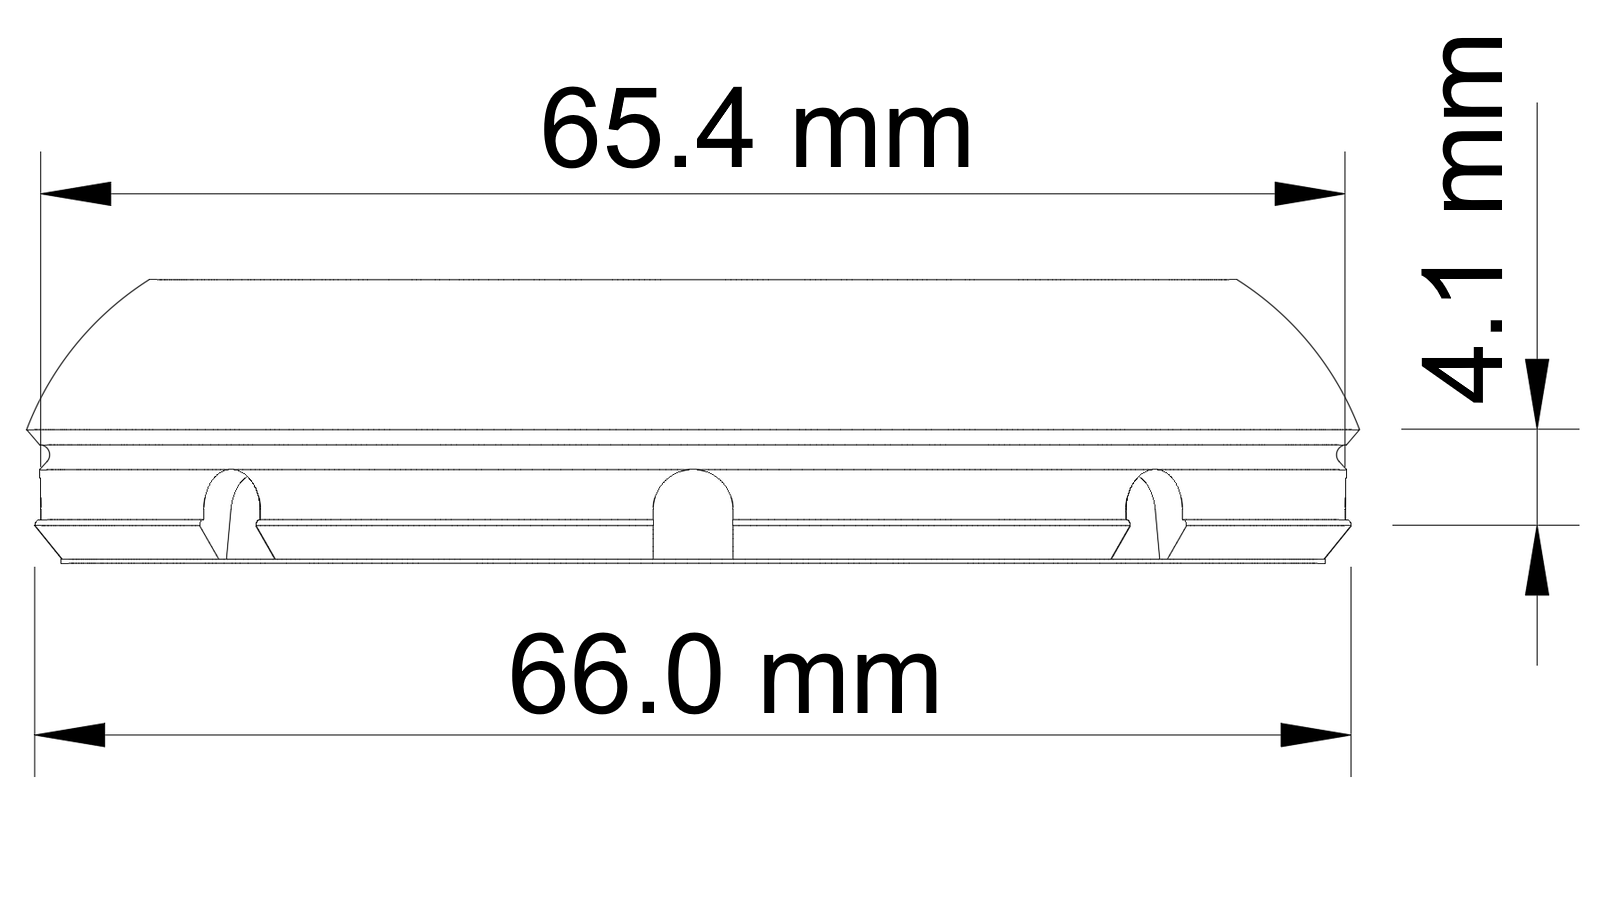
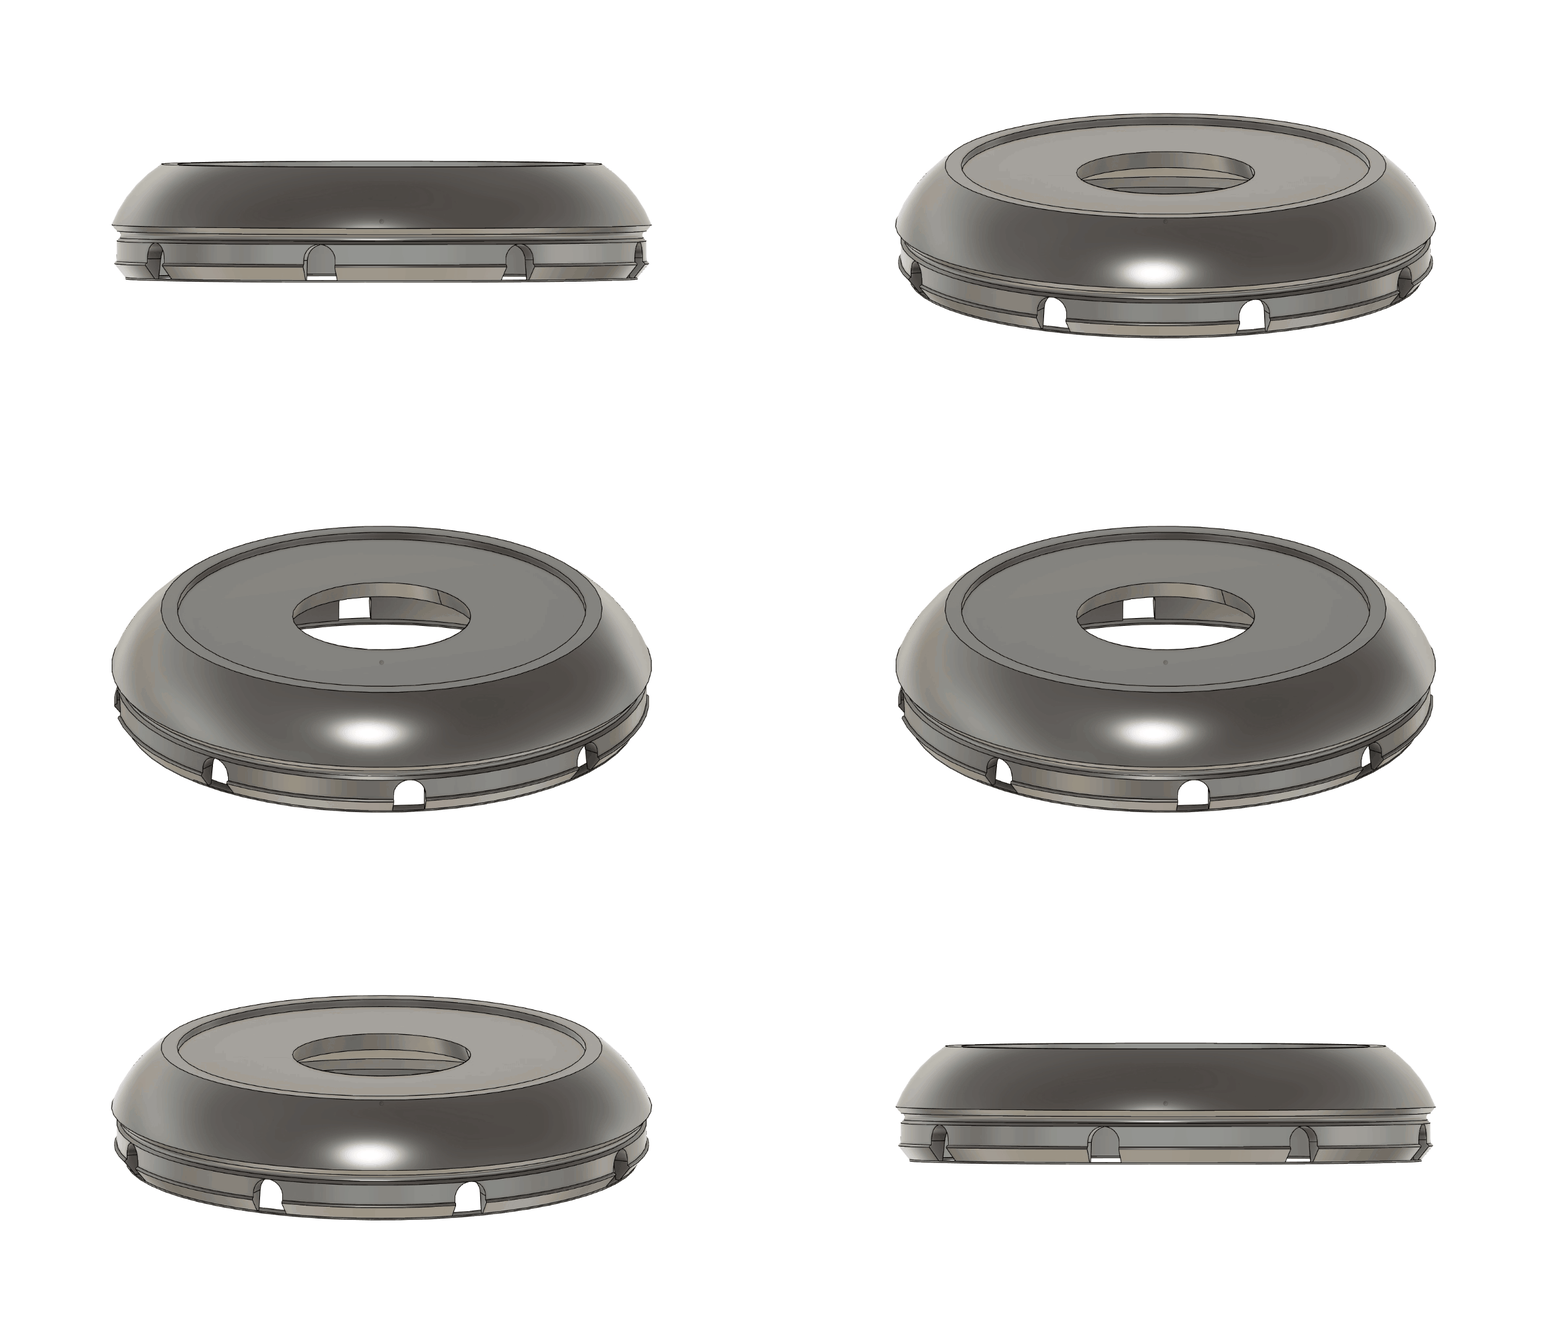
Here are the critical dimensions I was able to measure after many, many, many iterations of testing. The main insert needs a diameter of about 65mm, and to catch the groove in the wheel the prongs need to be about 4mm in from the face. If you can find a center cap something like this, it might work!
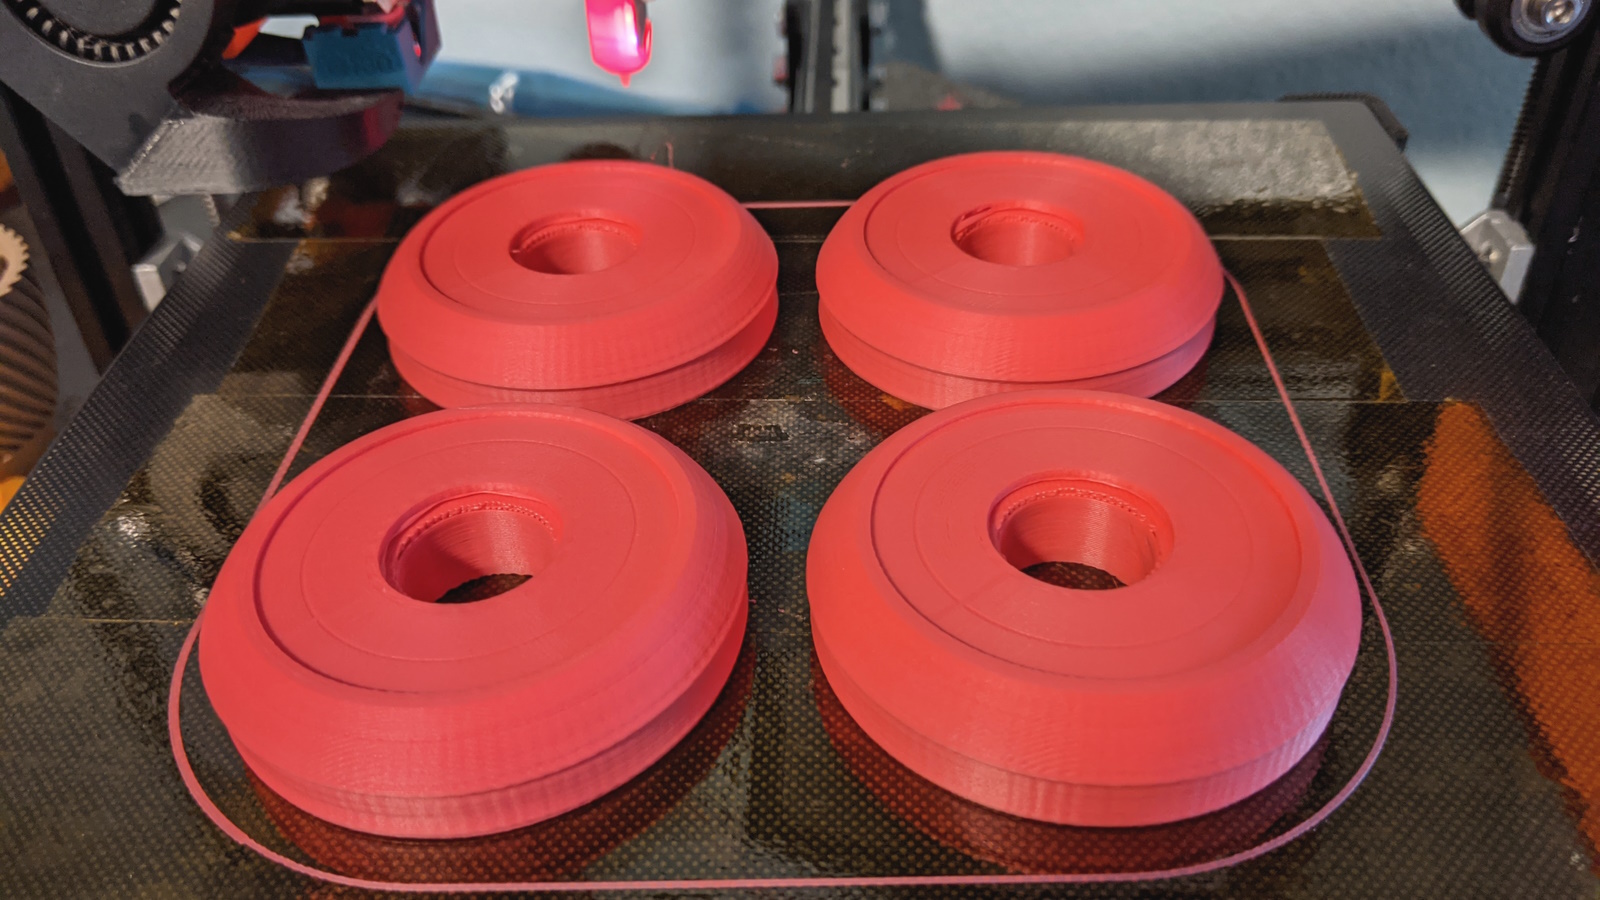
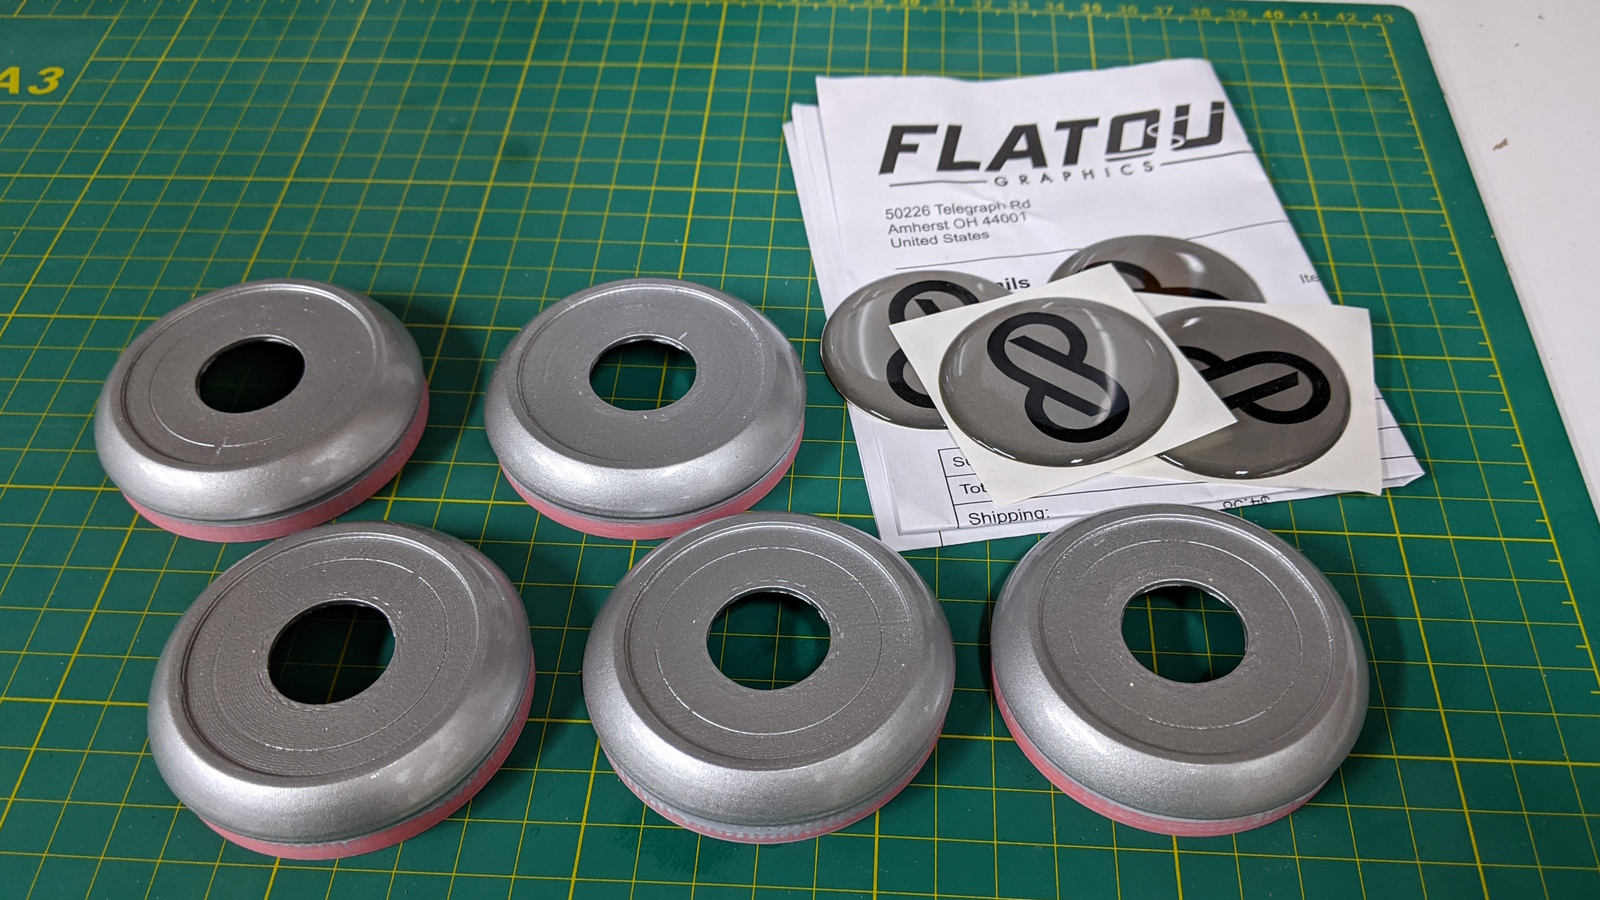
After printing off the plastic center caps, the first major task is to smooth down the layer lines. There are better guides for how to do that, and maybe acetone smoothing with ABS would have been the most effective, but I opted to use glazing spot putty and sandpaper. After struggling with the first one, I designed a clamp/wedge so that I could mount each center cap in the drill press.
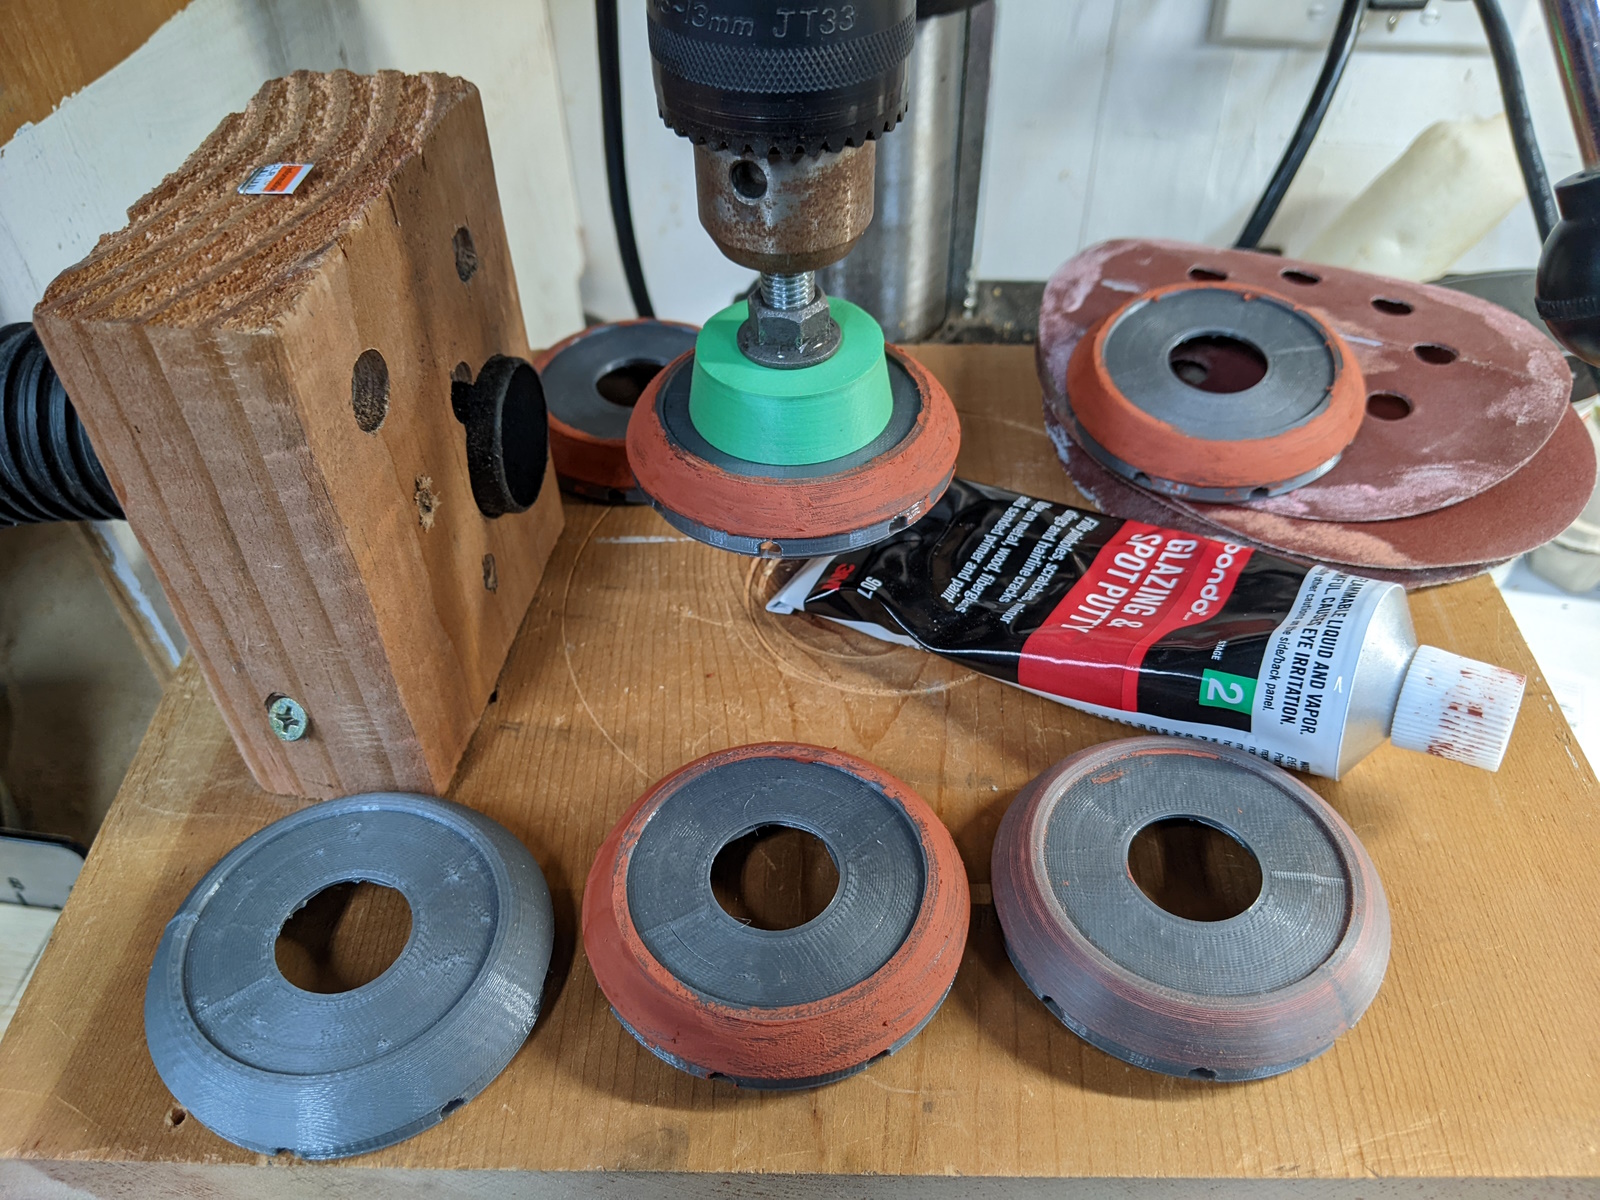
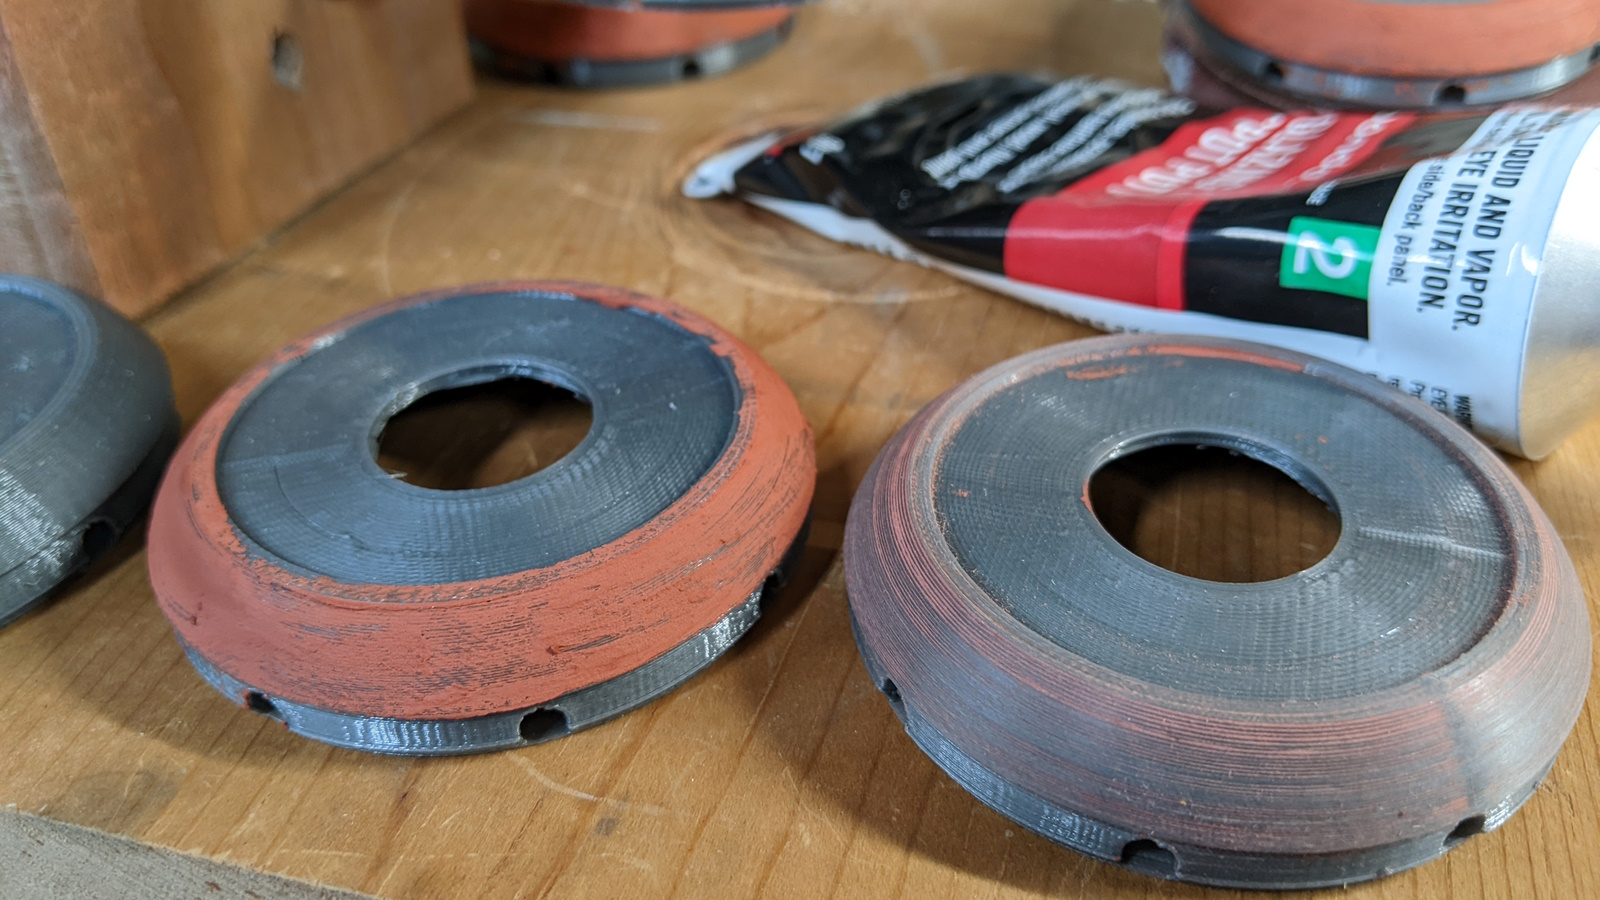
You’ll notice the plastic color change from pink to gray, and some small design updates. After putting the first batch of center caps fully though prep and paint, two of them were tragically lost. I took the Miata for a drive on a cold day and somewhere along the way they popped out of the wheels and rolled away forever.
The pink plastic is PLA, and for version 2 I switched to PETG which is slightly more flexible and more durable. The “tab” design is also better which has kept version 2 on the wheels securely.
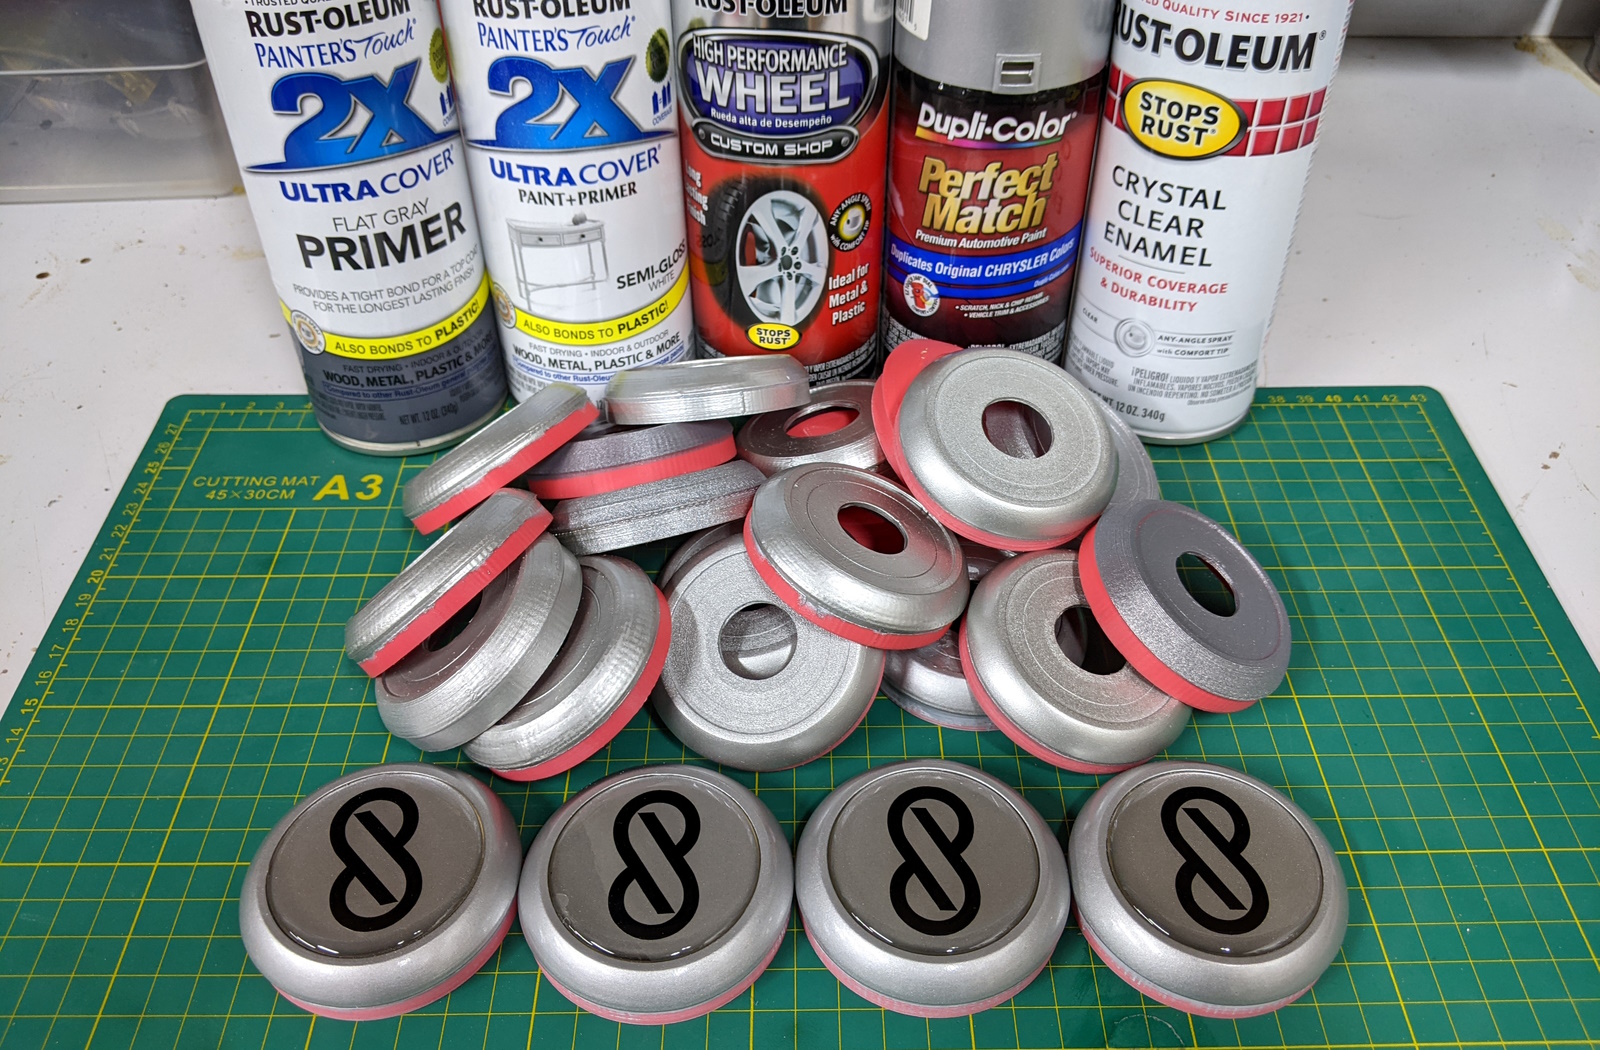
The next difficult step in this process is trying to find a paint combination that will work well with the bright silver RPF1s. The best color match I could make was:
- Flat gray primer to find any issues in the smoothing
- White base layer
- Rust-oleum high performance silver wheel paint (for the big metallic flakes and deep silver undertone)
- Dupli-Color Bright Silver Metallic BCC0410 in thin coats to brighten the color and add *sparkles*
- Crystal clear enamel for gloss and protection
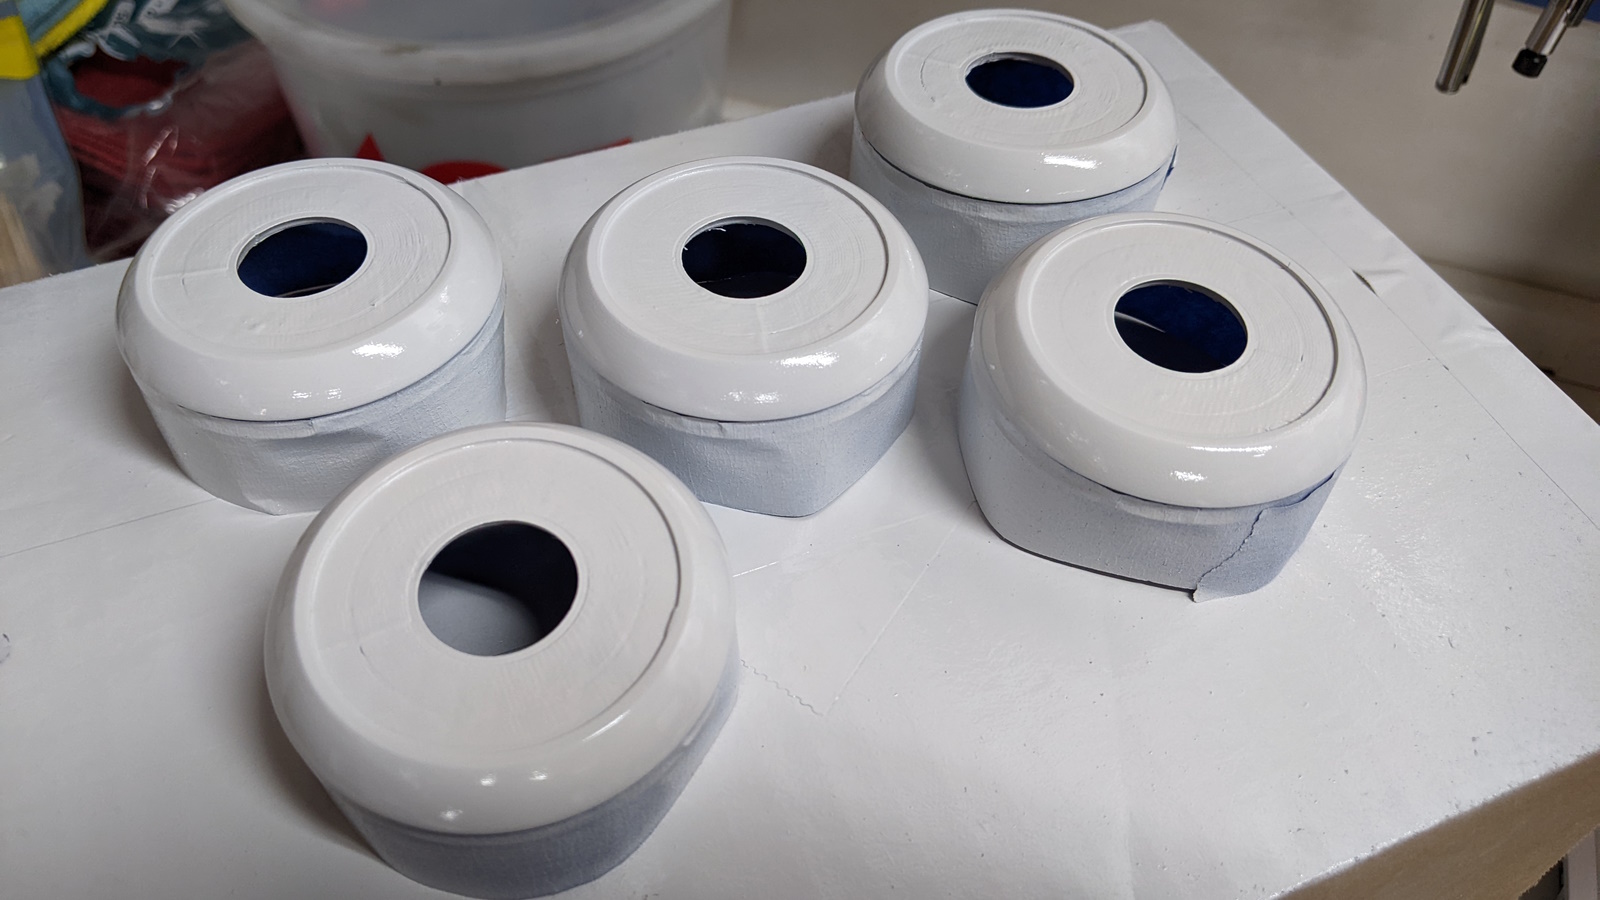
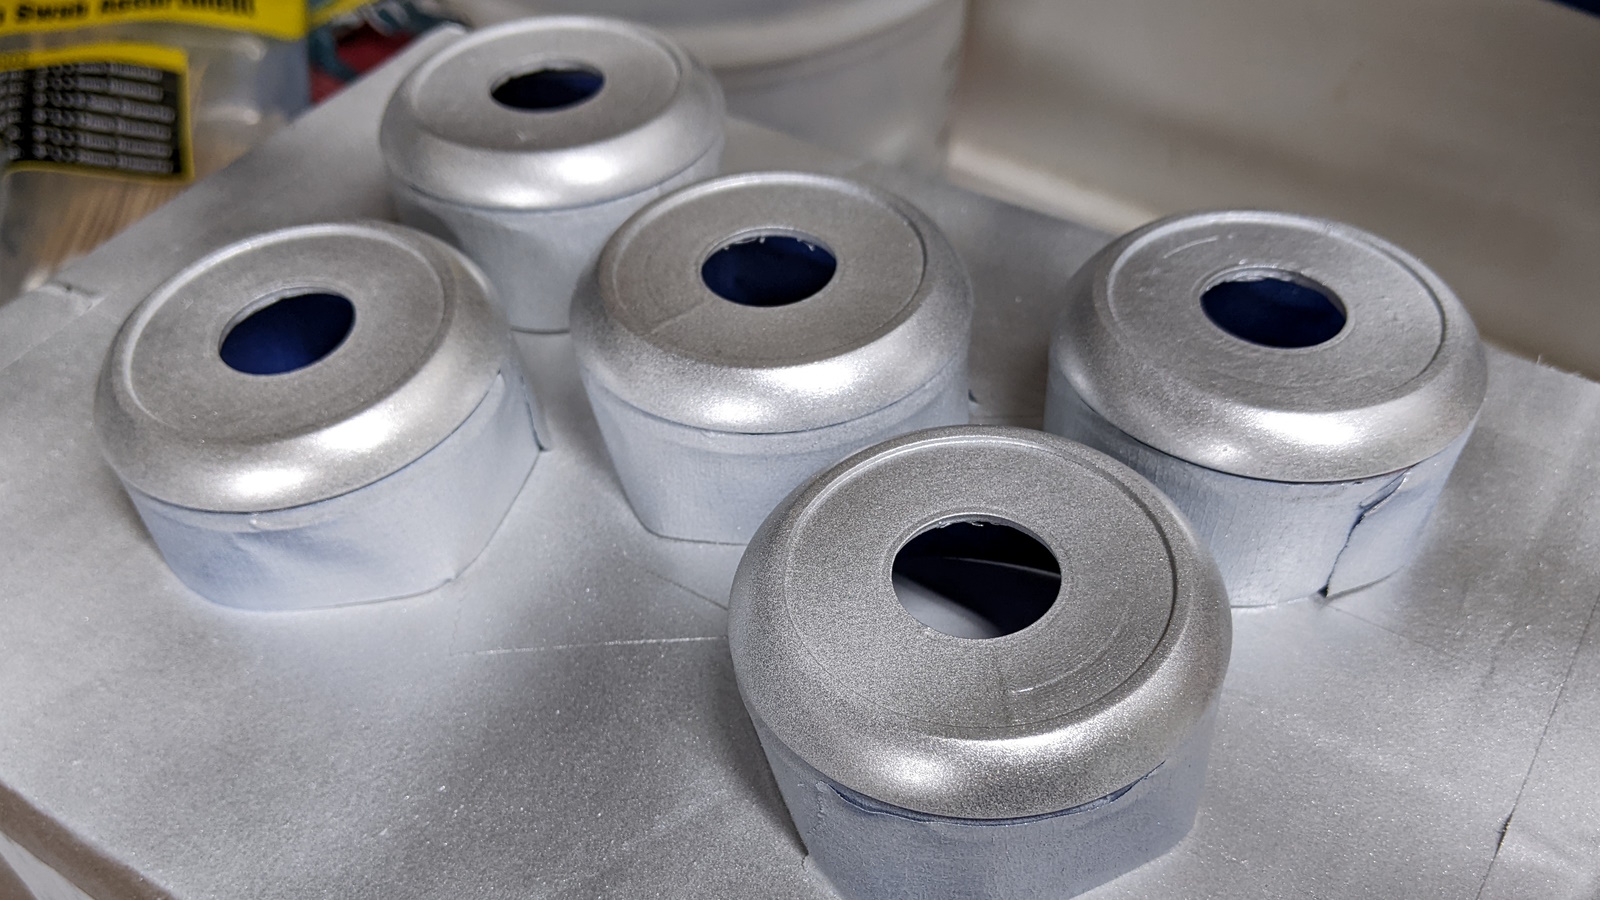
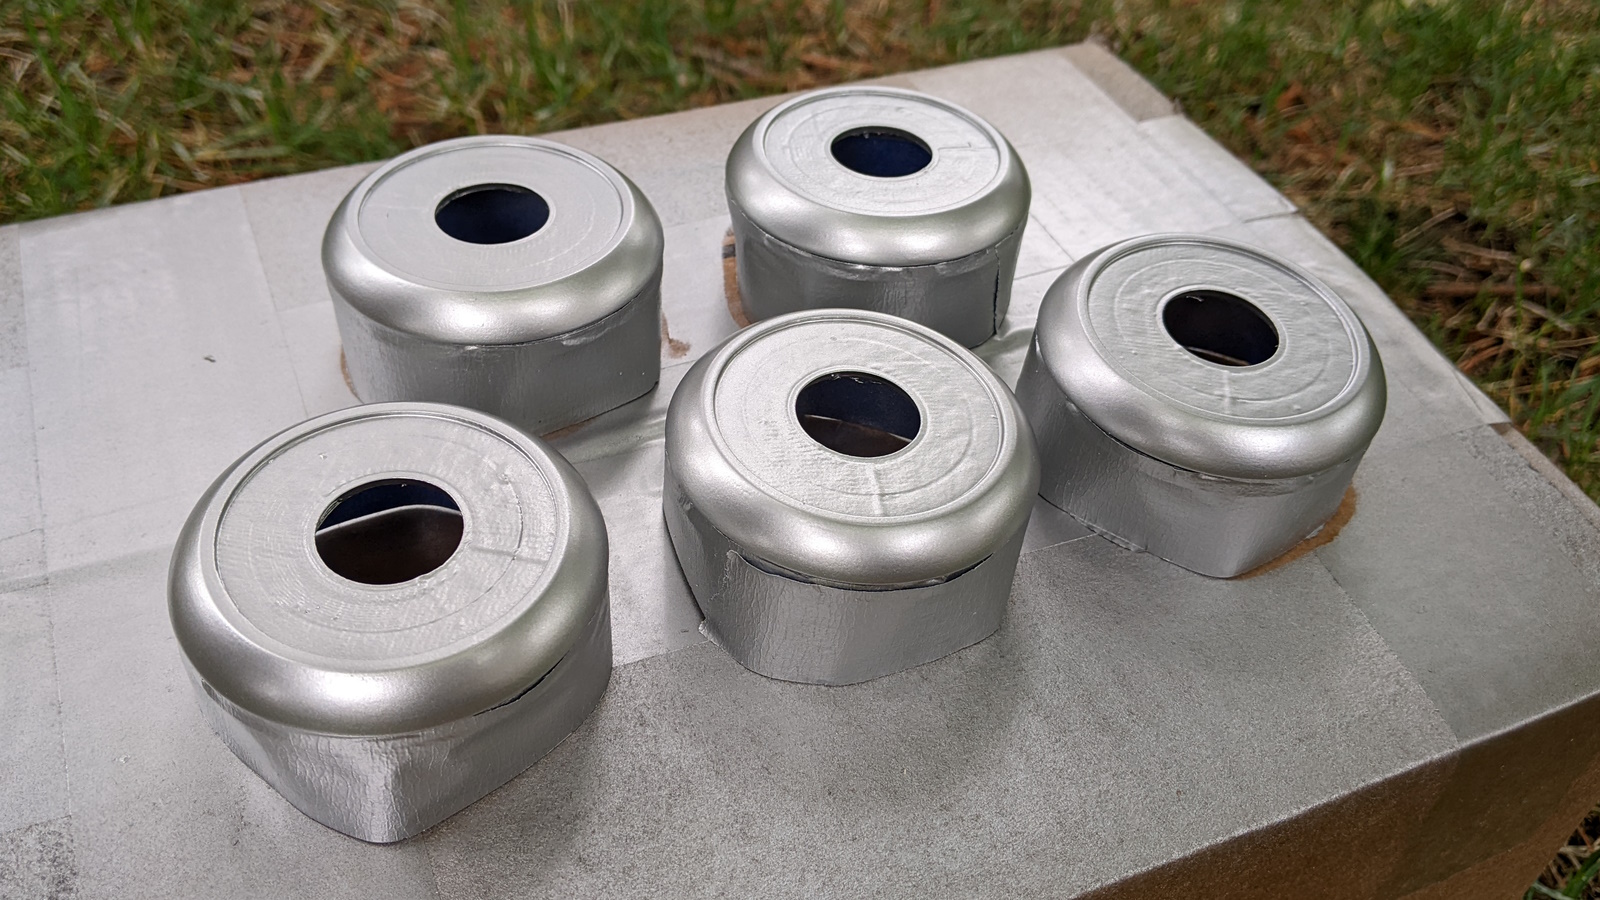
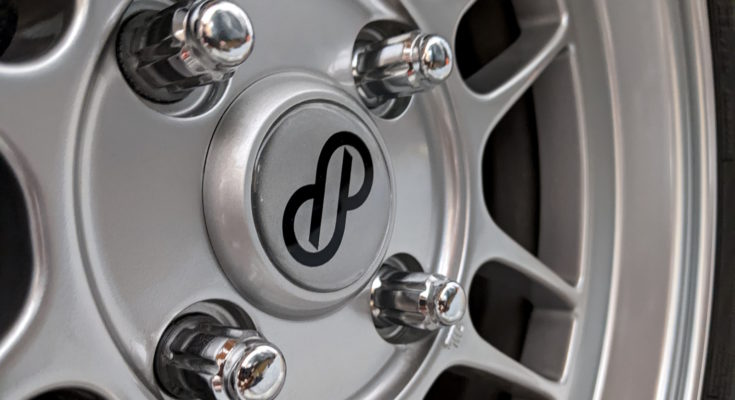
After gloss clear coat, the last step is to apply some Enkei domed epoxy stickers from Flat Out Graphics.
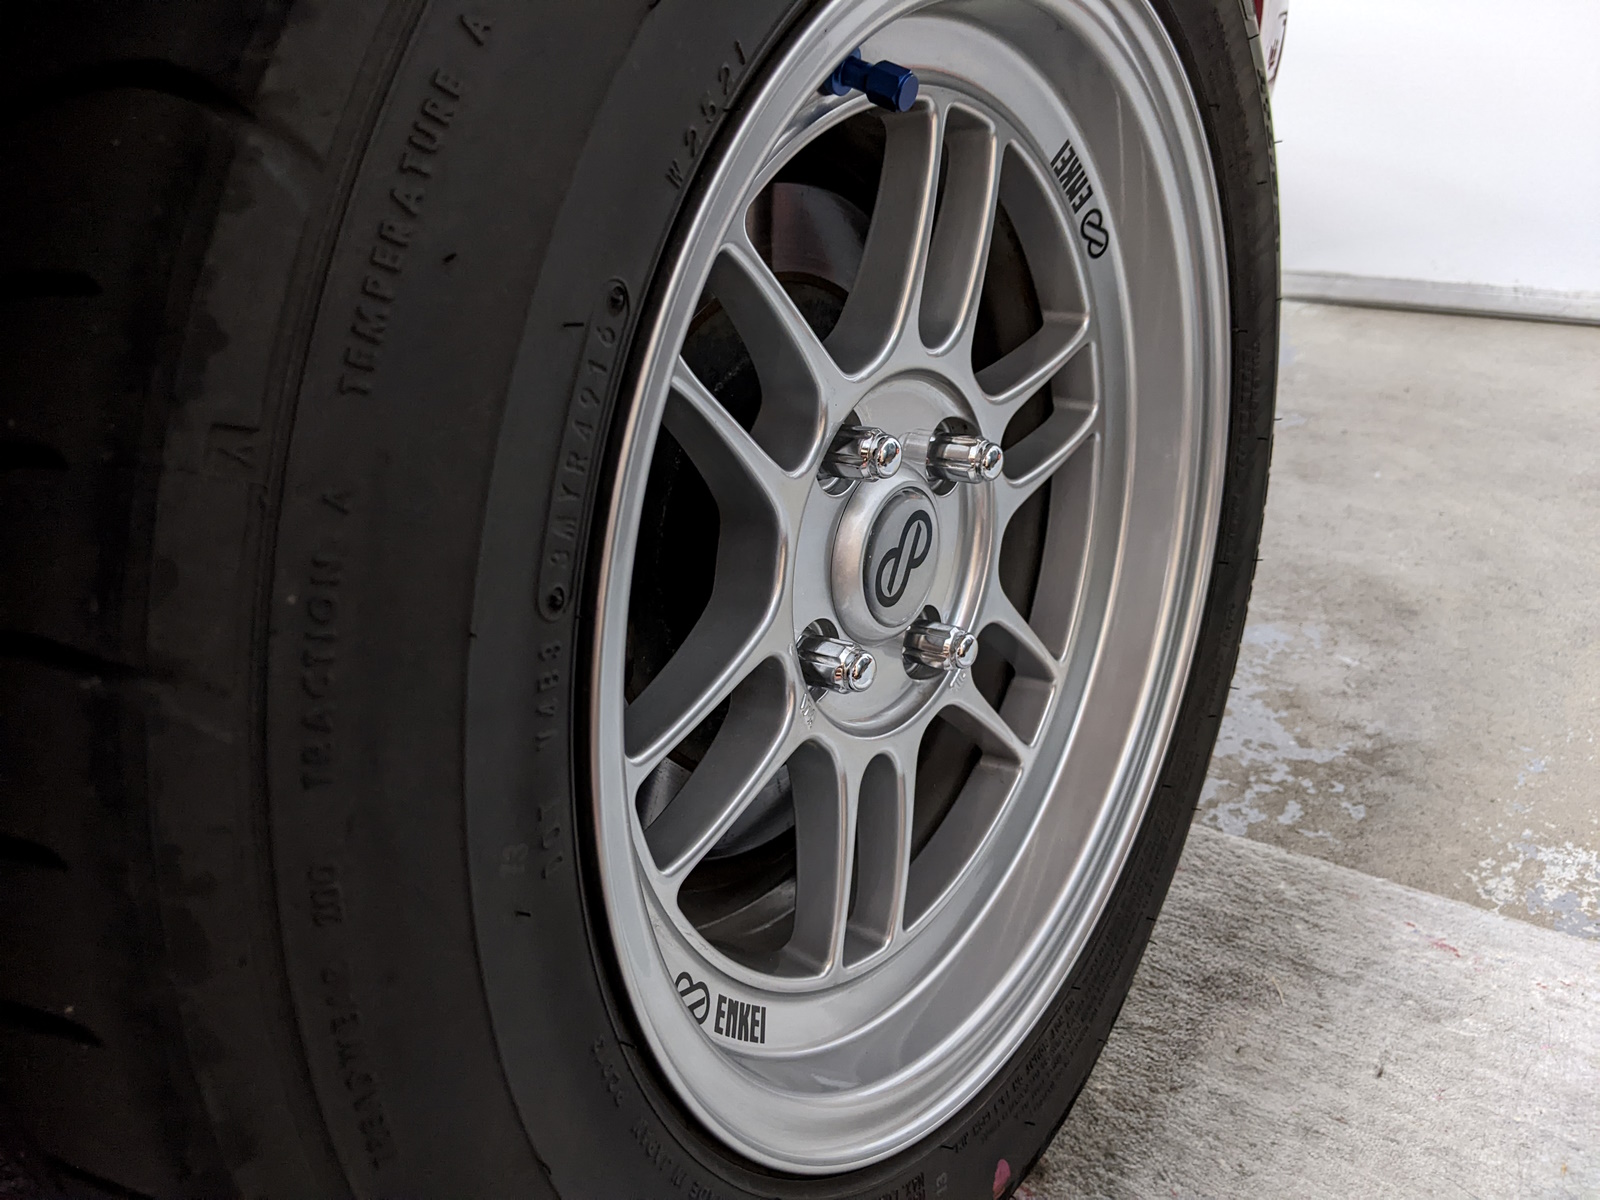
Finally, the center caps can be popped into place on the wheels, with the Enkei logo nicely aligned with the lug nuts. This project was a long journey, but I’m proud of the final results!



Great job, would you be interested in selling a set of these? I would even be willing to buy a raw pair. Don’t own a 3D printer 🙁
Thanks Victor! My print quality isn’t great which is part of the reason the sanding and finishing was so much work. You could try one of those 3D print services that prints and ships uploaded files. Probably not too expensive to have a set printed in PETG or even ABS plastic.
Fantastic write up! I’m Will the owner of Flat Out Graphics. Thanks for using my decals in the project! The final result looks fantastic.
Thanks Will, your decals are excellent! There’s a gap in the market for 14″ RPF1 center caps.
I definitely agree. Creating a cap for the size is something I’ve had on my todo list for years now.