
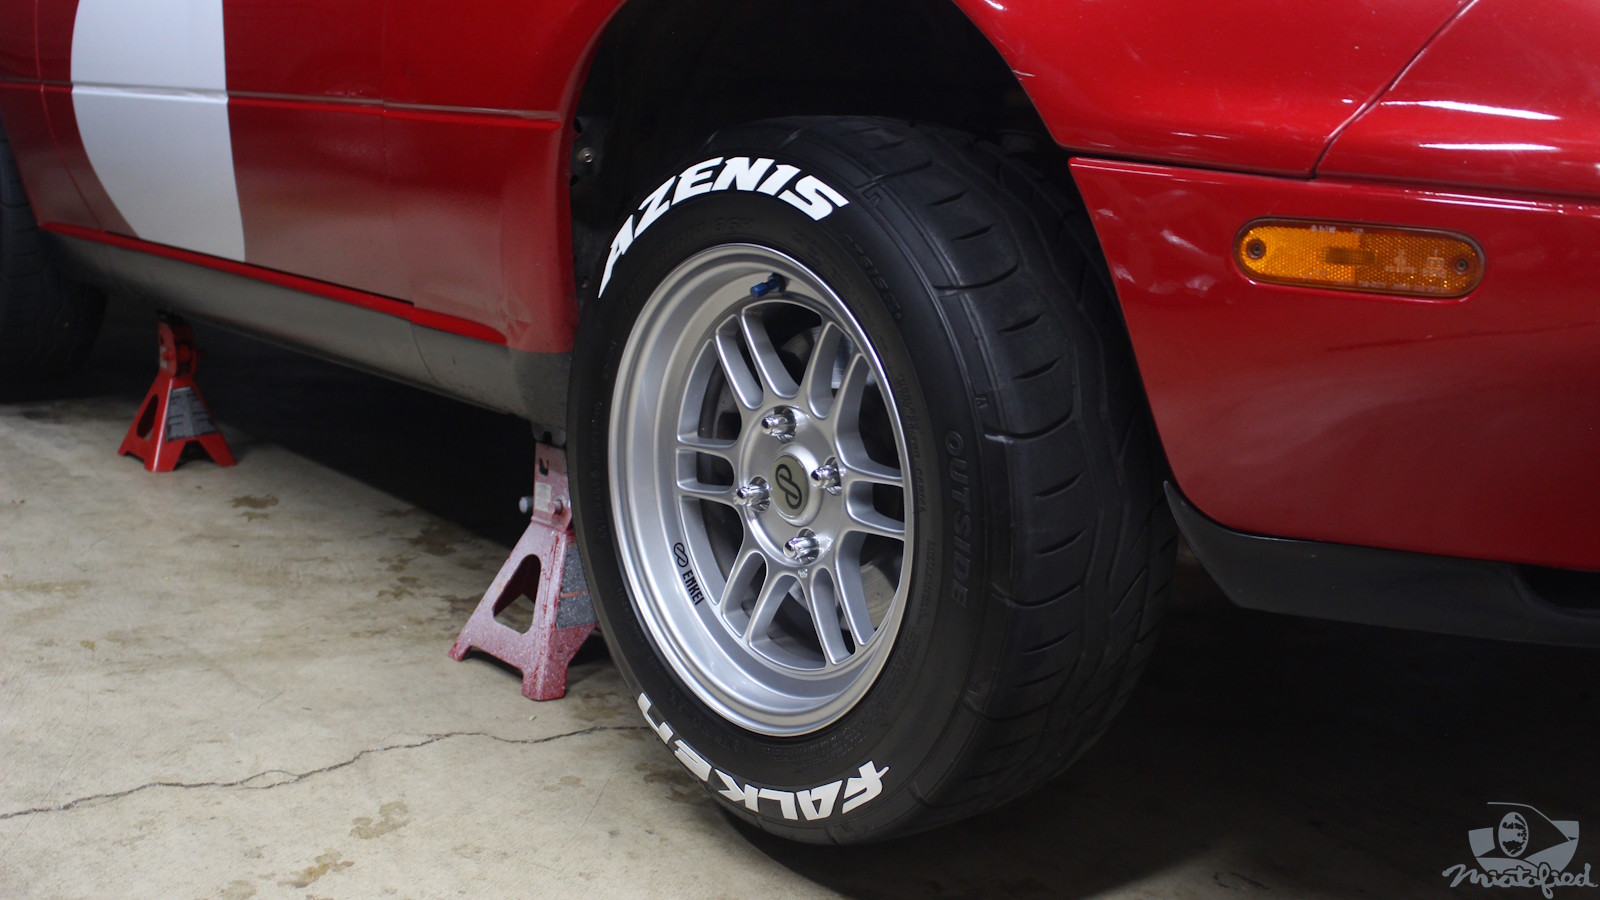
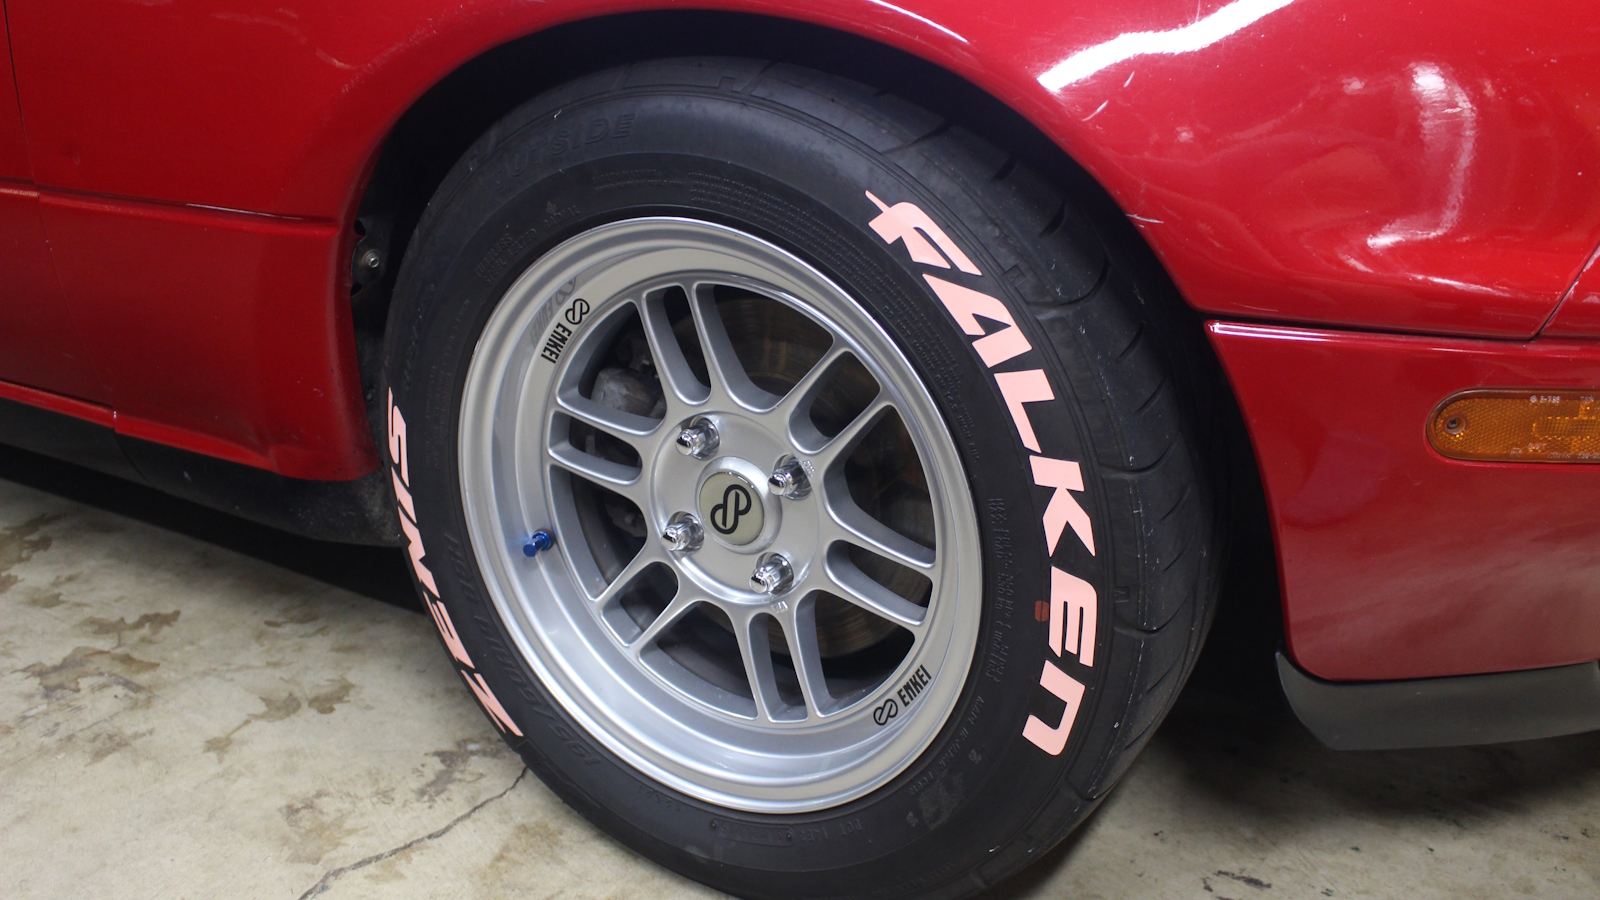
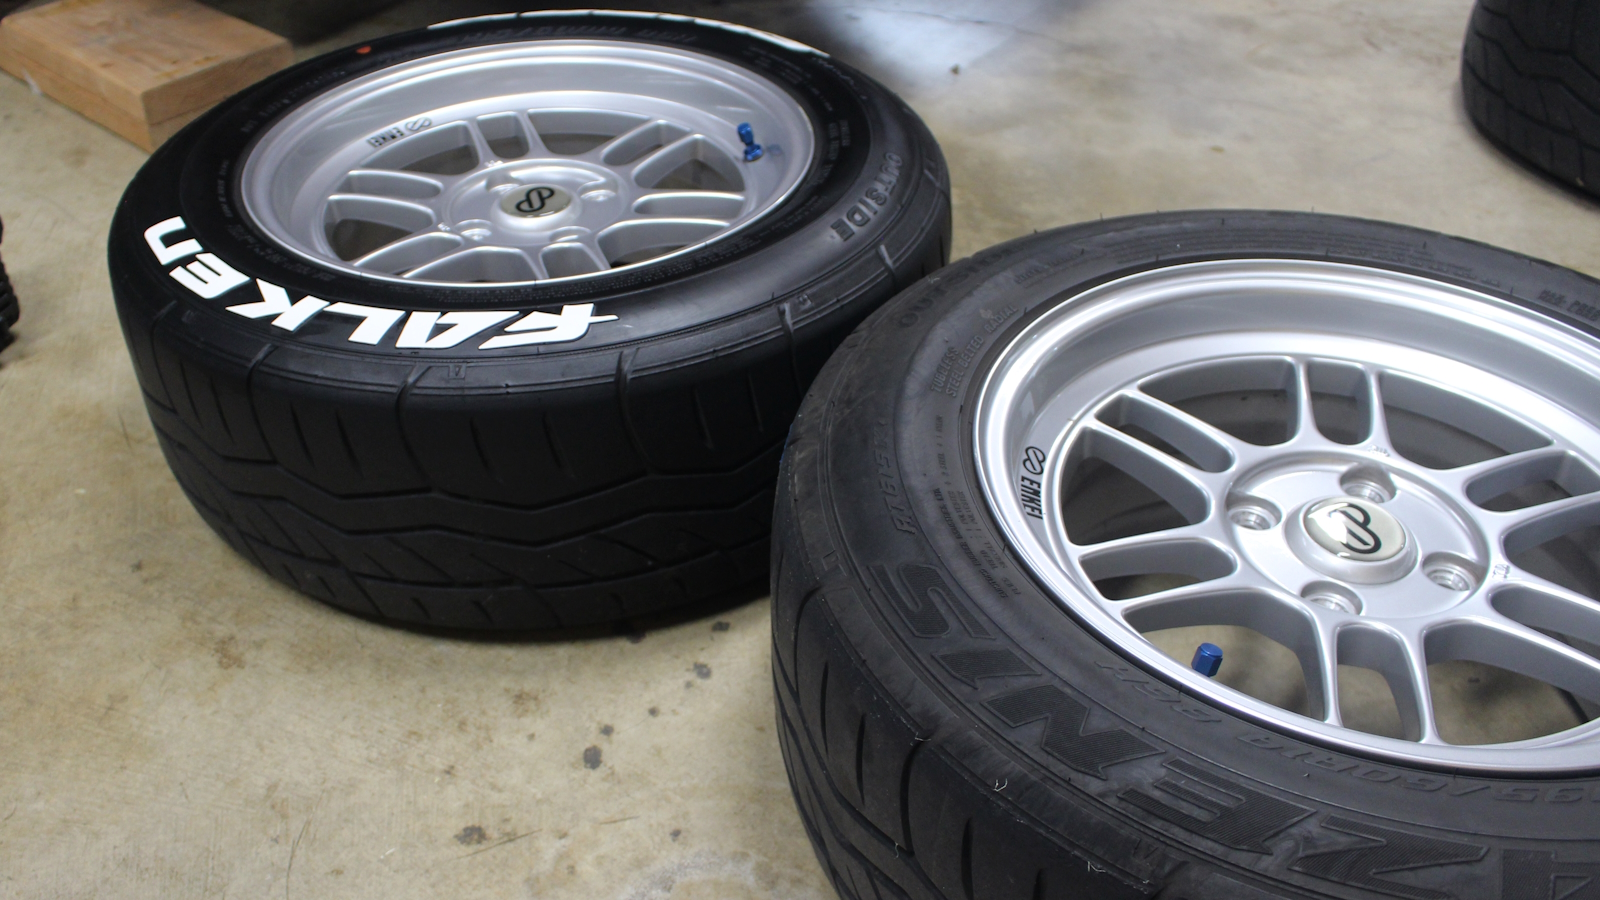
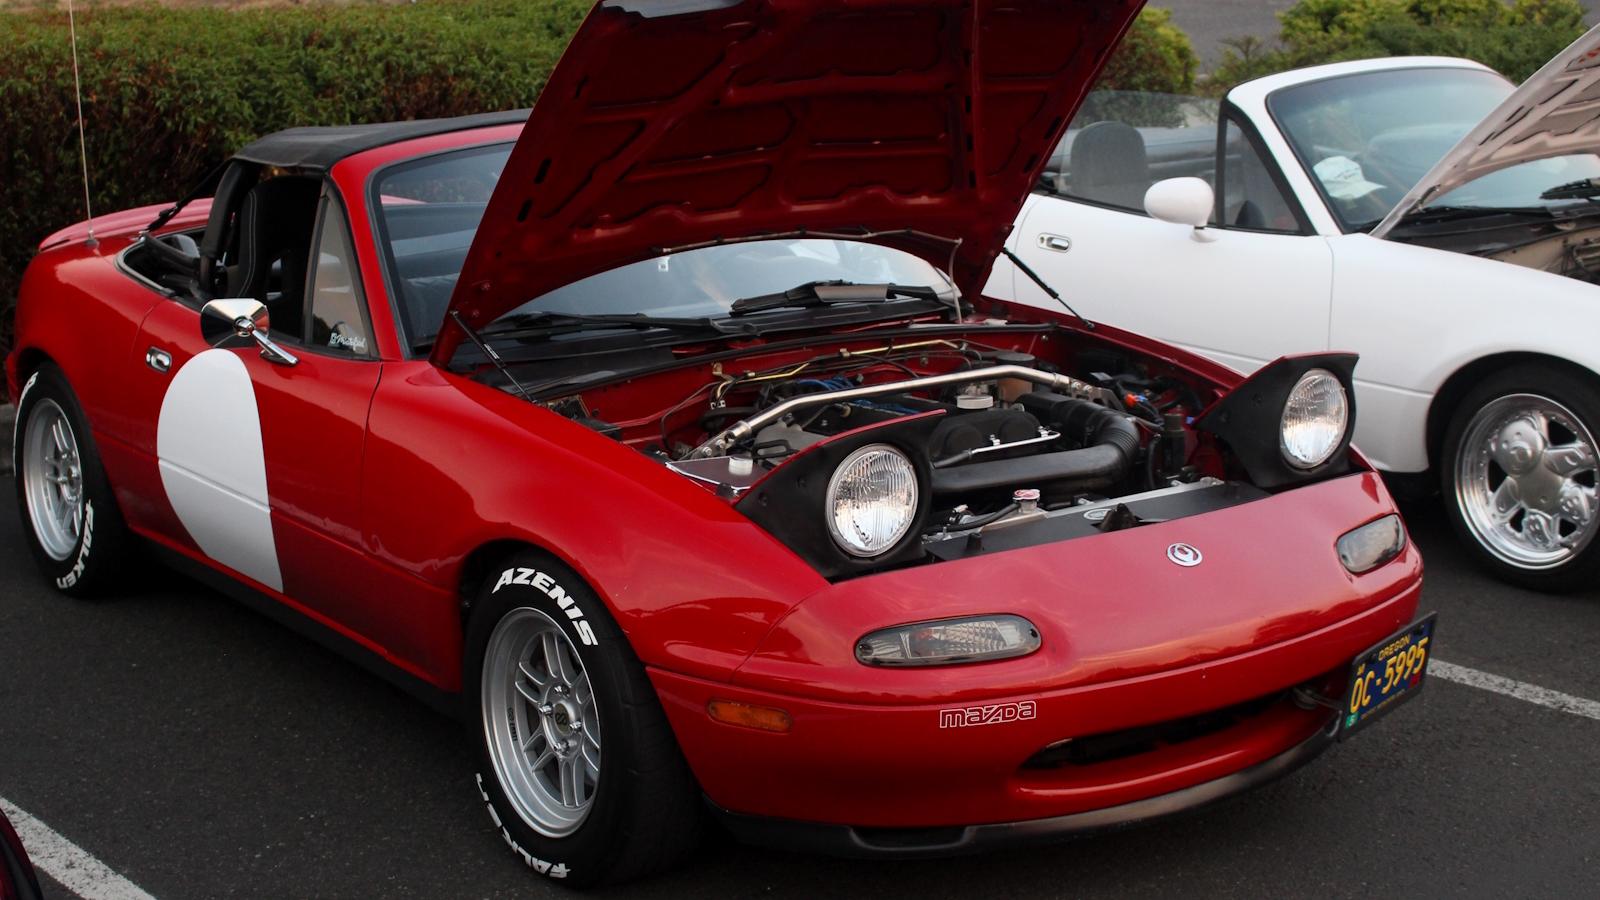
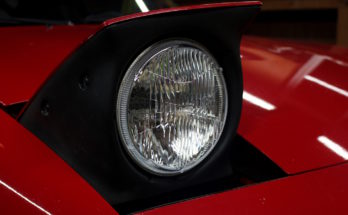
Is there anything more race car than white tire lettering? Years ago I drew in the letters of my Yokohama tires white paint pen, but found that it was tricky to paint neatly, took multiple coats, and yellowed quickly. Wanting to get back to that look, but with a more professional setup, here is making custom rubber letters for the Falken Azenis’s.
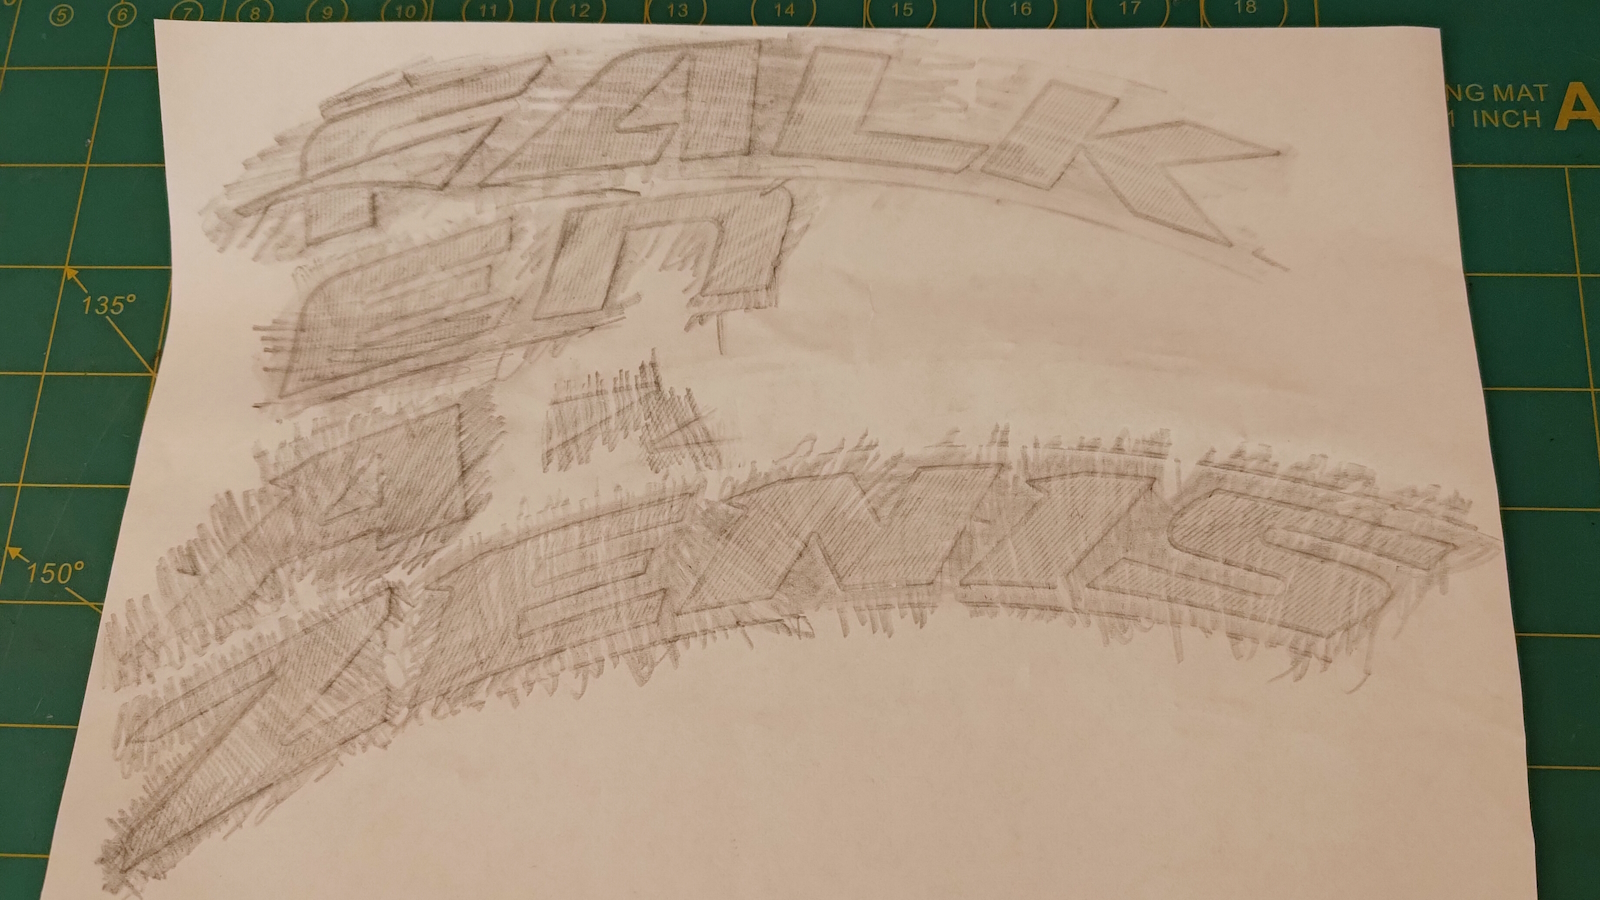
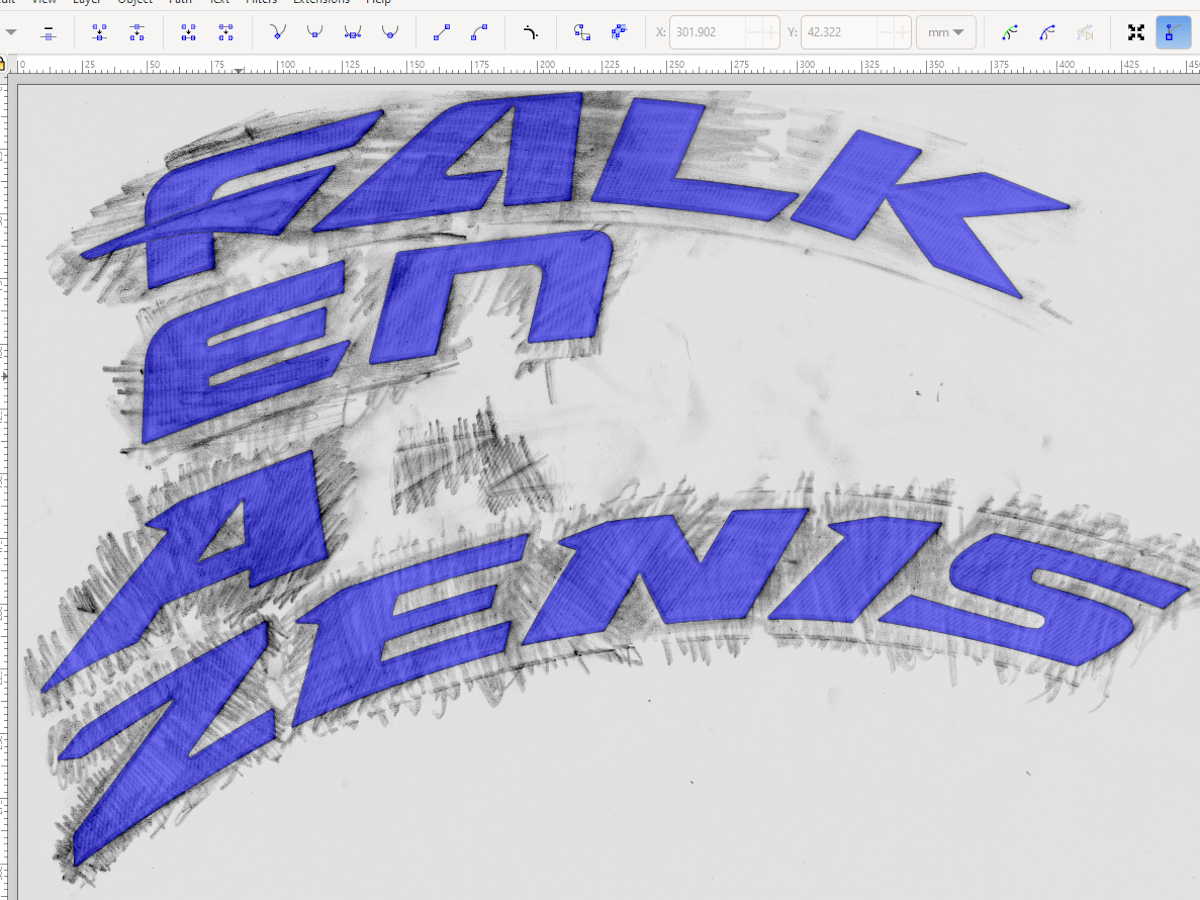
There are plenty of sources for brand logo svg files online, even the “Falken Azenis” logo is downloadable as an vector image on Falken’s website, so I started with that. It turns out, the stretch and arc of the tire lettering is so extreme on the tire sidewall, that the original graphics would need to be distorted completely. Because of that, I resorted to creating a new vector image by tracing directly off of the tire.
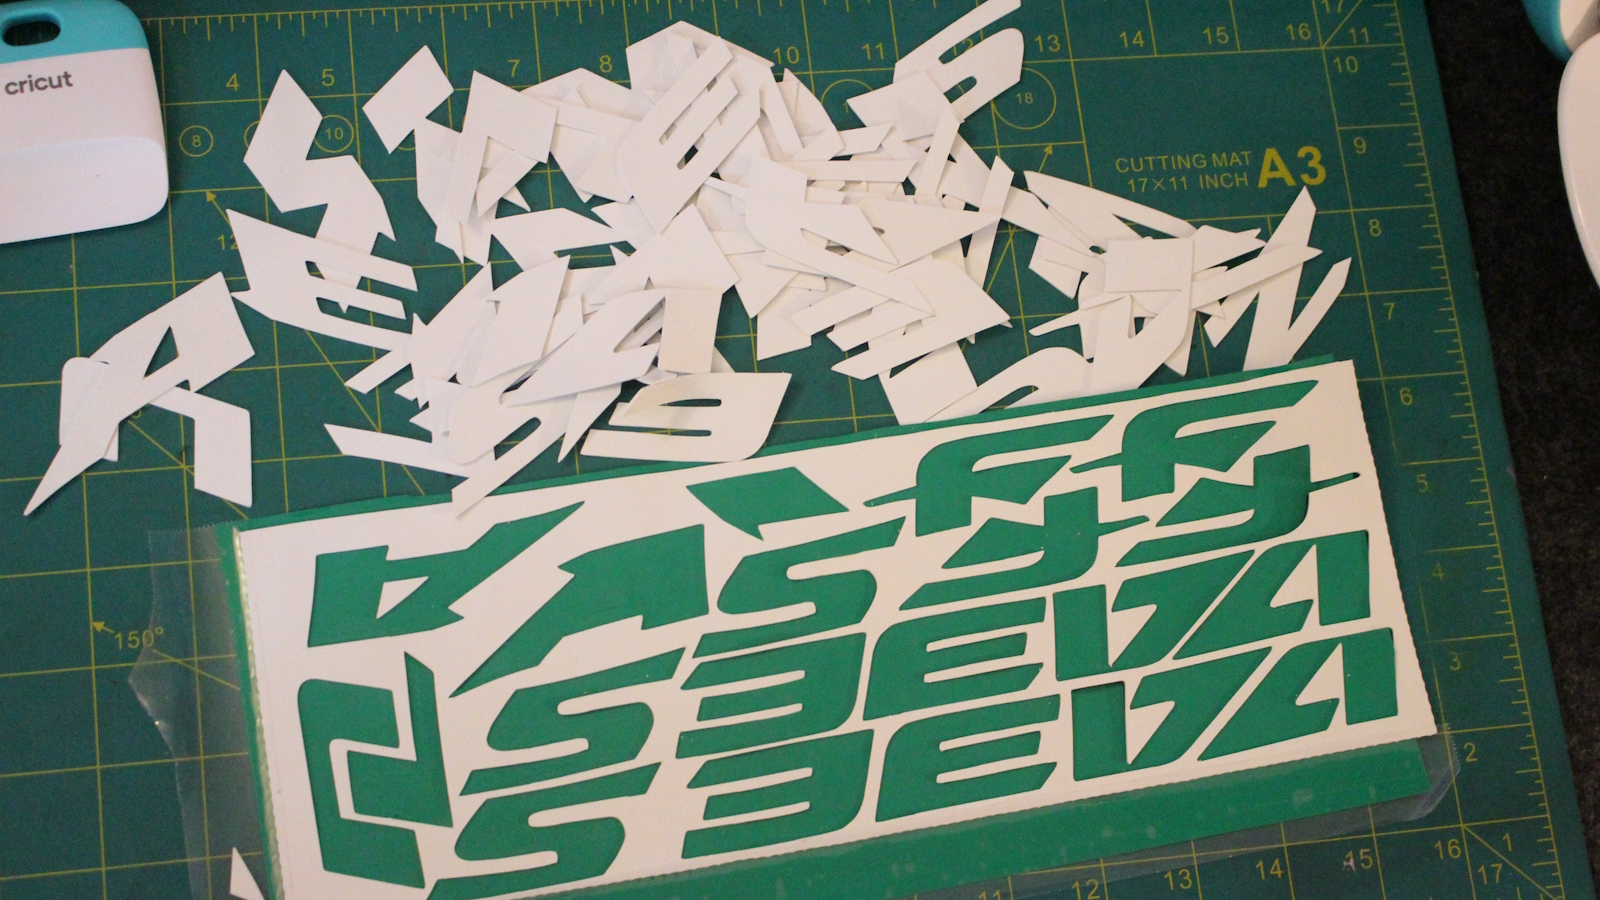
It was difficult to find the right material to cut the letters from. Tirestickers.com claims they use a “specially created dual-layer synthetic rubber compound.” The closest I could find for this experiment was 1/32″ rubber sheet material from McMaster-Carr, part number 8143k112.

After experimentation, the setting I found worked to cut the 1/32″ rubber sheet with the Cricut Joy was Cut Pressure: 175 with Multi-cut: 2x. This setting left the letters barely attached to the sheet at the pointed corners. One issue was securely fixing the rubber sheet to the cutting mat. I cleaned the rubber liberally with acetone and used an upside-down layer of removable adhesive vinyl as a backing.
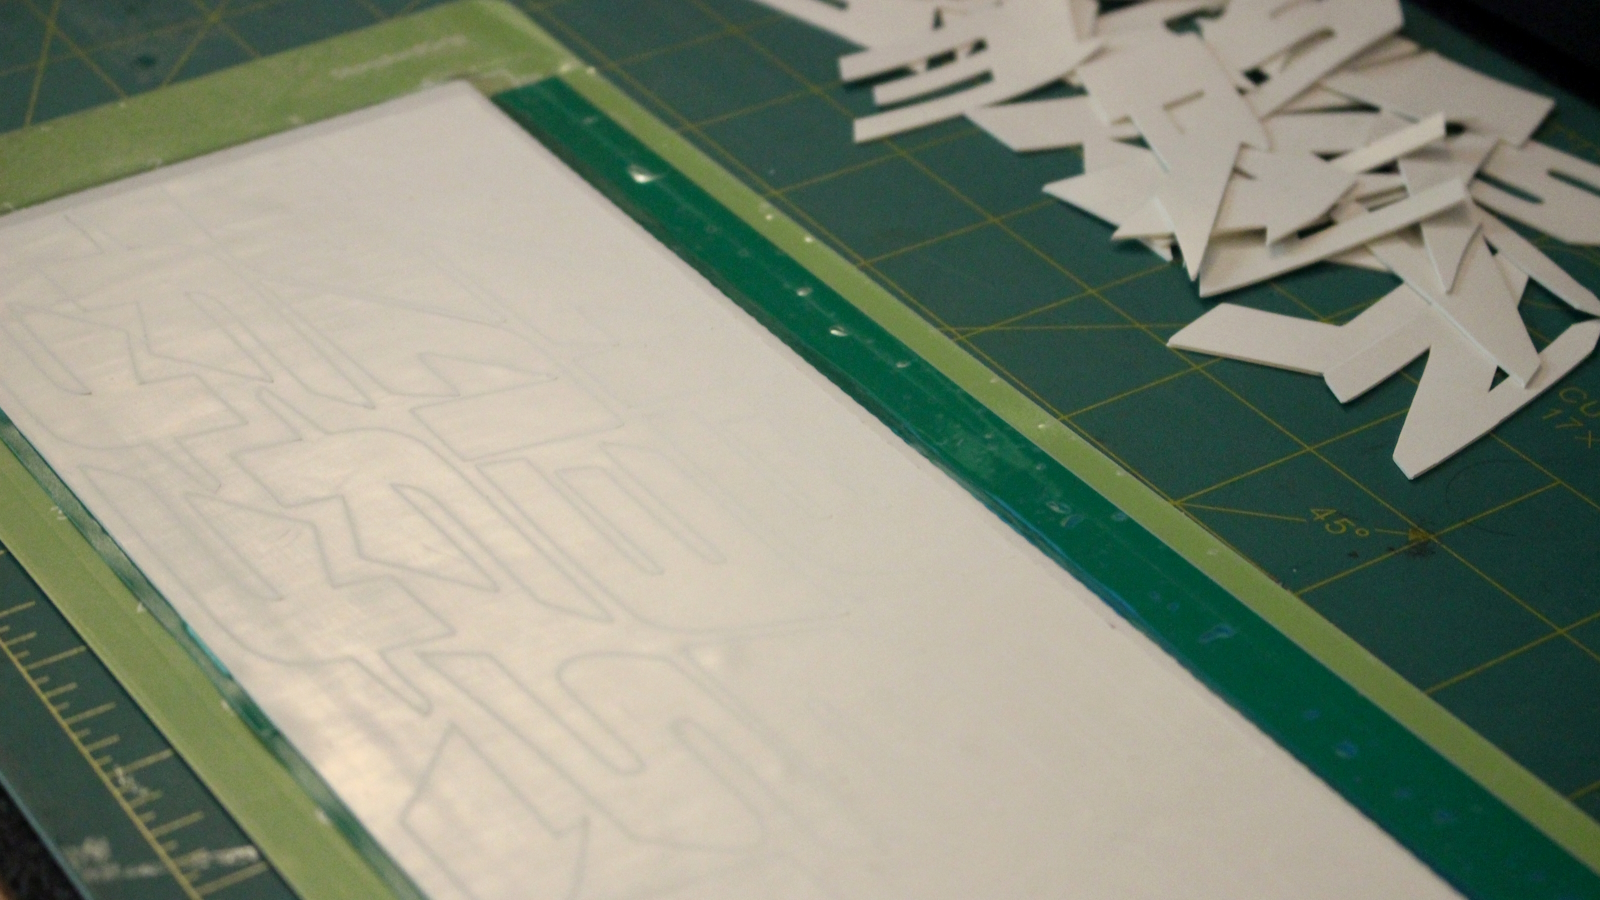
It was a challenge to nest the svg file of letters to all fit on as little material as possible. I bought two 12″x12″ sheets of rubber, but I was able to cut all of the letters for four tires out of just one sheet.

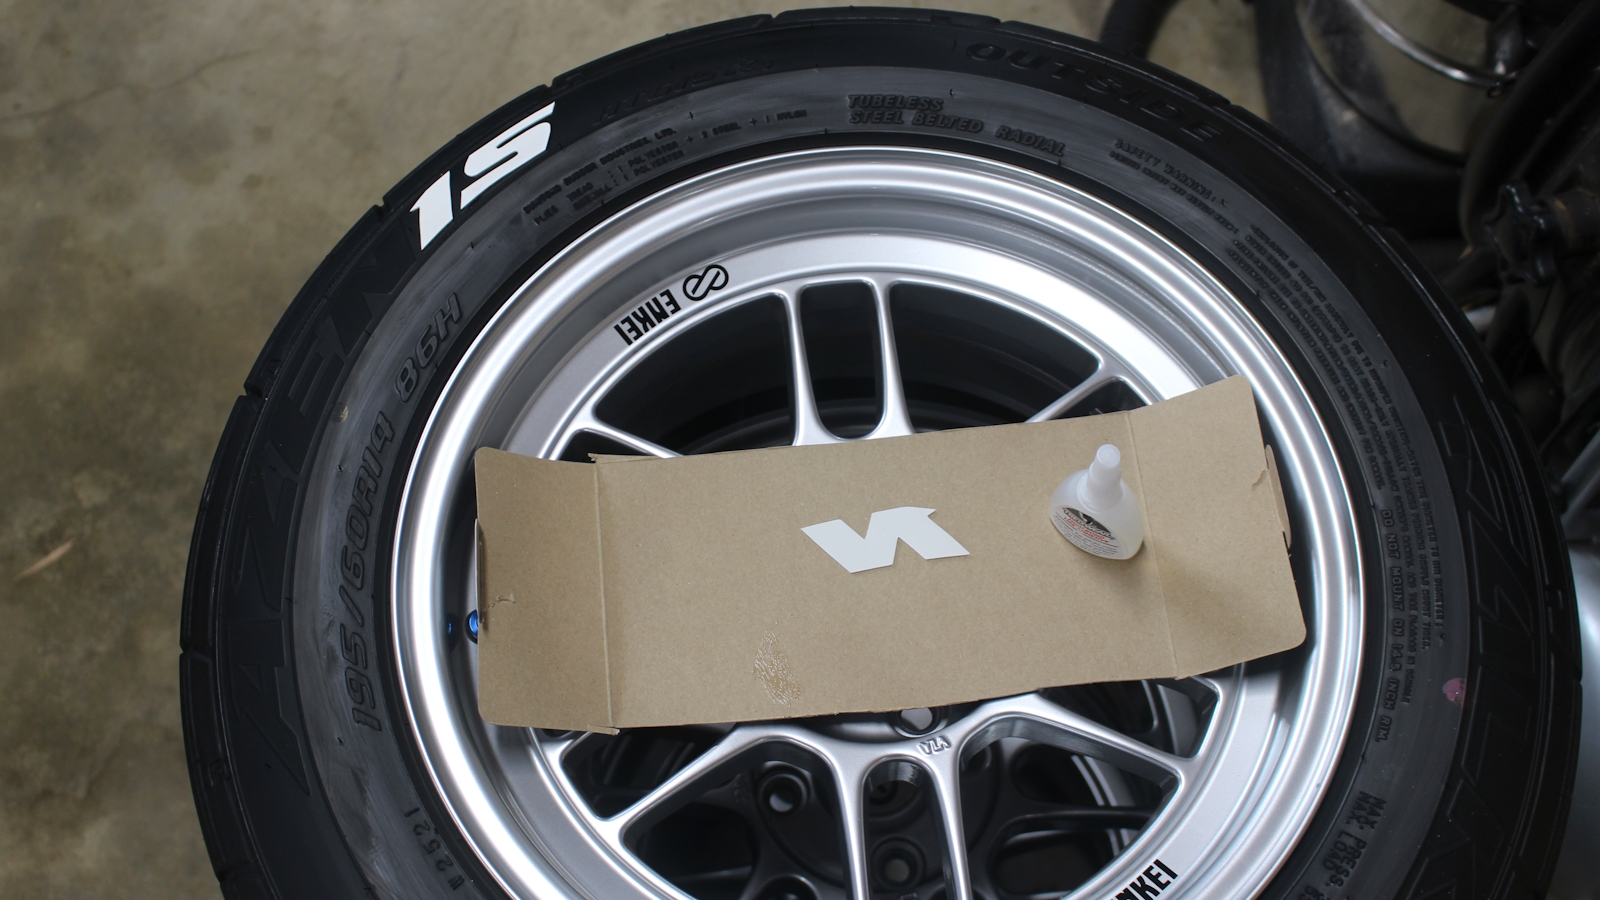
The special rubber adhesive is basically cyanoacrylate super glue, which bonds almost instantly to the tire, without much room for error. By the fourth tire, I had found a method that worked well – align the letter neatly without glue, then while holding the letter down with one finger, peel up a corner and add a dab of glue to anchor the letter in place. After a moment for the glue to dry, it was easy to peel up and apply glue to the rest of the letter with the first dab holding it in alignment.
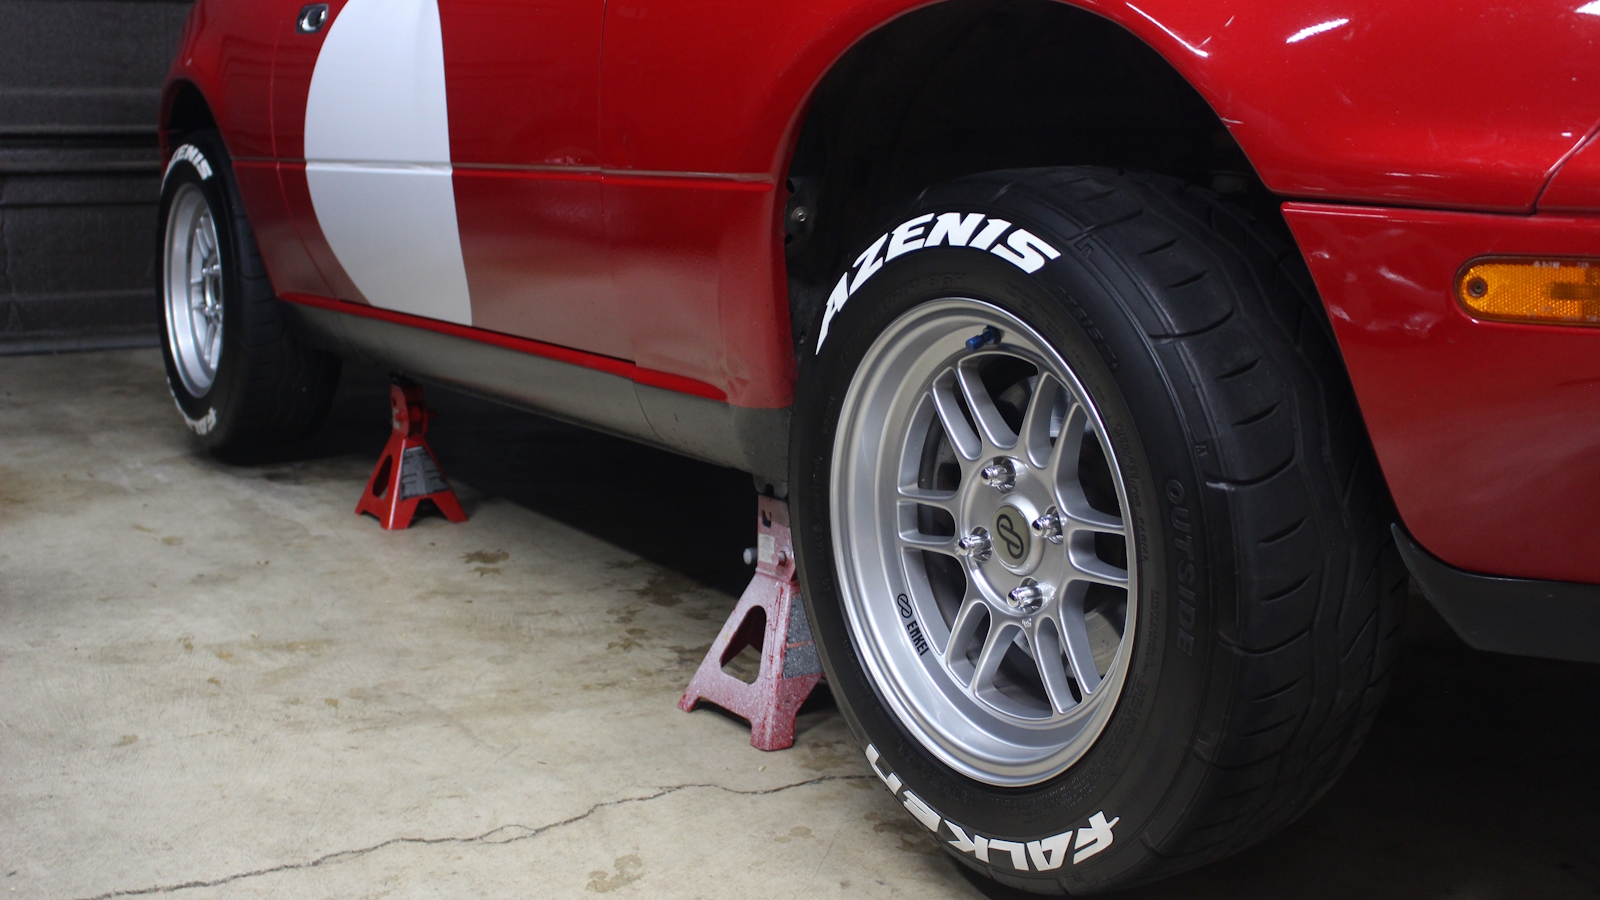
It took a few passes with the rubber super glue, testing the corners of each letter to check which ones needed extra glue.


Doing a pencil rubbing to get the lettering outline is so smart! It looks awesome 🙂